This post may contain affiliate links.Please read our disclosure policy.
Clarified butter is perfect for frying and sautéing! Clarified butter and, the closely related Ghee, have a higher smoke point and add so much flavor to any dish.
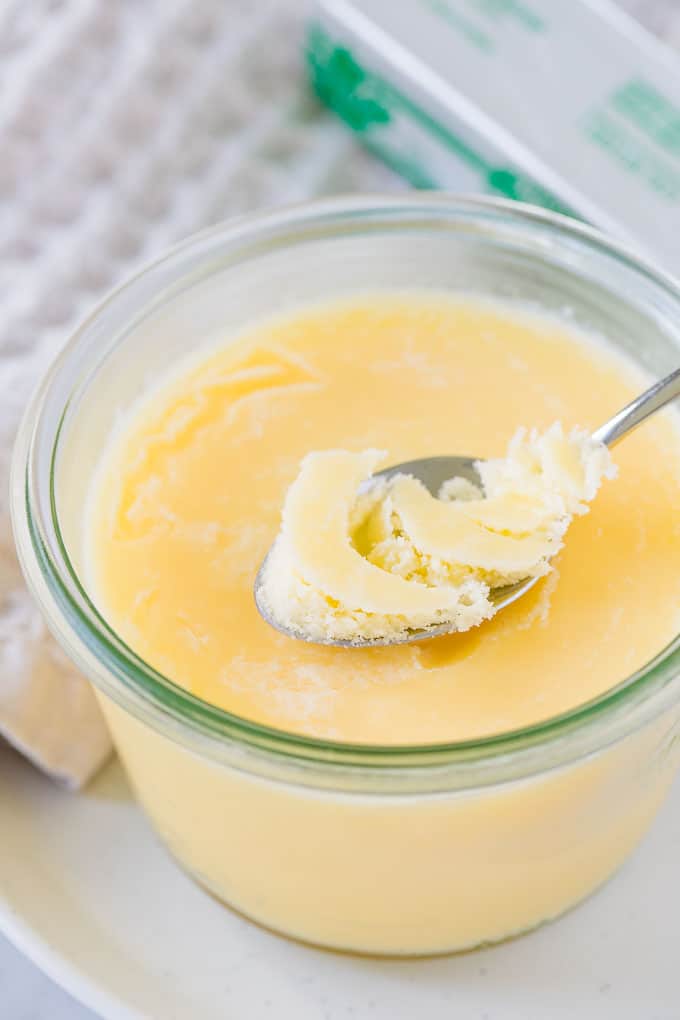
Clarified butter is butter that has been cooked to remove any water and solids, so what you’re left with is 100% butterfat. It has a higher smoke point than butter (450°F, compared to about 350°F) and adds more flavor than oil.
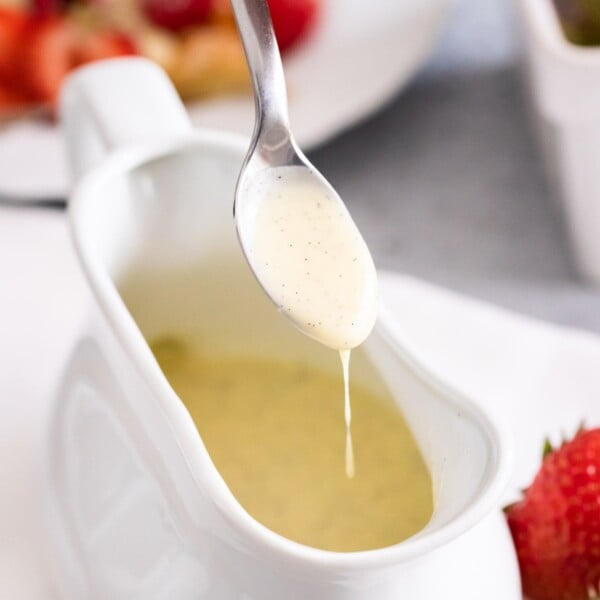
You can use it for high-heat cooking methods like sautéing steaks and popping popcorn, but also for making perfect sauces like Hollandaise sauce.
Called Butterschmalz in German, this cooked-down butter is a staple in German cuisine and is used for many recipes from German Schnitzel to Pfannkuchen (German Pancakes).
How to make this recipe
Detailed measurements and instructions can be found at the bottom of the page on the printable recipe card.
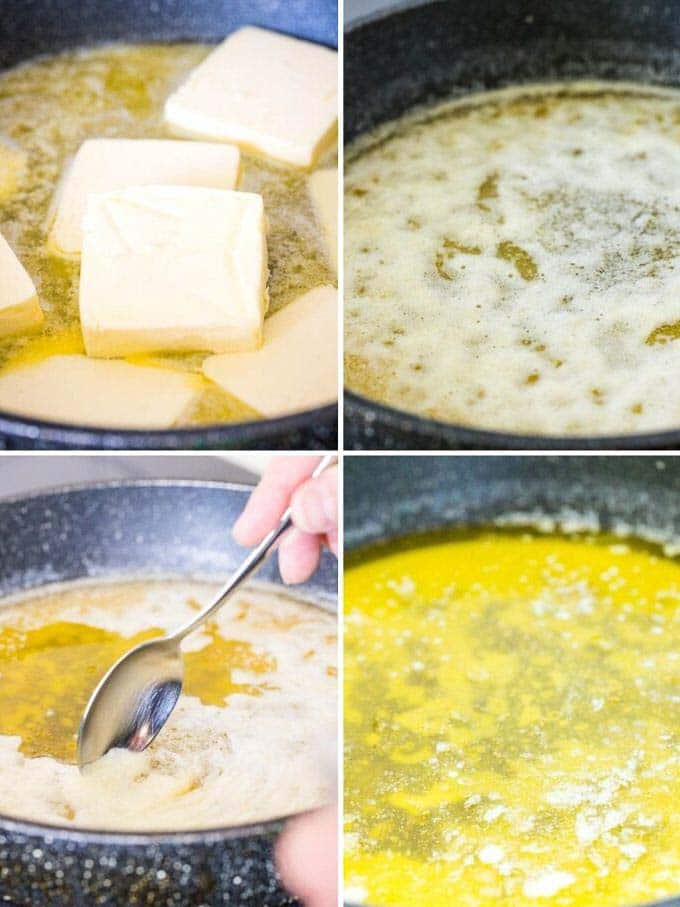
- Slice and melt: Cut the butter into uniform cubes. Then melt it in a large, heavy-bottomed saucepan, over low heat.
- Let it simmer: When it’s fully melted bring it to a gentle boil. As the butter melts, foam will rise to the surface. Don’t stir the butter, let the separation occur naturally.
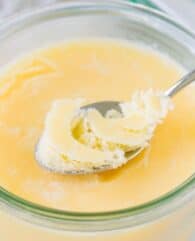
- Skim it off: Use a spoon or skimmer to carefully skim off and discard the foam. This doesn’t need to be perfect because we will strain it after.
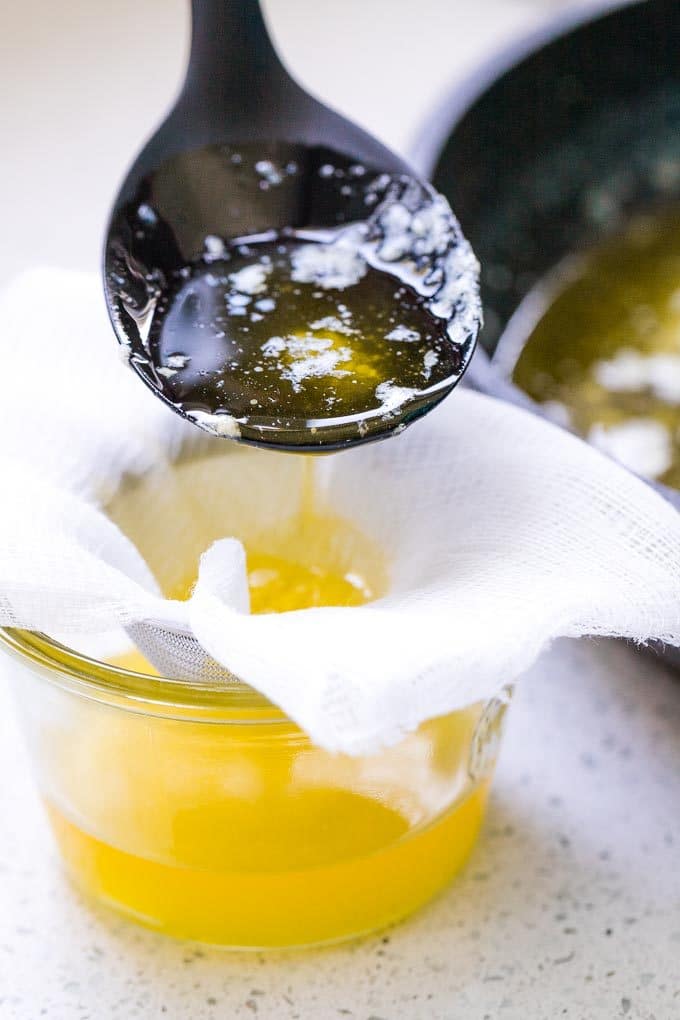
- Strain it: It is done when the bubbling mostly stops because that means the water is boiled out of the butter. Strain the liquid butter through a fine-mesh sieve covered with a few layers of cheesecloth into a glass jar or container. This way all the solid bits get filtered out.
Expert tips for success
- Use unsalted butter: Start with unsalted butter to have better control over the flavor and reduce the risk of ending up with overly salty clarified butter.
- Use high-quality butter: The quality of your butter will affect the flavor of the clarified butter, so opt for high-quality butter for the best results.
- Cut the butter into uniform pieces: Cutting the butter into smaller, uniform pieces will help it melt evenly and reduce the chances of overheating or burning.
- Use a heavy-bottomed saucepan: A heavy-bottomed saucepan distributes heat more evenly and helps prevent scorching or burning during the clarifying process.
- Melt the butter over low heat: Start with low heat to gently melt the butter. Avoid high heat, which can cause the milk solids to brown or burn.
- Skim off the foam: As the butter melts, foam will rise to the surface. Use a spoon or skimmer to carefully skim off and discard the foam. This foam consists of milk solids.
- Don’t stir the butter: Avoid stirring the butter during the clarifying process, as this can mix the milk solids back into the liquid.
- Watch for the separation: As the butter clarifies, you will notice a clear, golden liquid on top and milk solids at the bottom. Be patient and let the separation occur naturally.
- Use a fine mesh strainer or cheesecloth: When pouring off the clarified butter, strain it through a fine mesh strainer or cheesecloth to remove any remaining solids.
- Experiment with flavors: Consider adding herbs, spices, or aromatics like garlic or shallots to the clarified butter during the clarifying process to infuse it with different flavors.
- Doubling the recipe: You can double or triple the amount of butter, the cooking time will be longer.
Recipe FAQs
Clarified butter and Ghee are closely related. The difference is that Ghee is heated a bit more until the milk solids are browned, which gives the Ghee a nutty flavor and an aroma similar to browned butter.
Yes, clarified butter has a more concentrated, nutty, and buttery flavor due to the removal of milk solids.
Clarified butter differs from regular butter in that it has a higher smoke point, a longer shelf life, and a more concentrated buttery flavor because it lacks the milk solids and water found in regular butter.
What to use it in
Clarified butter is excellent for high-heat cooking methods like frying, sautéing, and roasting. It imparts a rich, buttery flavor without the risk of burning. Here are a few of my favorite things to make with it:
- Hollandaise Sauce
- German Schnitzel
- Popcorn
- Steak
- Pancakes or French Crêpes
- Frying or Scrambling Eggs
- Stir-Fries
- Grilled Cheese
Storage
Clarified butter has a long shelf life! Transfer it to an airtight container while it’s still warm and seal it tightly to prevent exposure to air, which can lead to spoilage. I recommend labeling the container with the date.
When the butter has completely cooled, store it in the fridge. When stored properly, clarified butter lasts for several months to a year.
More German Recipes to Try
German Recipes
Radler Beer
German Recipes
German Cheesecake
German Recipes
Cheese Spaetzle Recipe
German Recipes
German Potato Salad
Clarified Butter (Butterschmalz)
Instructions
- Cut the butter into uniform cubes or slices.
- In a large, heavy-bottomed saucepan, melt the butter over low heat.
- When it’s fully melted, bring it to a gentle simmer. As the butter melts, foam will rise to the surface. Use a spoon or skimmer to carefully skim off and discard the foam.
- It is done when the bubbling mostly stops and the butter has separated. This will take about 5–10 minutes.
- Strain the liquid butter through a fine-mesh sieve covered with a few layers of cheesecloth into a glass jar or container. This way all the solid bits get filtered out.
Notes
- Use unsalted butter: Start with unsalted butter to have better control over the flavor and reduce the risk of ending up with overly salty clarified butter.
- Use high-quality butter: The quality of your butter will affect the flavor of the clarified butter, so opt for high-quality butter for the best results.
- Cut the butter into uniform pieces: Cutting the butter into smaller, uniform pieces will help it melt evenly and reduce the chances of overheating or burning.
- Use a heavy-bottomed saucepan: A heavy-bottomed saucepan distributes heat more evenly and helps prevent scorching or burning during the clarifying process.
- Melt the butter over low heat: Start with low heat to gently melt the butter. Avoid high heat, which can cause the milk solids to brown or burn.
- Skim off the foam: As the butter melts, foam will rise to the surface. Use a spoon or skimmer to carefully skim off and discard the foam. This foam consists of milk solids.
- Don’t stir the butter: Avoid stirring the butter during the clarifying process, as this can mix the milk solids back into the liquid.
- Watch for the separation: As the butter clarifies, you will notice a clear, golden liquid on top and milk solids at the bottom. Be patient and let the separation occur naturally.
- Use a fine mesh strainer or cheesecloth: When pouring off the clarified butter, strain it through a fine mesh strainer or cheesecloth to remove any remaining solids.
- Experiment with flavors: Consider adding herbs, spices, or aromatics like garlic or shallots to the clarified butter during the clarifying process to infuse it with different flavors.
- Doubling the recipe: You can double or triple the amount of butter, the cooking time will be longer.
