This post may contain affiliate links.Please read our disclosure policy.
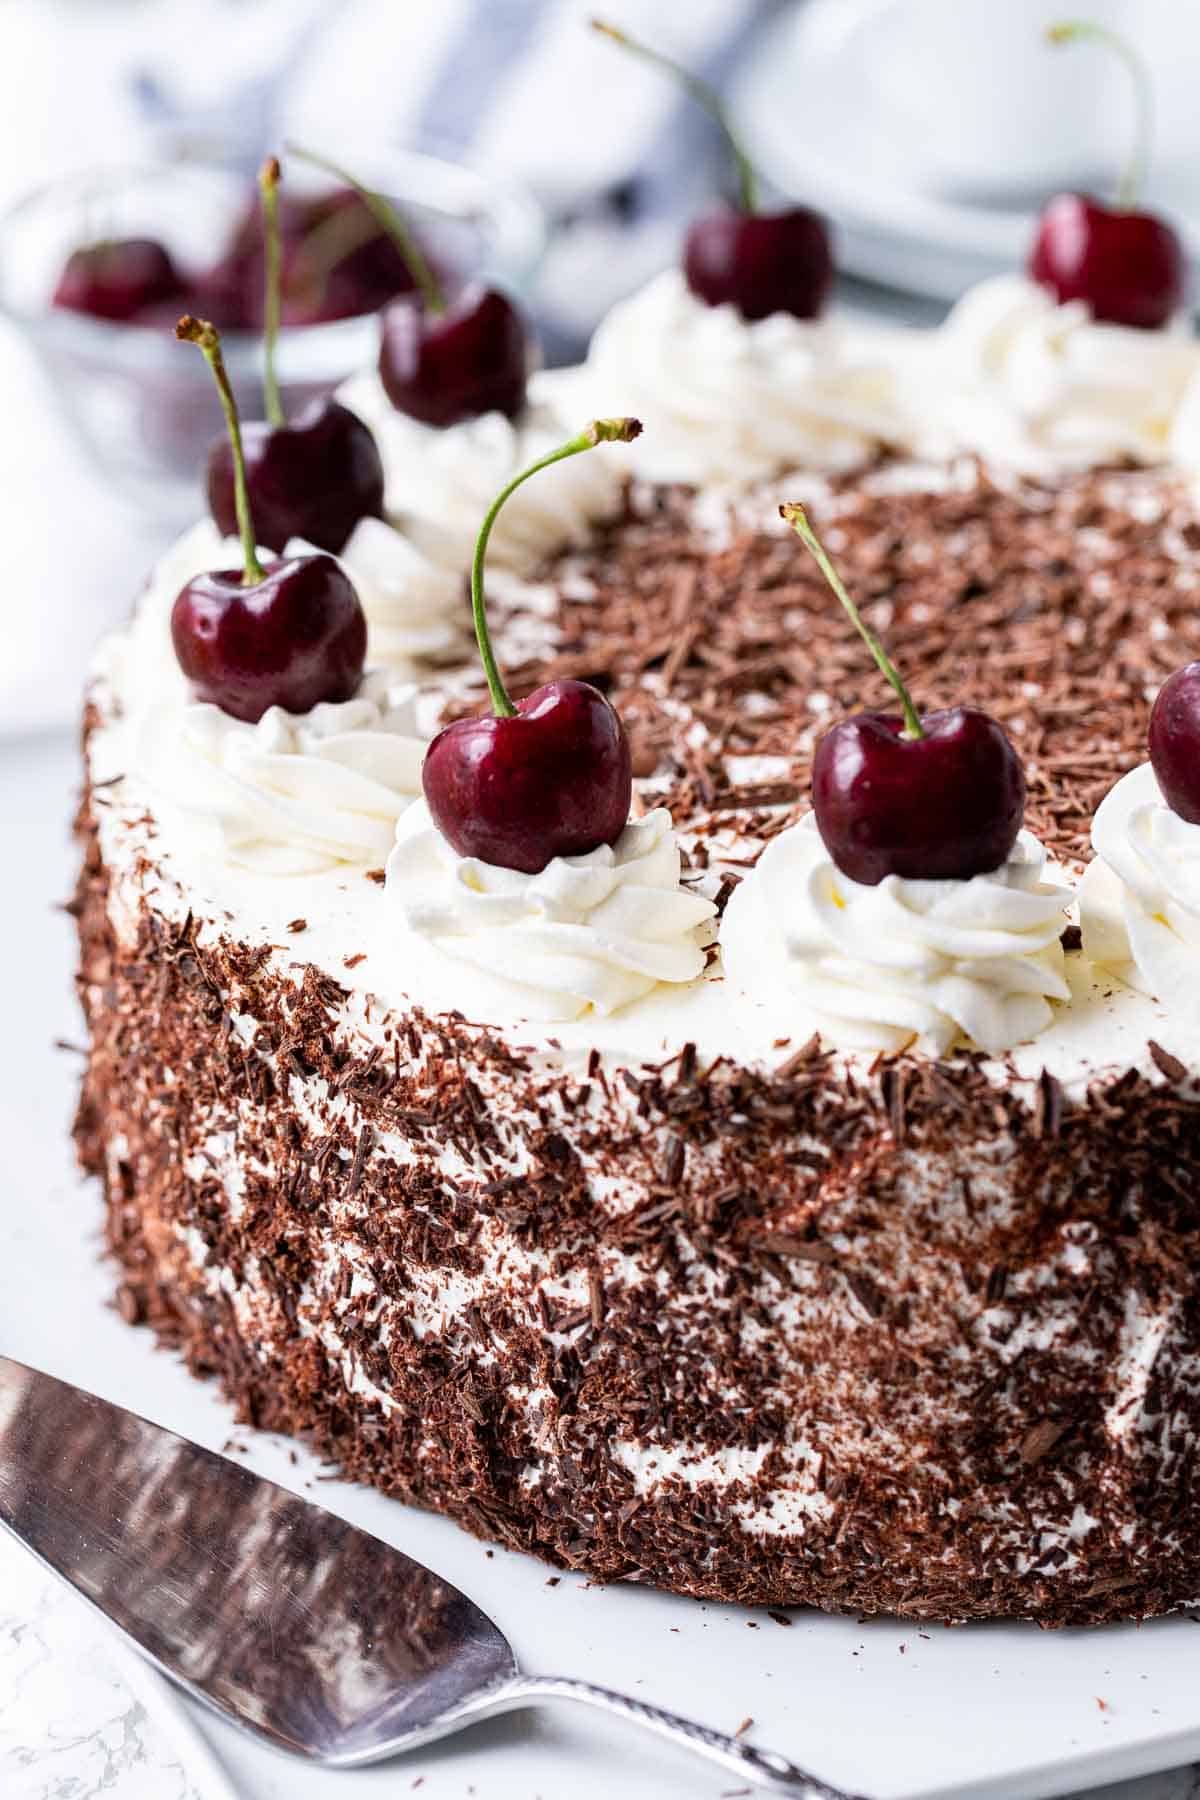
Black Forest Cake is a traditional German dessert made with chocolate sponge cake layers filled with whipped cream and cherries. This delicious cake recipe is completely made from scratch and perfect for special occasions!
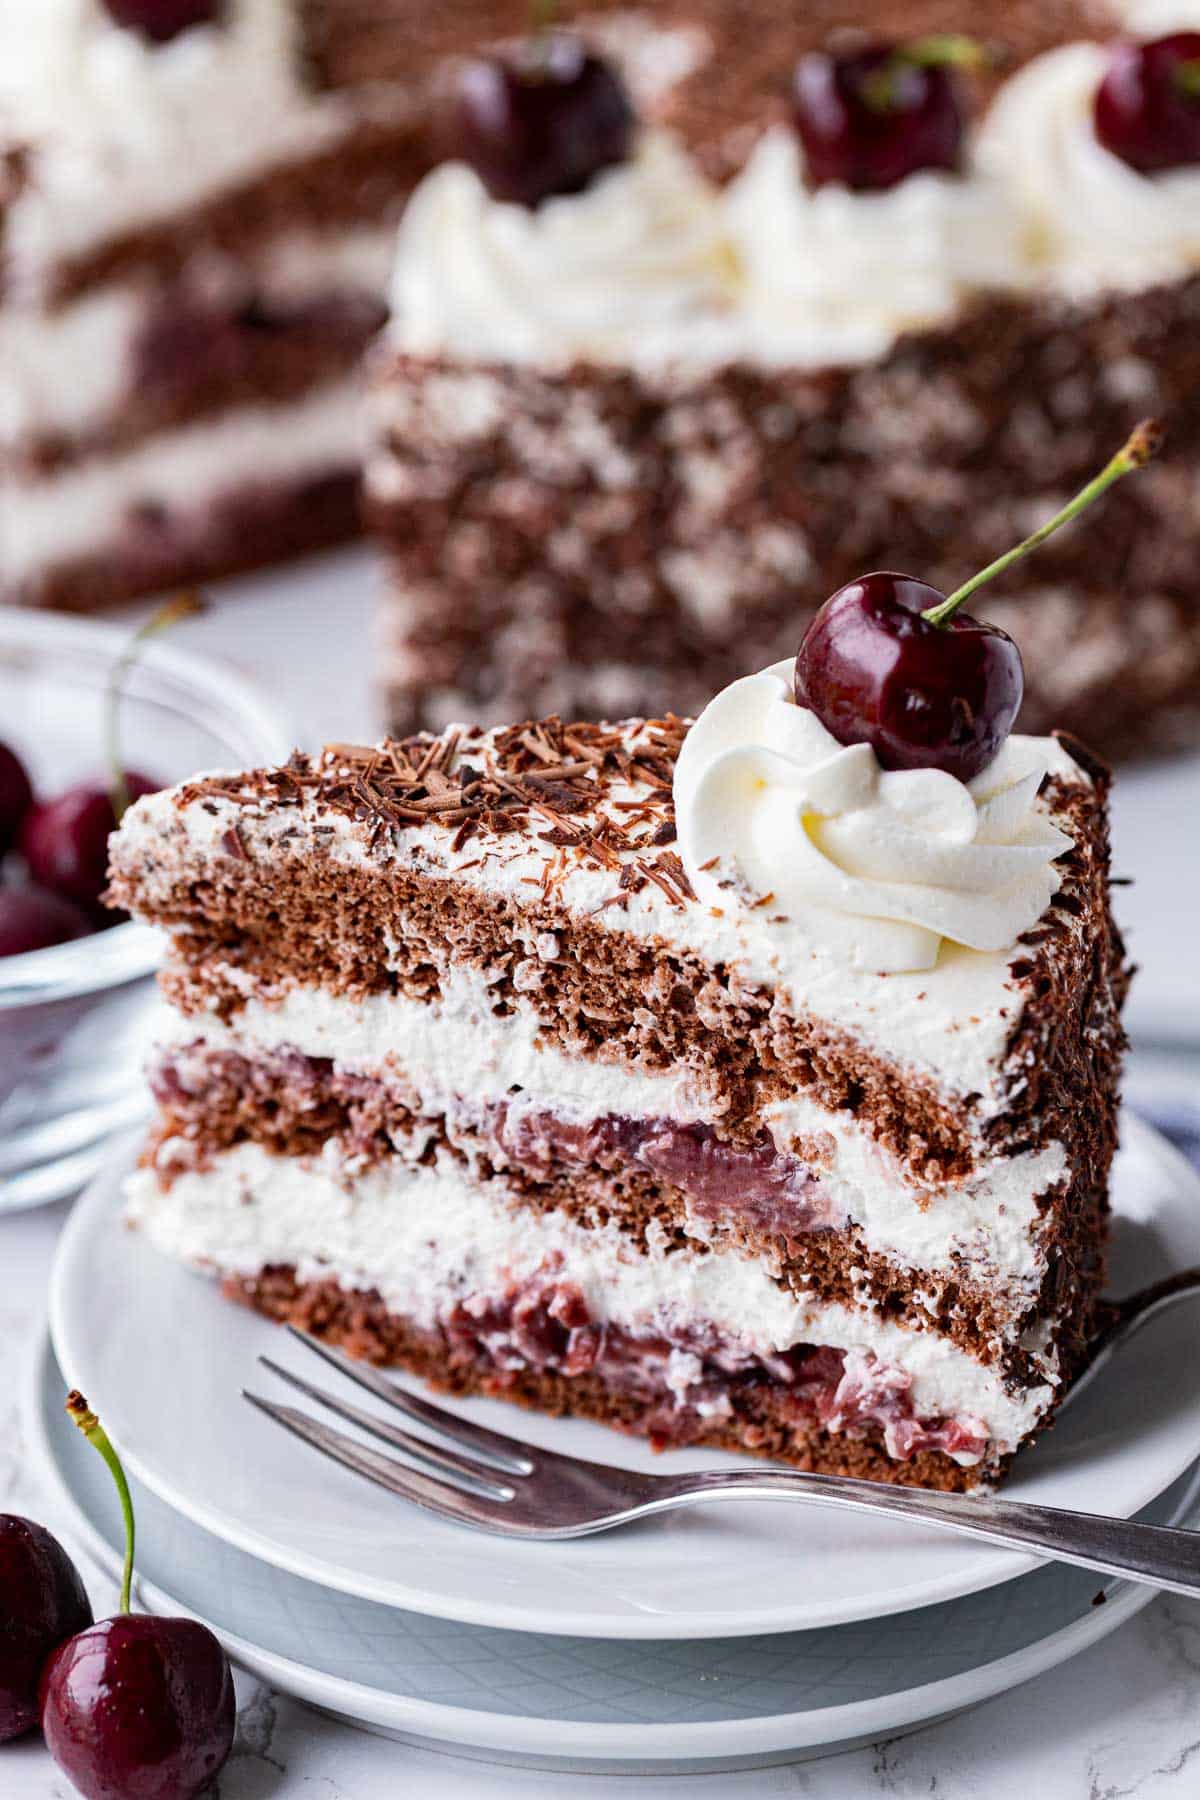
This is probably the most famous German cake! Made with three layers of light and fluffy chocolate cake that are topped with homemade cherry filling and fresh whipped cream, this cake is a showstopper.
Why you should make my recipe
- I’m German, and I love Black Forest Cake! Growing up, this cake was served at every birthday and family gathering, and I know exactly what it should taste like.
- This is a traditional recipe. It’s just the way my Oma would make it! Jarred cherries, whipped cream, and three layers of sponge cake made with lots of eggs. Definitely no butter, oil, or instant coffee. If you want an authentic recipe, make mine!
- Black Forest cake is not an easy cake to make, but I have plenty of tips and break it down into easy steps so even a novice baker can make this cake.
- Cooked cherry filling: Some recipes use fresh cherries instead of the traditional cooked cherry filling, but the cooked filling made with cherries from a jar is superior because it holds up longer, doesn’t bleed into the cream, and the texture is exactly how you want it.
- One cake, cut into three layers: You don’t need three separate baking pans, and the chocolate cake layers will have a much lighter texture, and the cake is easier to decorate.
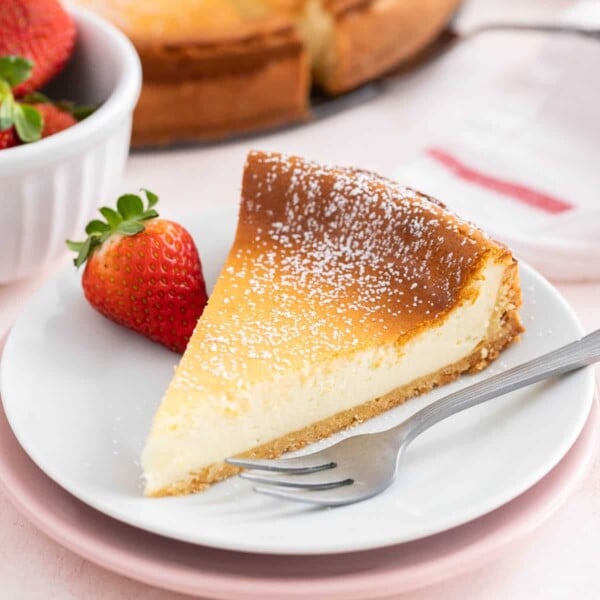
Are you looking for more traditional German cake recipes? Try out my German Apple Cake (Versunkener Apfelkuchen), German Cheesecake (Käsekuchen), or German Plum Cake (Pflaumenkuchen).
Key Ingredients (& Swaps)
Here is an overview of the ingredients you’ll need for this recipe. Scroll down to the recipe card at the bottom for quantities.
Black Forest Cake, or Black Forest Gateau, is a chocolate sponge cake sandwiched with a rich cherry filling and whipped cream. It is usually decorated with more whipped cream, chocolate shavings, and whole cherries.
- Kirsch: Traditionally, Kirschwasser (also known as just kirsch) is added to the cake. But if you don’t have kirsch or can’t use alcohol, substitute with more cherry juice. Cherry brandy is not the same as Kirsch; please don’t use it.
- Sour Cherries: I use a 24 oz jar of pitted sour cherries (affiliate link) in light syrup or cherry juice for this recipe; sometimes they are also called Dark Morello Cherries. Walmart usually has them in the international aisle, but you can also find them at Aldi or Trader Joe’s. The light syrup works great as cherry juice, and one 24 oz jar has enough cherries and liquid for this cake. You should get about 1.5 cups of liquid after draining the cherries. If you can’t find jarred cherries, you can use 2 cups of canned cherries or defrosted frozen cherries. If the cherries don’t come in light syrup, substitute with 1.5 cups of cherry juice; otherwise, the cake will be too sweet.
- Cocoa Powder: I always use Dutch-process cocoa powder because that is the one that is common in Germany.
- Flour: I use a mixture of all-purpose flour and cornstarch for this cake. This is an easy way to make cake flour, and the result is an airy, light texture of the cake layers.
- Eggs: The egg whites make the cake rise and fluffy. You need a lot of eggs for this recipe because that’s how a sponge cake (Biskuitkuchen in German) is made.
- Heavy Cream: The higher the fat content of the cream, the better it will whip up. Heavy whipping cream usually has a fat percentage of 35%, which works best.
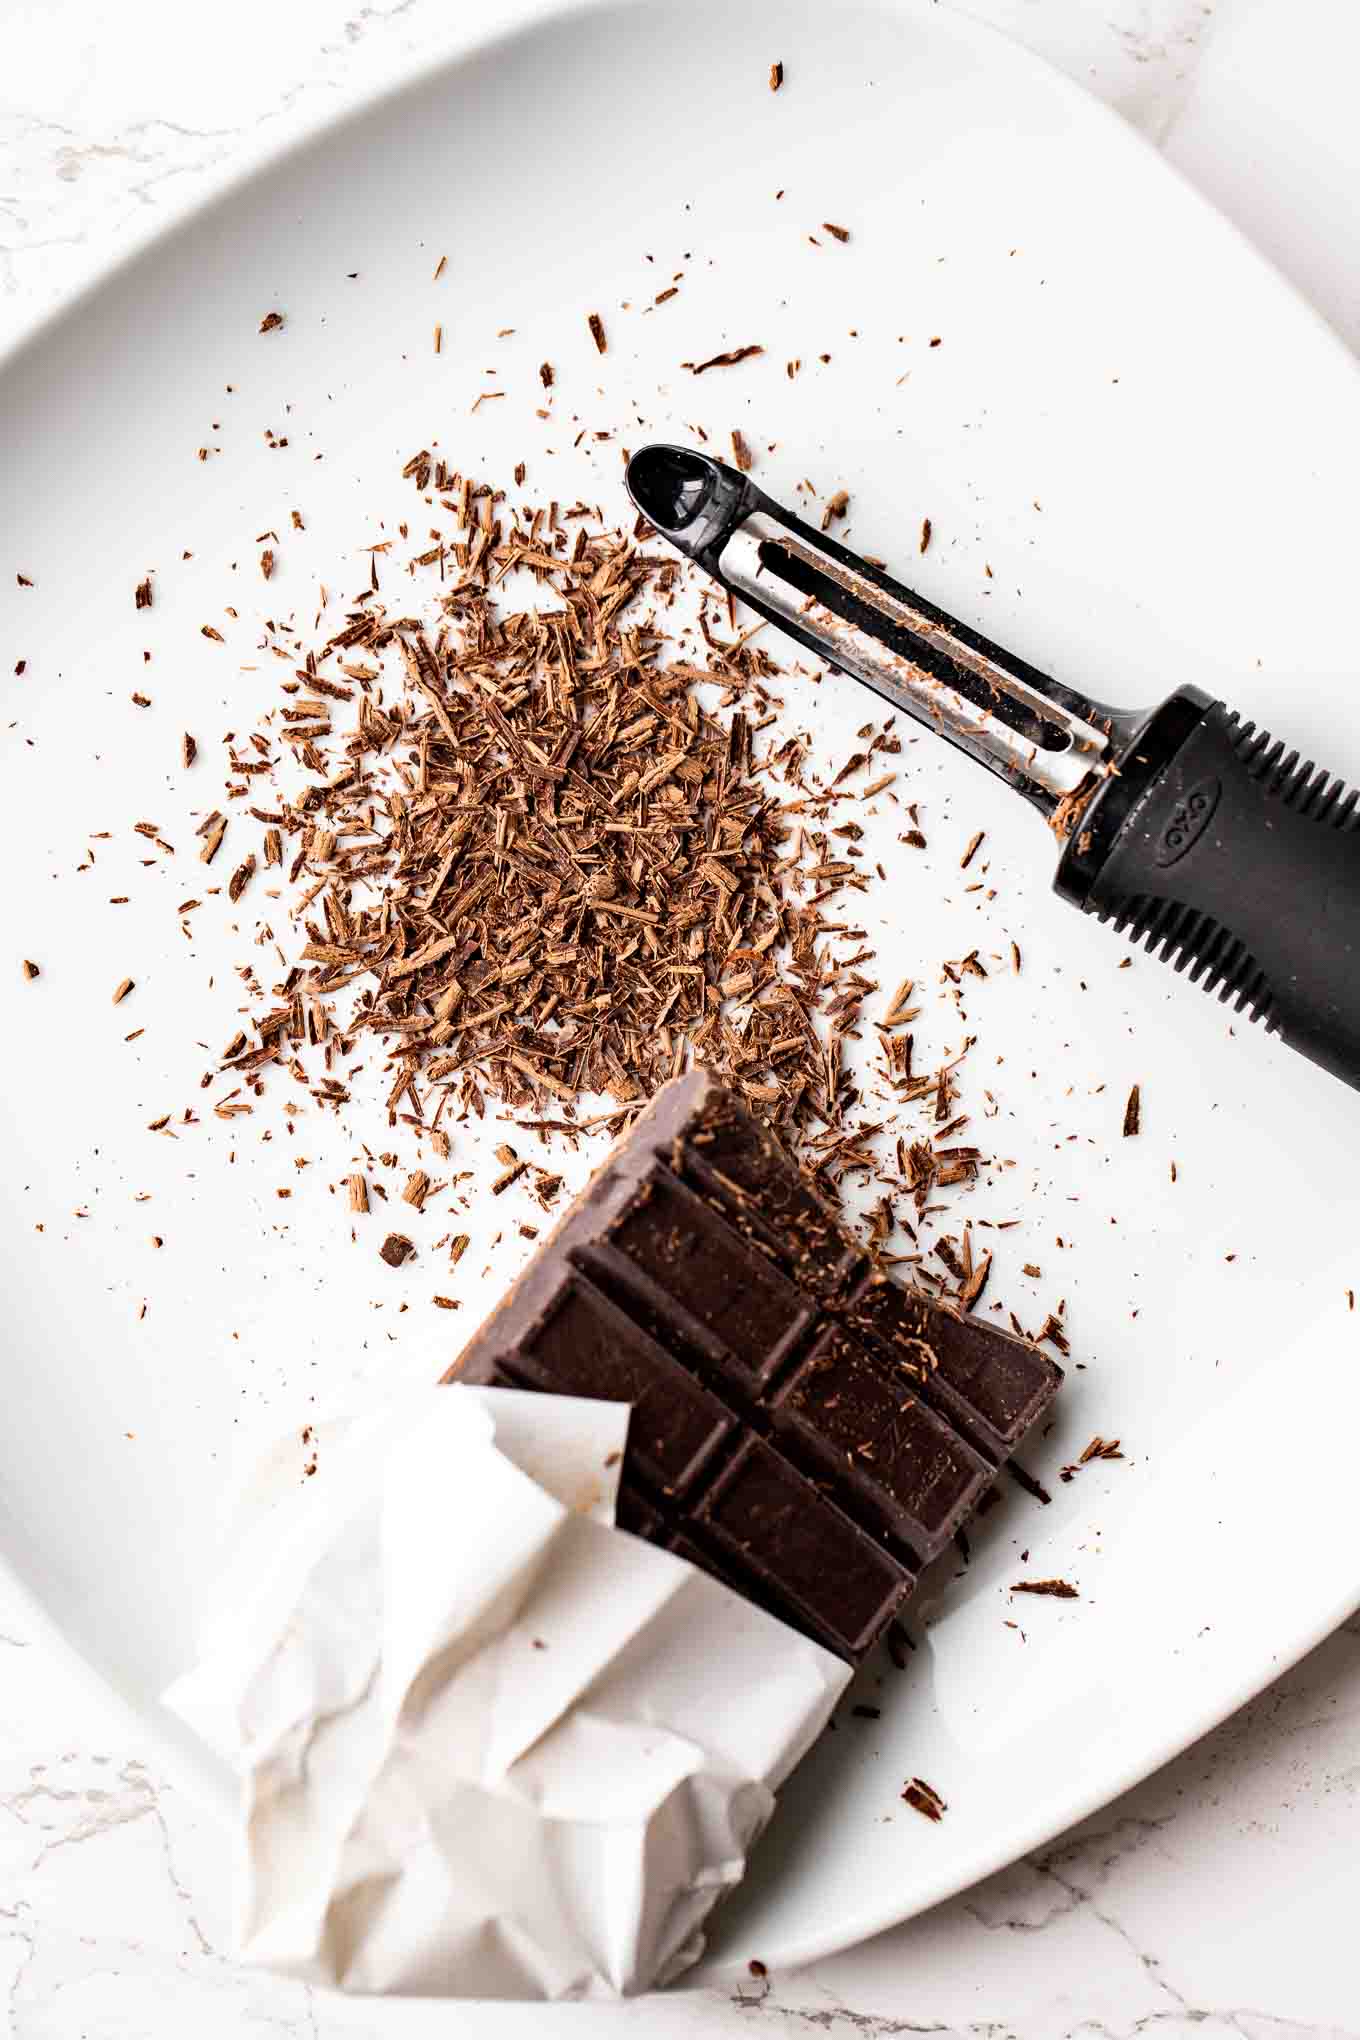
- Chocolate: This cake is traditionally decorated with chocolate shavings. Bittersweet baking chocolate works best, and it’s easiest to make them with a vegetable peeler. Make sure the chocolate is cold.
History of the recipe
Black Forest cake comes from Germany, where it is known as Schwarzwälder Kirschtorte. The dessert is named after the specialty liquor known as Schwarzwälder Kirsch(wasser) of the Black Forest mountain range in southwestern Germany, which gives the dessert its distinctive flavor.
More German Recipes
Sides & Salads
German Cucumber Salad Recipe
Sides & Salads
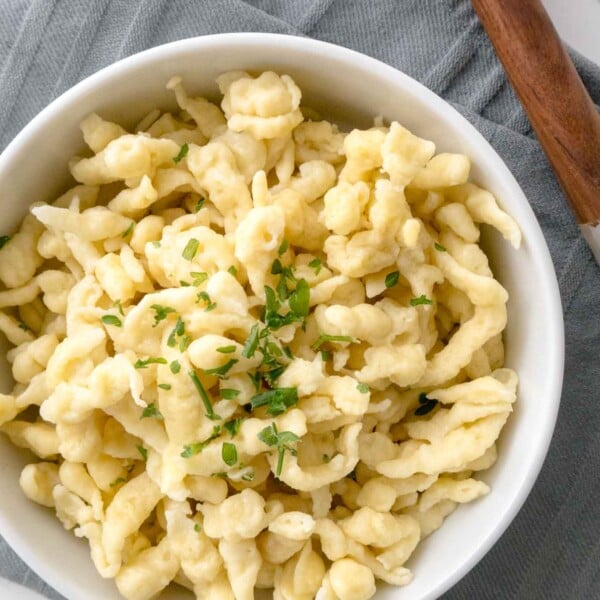
Easy German Spaetzle Recipe
Main Dishes
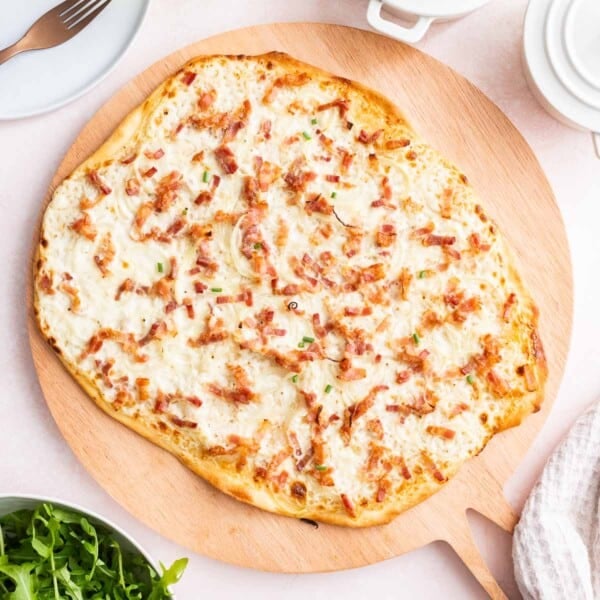
Flammkuchen
Main Dishes
German Schnitzel
My Top Tips before you start
- You will need a lot of whipped cream for this cake. I use a KitchenAid Professional, so whipping up 4 cups of heavy cream is no problem. But if you’re using a smaller stand mixer or hand mixer, it will be best to whip the cream in two batches. Check out my post on how to make homemade whipped cream for more tips and tricks!
- Assemble the cake on your serving platter; transferring is difficult. Slide two pieces of parchment paper under the cake from opposite sides. This keeps the serving platter clean, and you can easily pull it out after you decorate the cake.
- Using a serrated bread knife is the easiest way to cut the cake into three layers. Try to hold the knife as horizontally as possible and work slowly. Use a piece of cardboard or a special cake board to lift the layers off. This also makes it easier to transfer the layers back when you assemble the cake.
- After cutting the cake into three layers, use the bottom layer (bottom up) as the top layer of the cake; this way you have a smooth top, which makes decorating easier.
How to make Black Forest Cake
The base for this cake is a fluffy chocolate sponge cake that gets its special texture from whipped egg whites. The egg whites make the cake rise and become fluffy.
To keep as many tiny air bubbles in the batter as possible, the dry ingredients are sifted and carefully folded in with a spatula. Using an electric mixer or hand whisk would destroy the air bubbles and make the cake dense and compact.
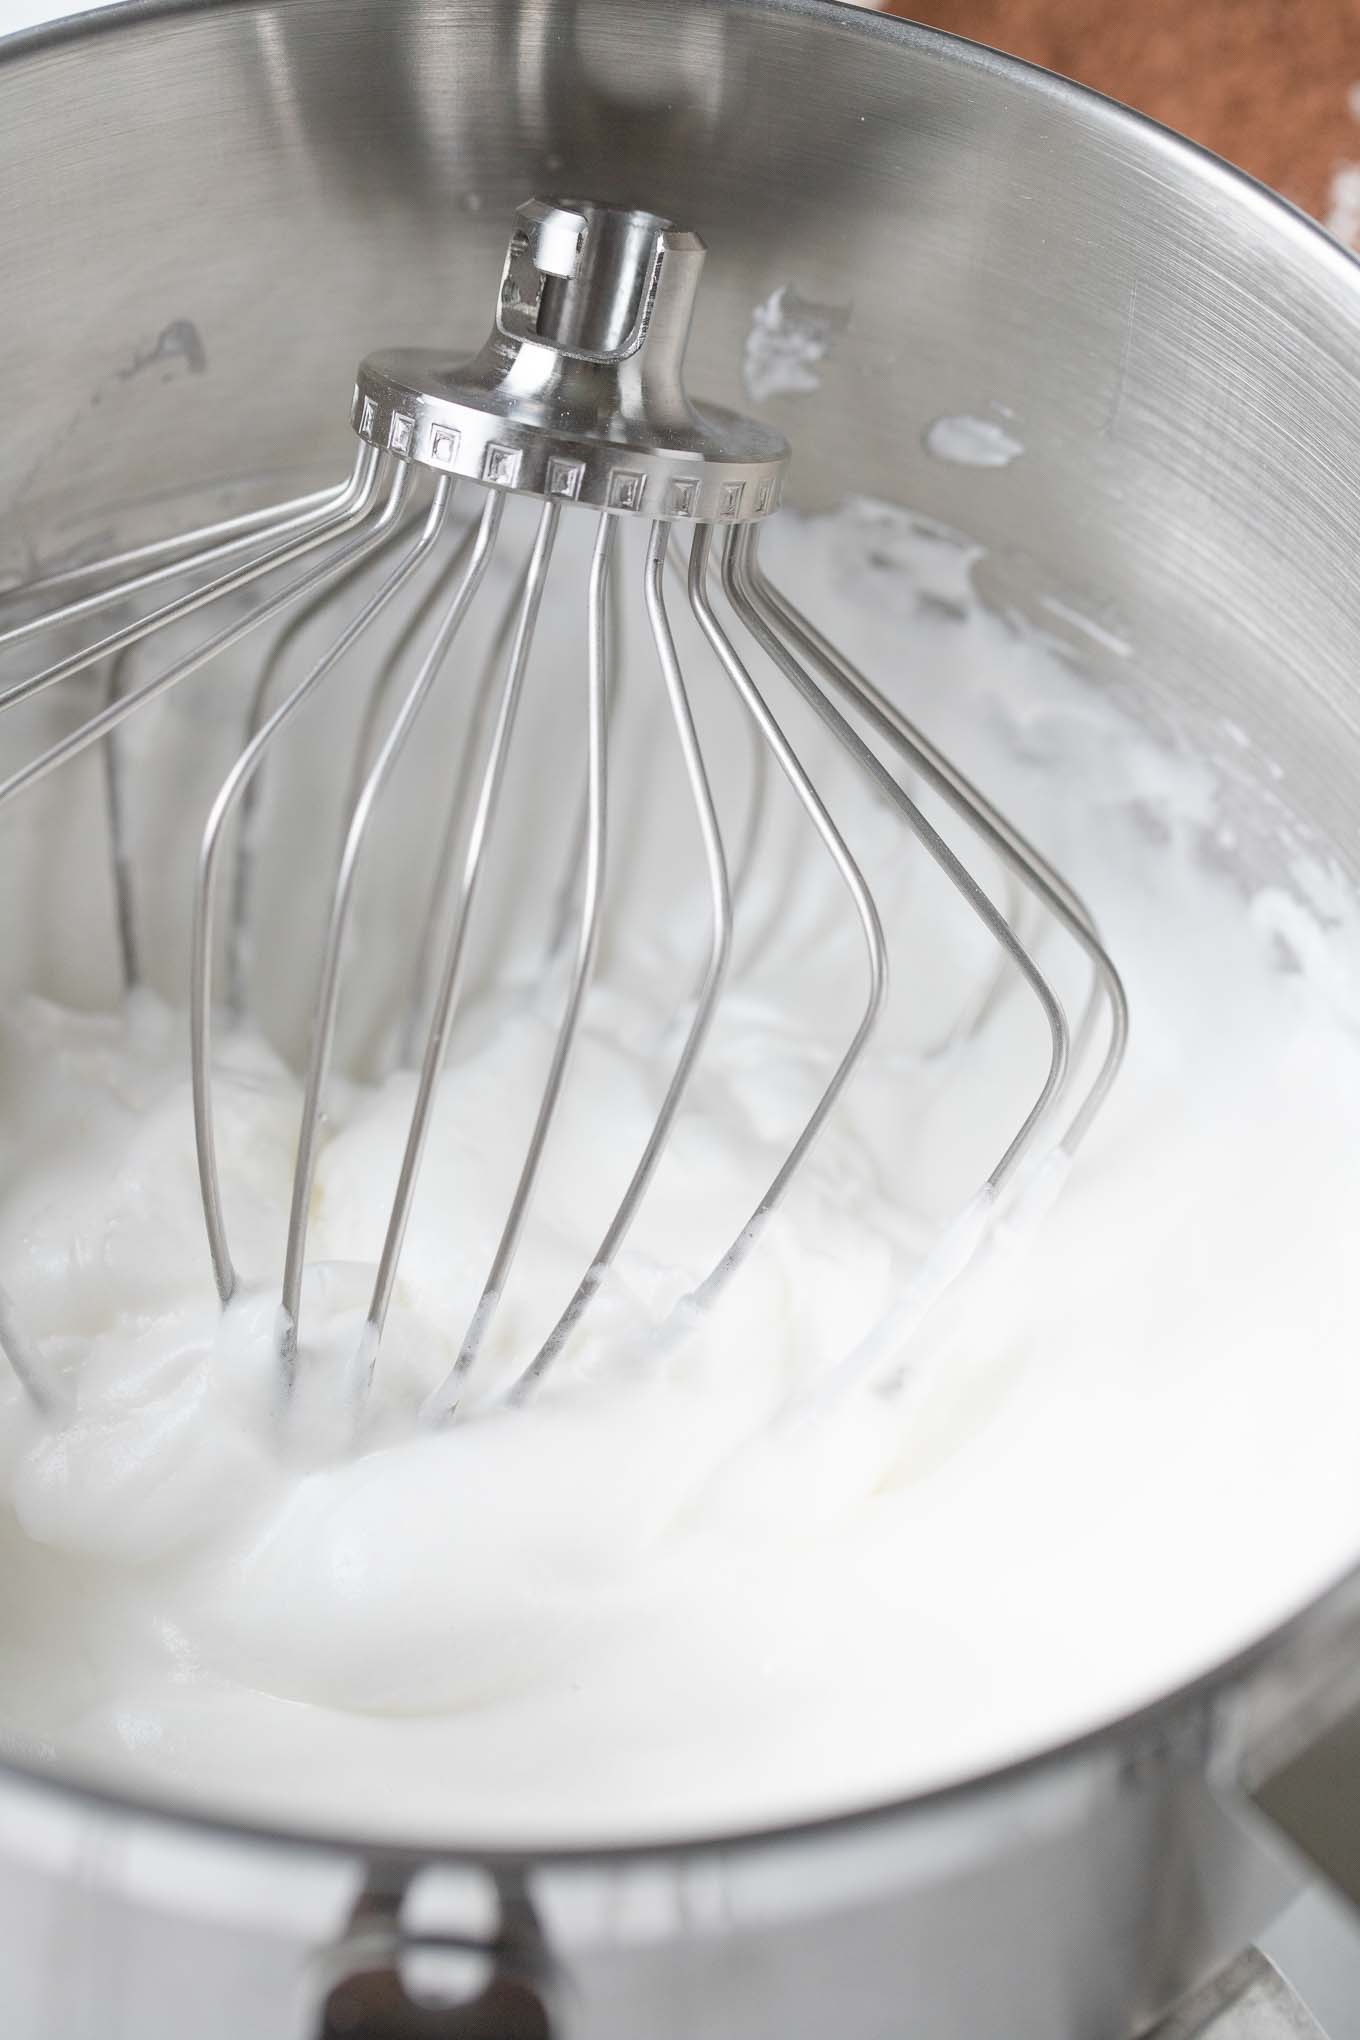
Step 1: Whip up the egg whites and part of the sugar using a stand mixer or hand mixer until soft peaks form.
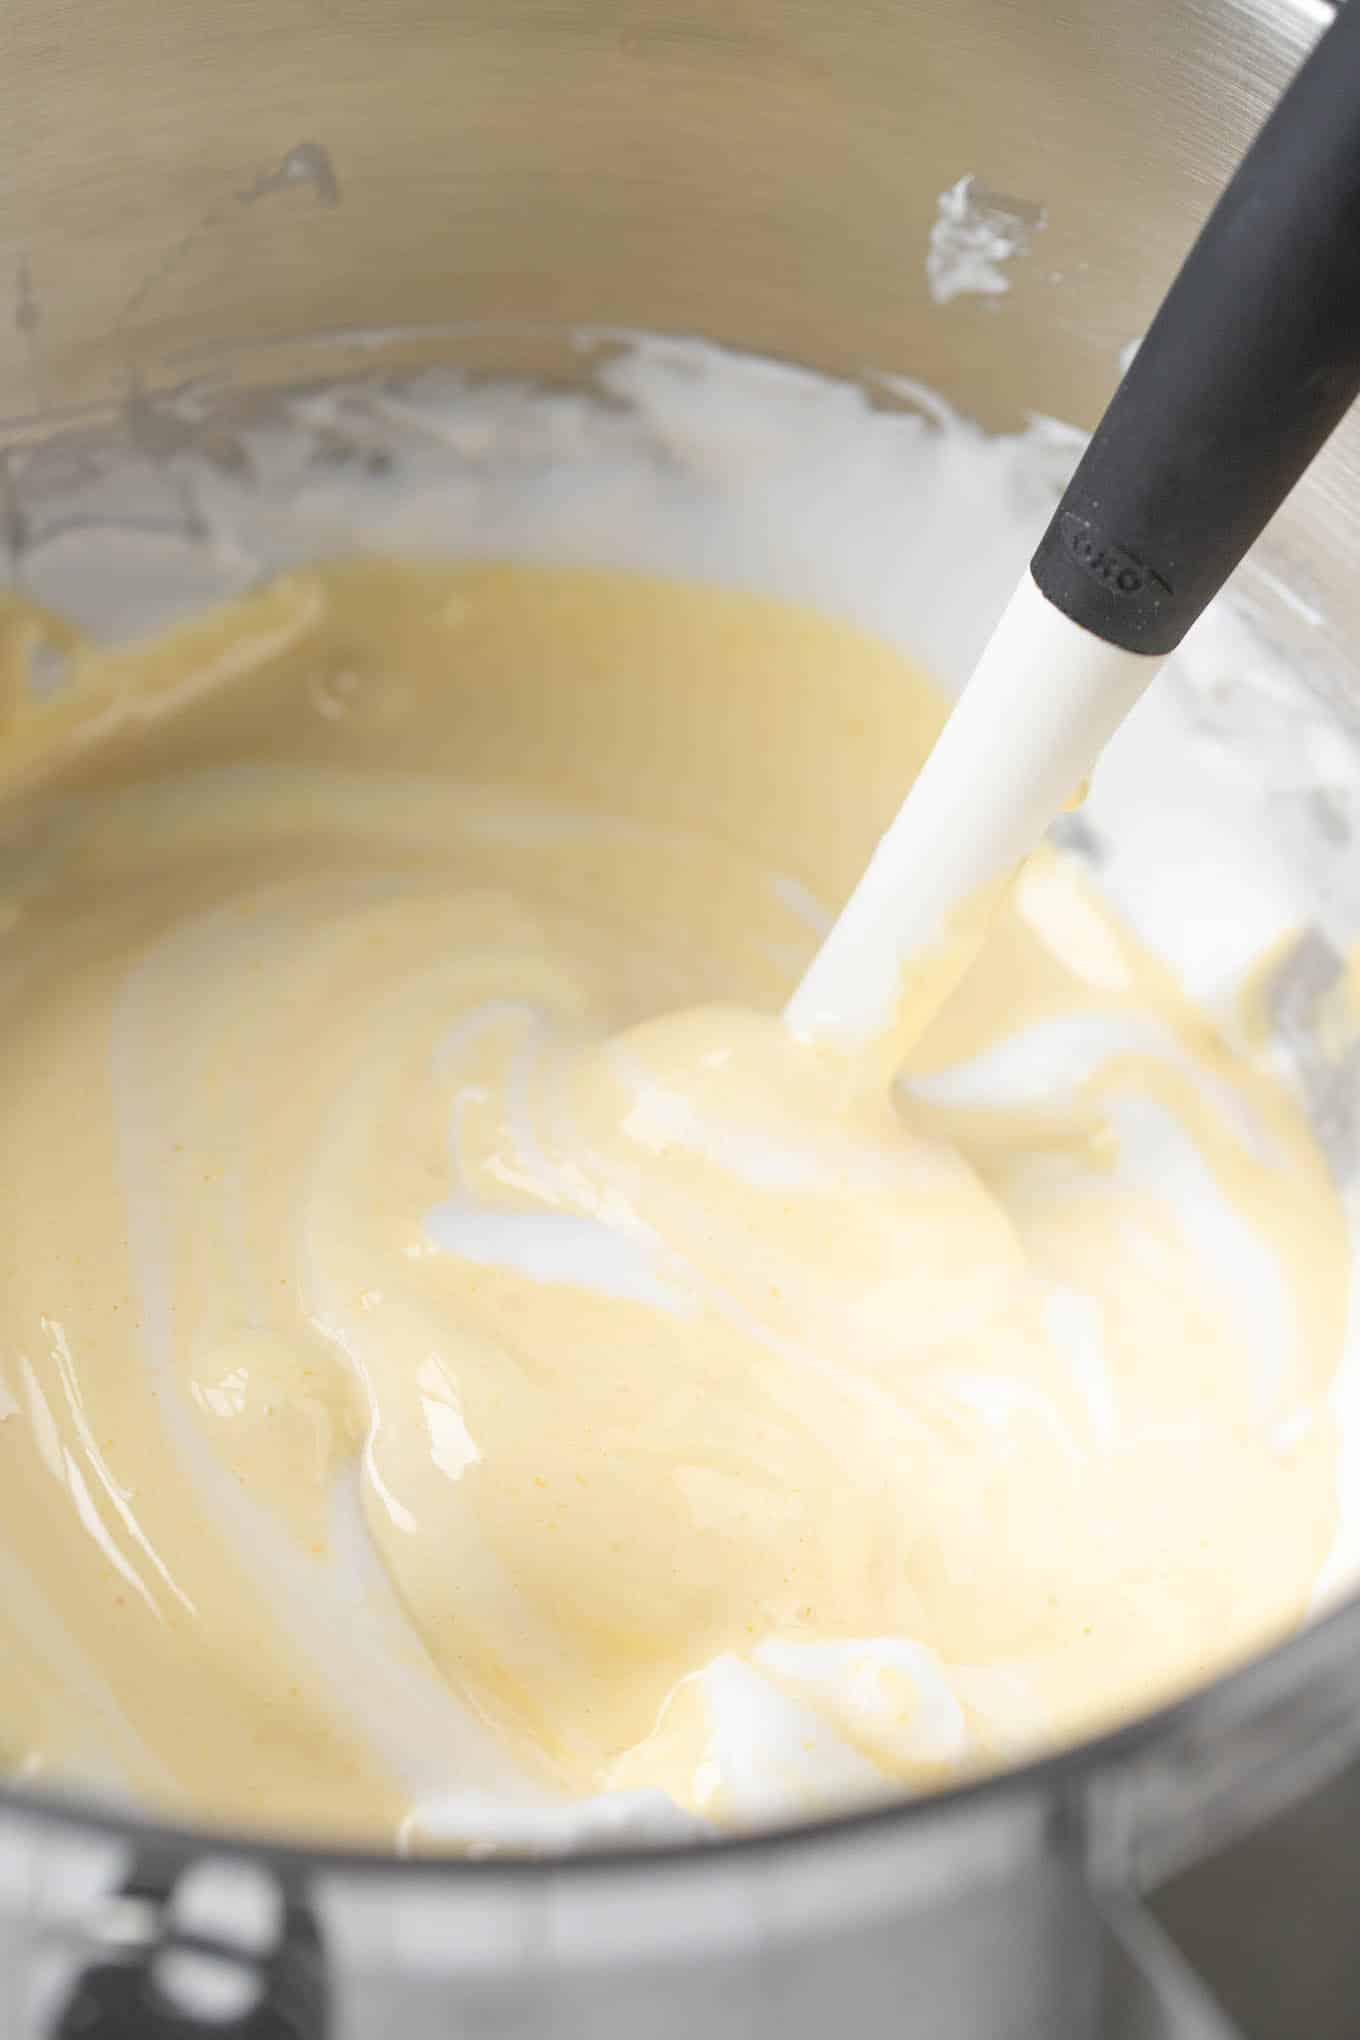
Step 2: Then combine egg yolks, remaining sugar, and vanilla. Whip until thick and pale. Fold mixture into egg whites.
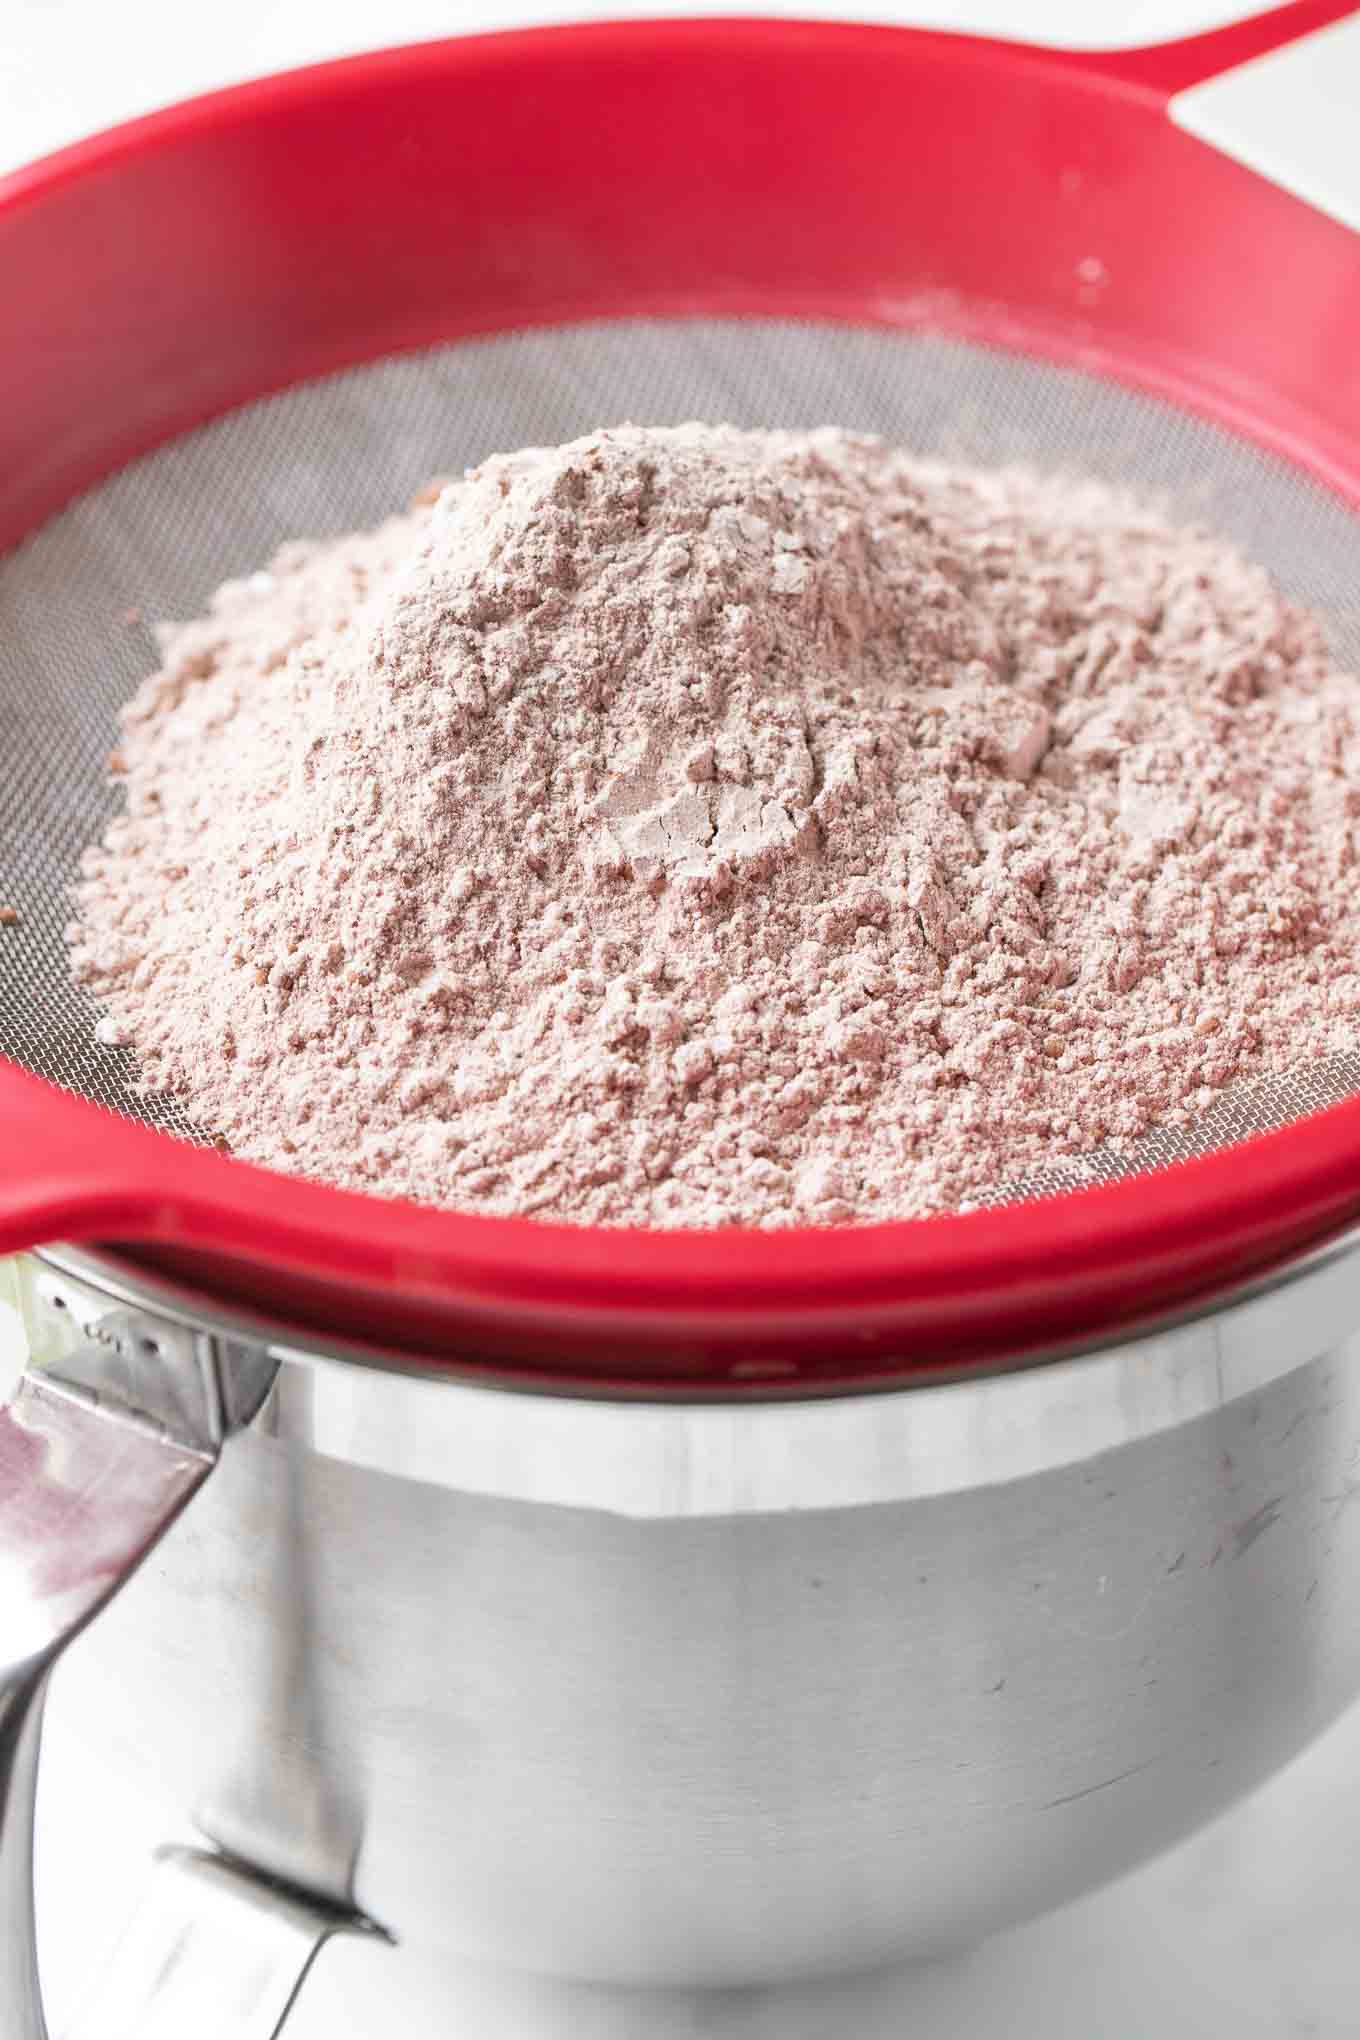
Step 3: Combine flour, cornstarch, baking powder, and cocoa powder. Sieve into egg mixture and fold in with a spatula. This works best in batches.
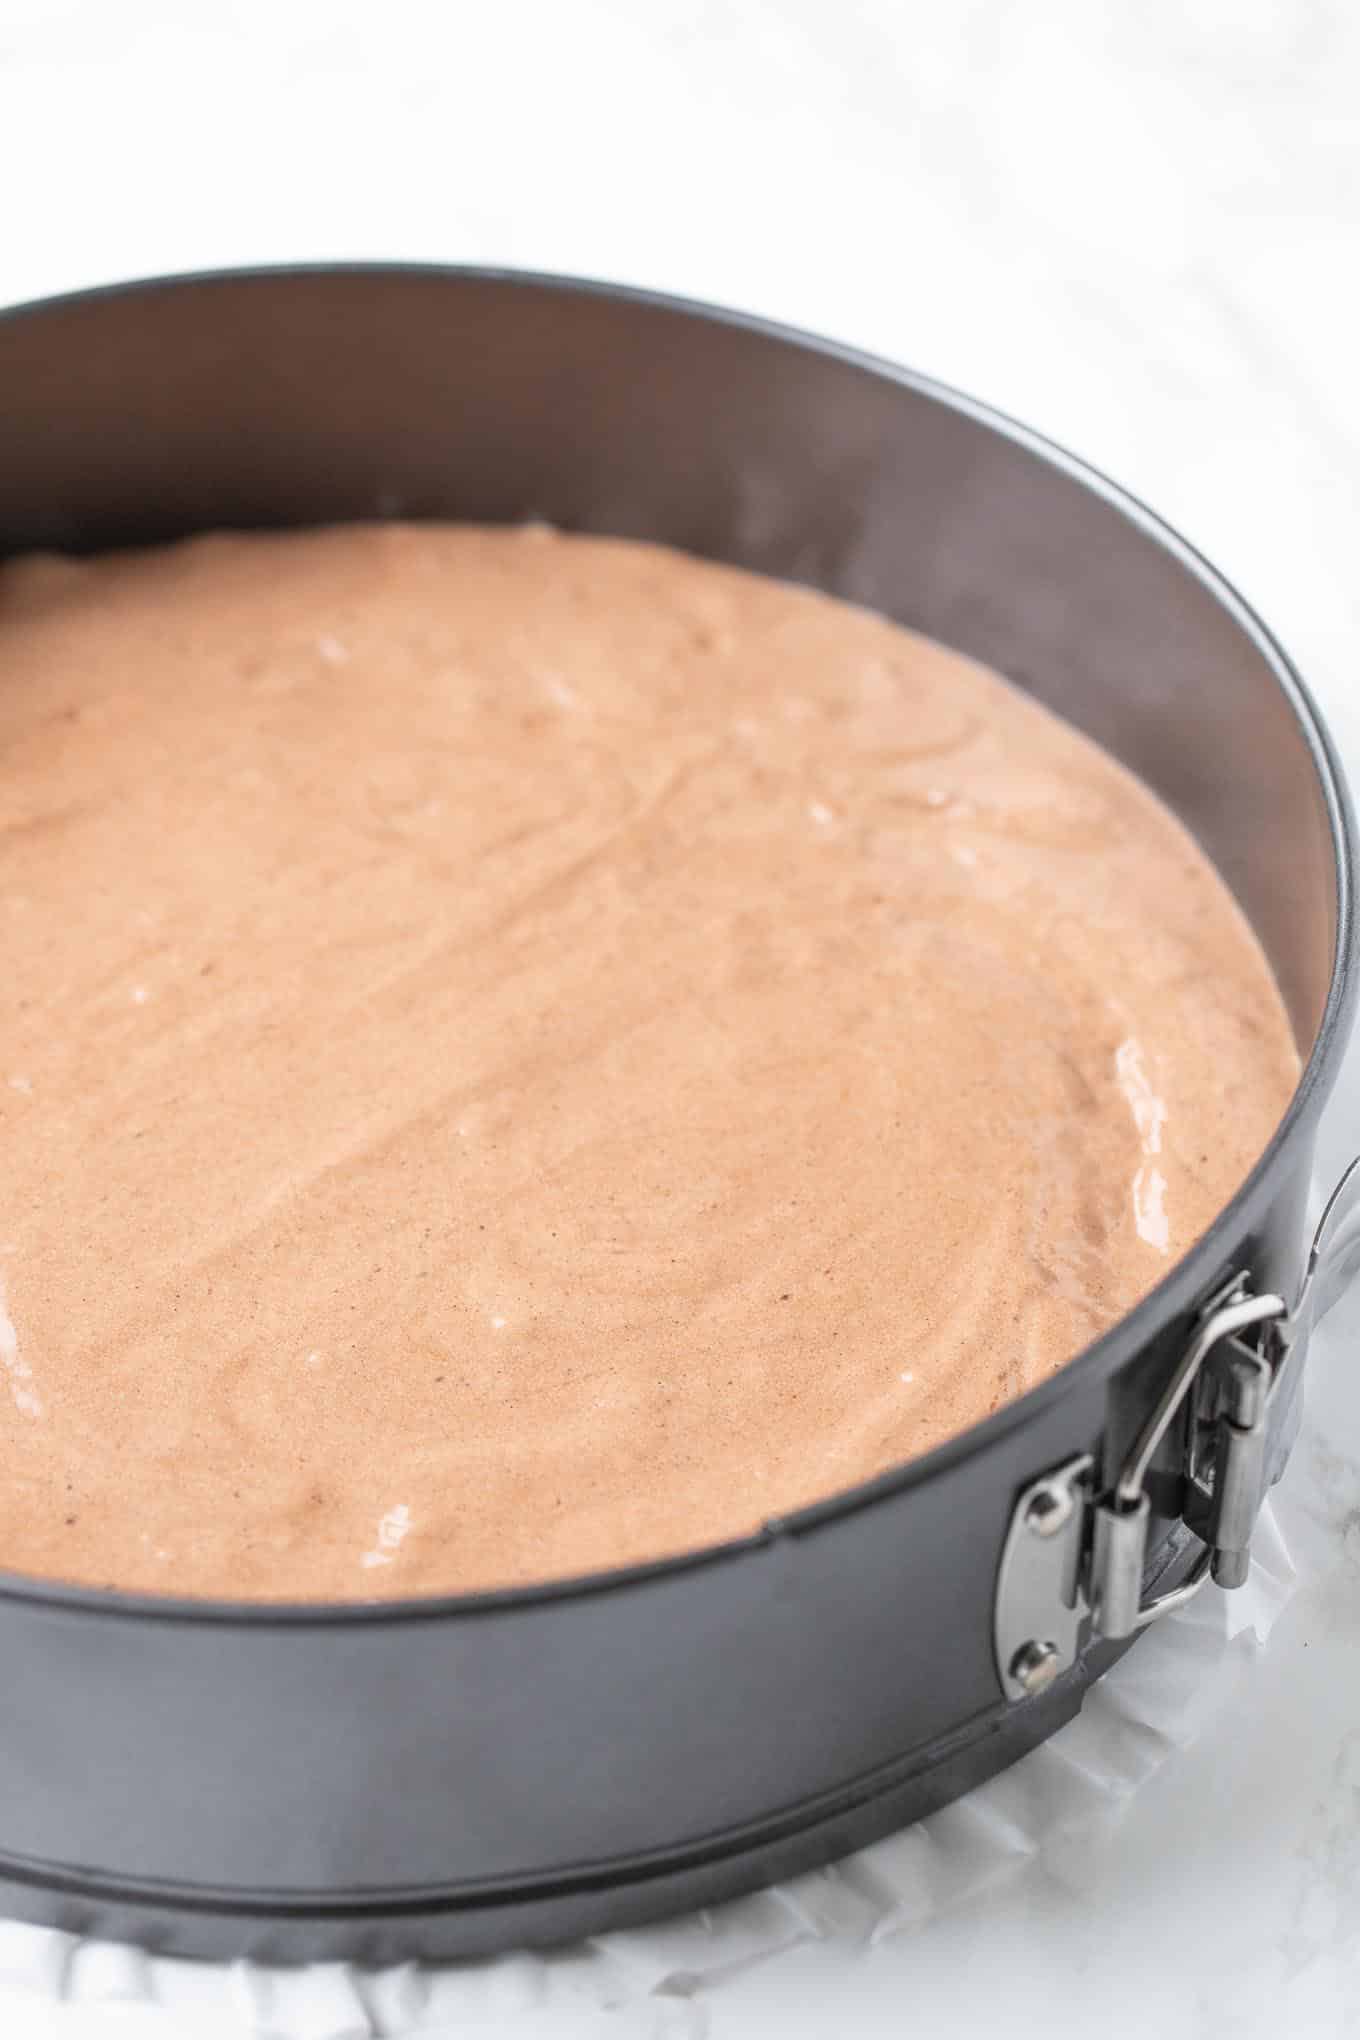
Step 4: Transfer carefully to a springform pan lined with parchment paper (the sides are not greased!). Smooth the top with a spatula and bake for 25 minutes.
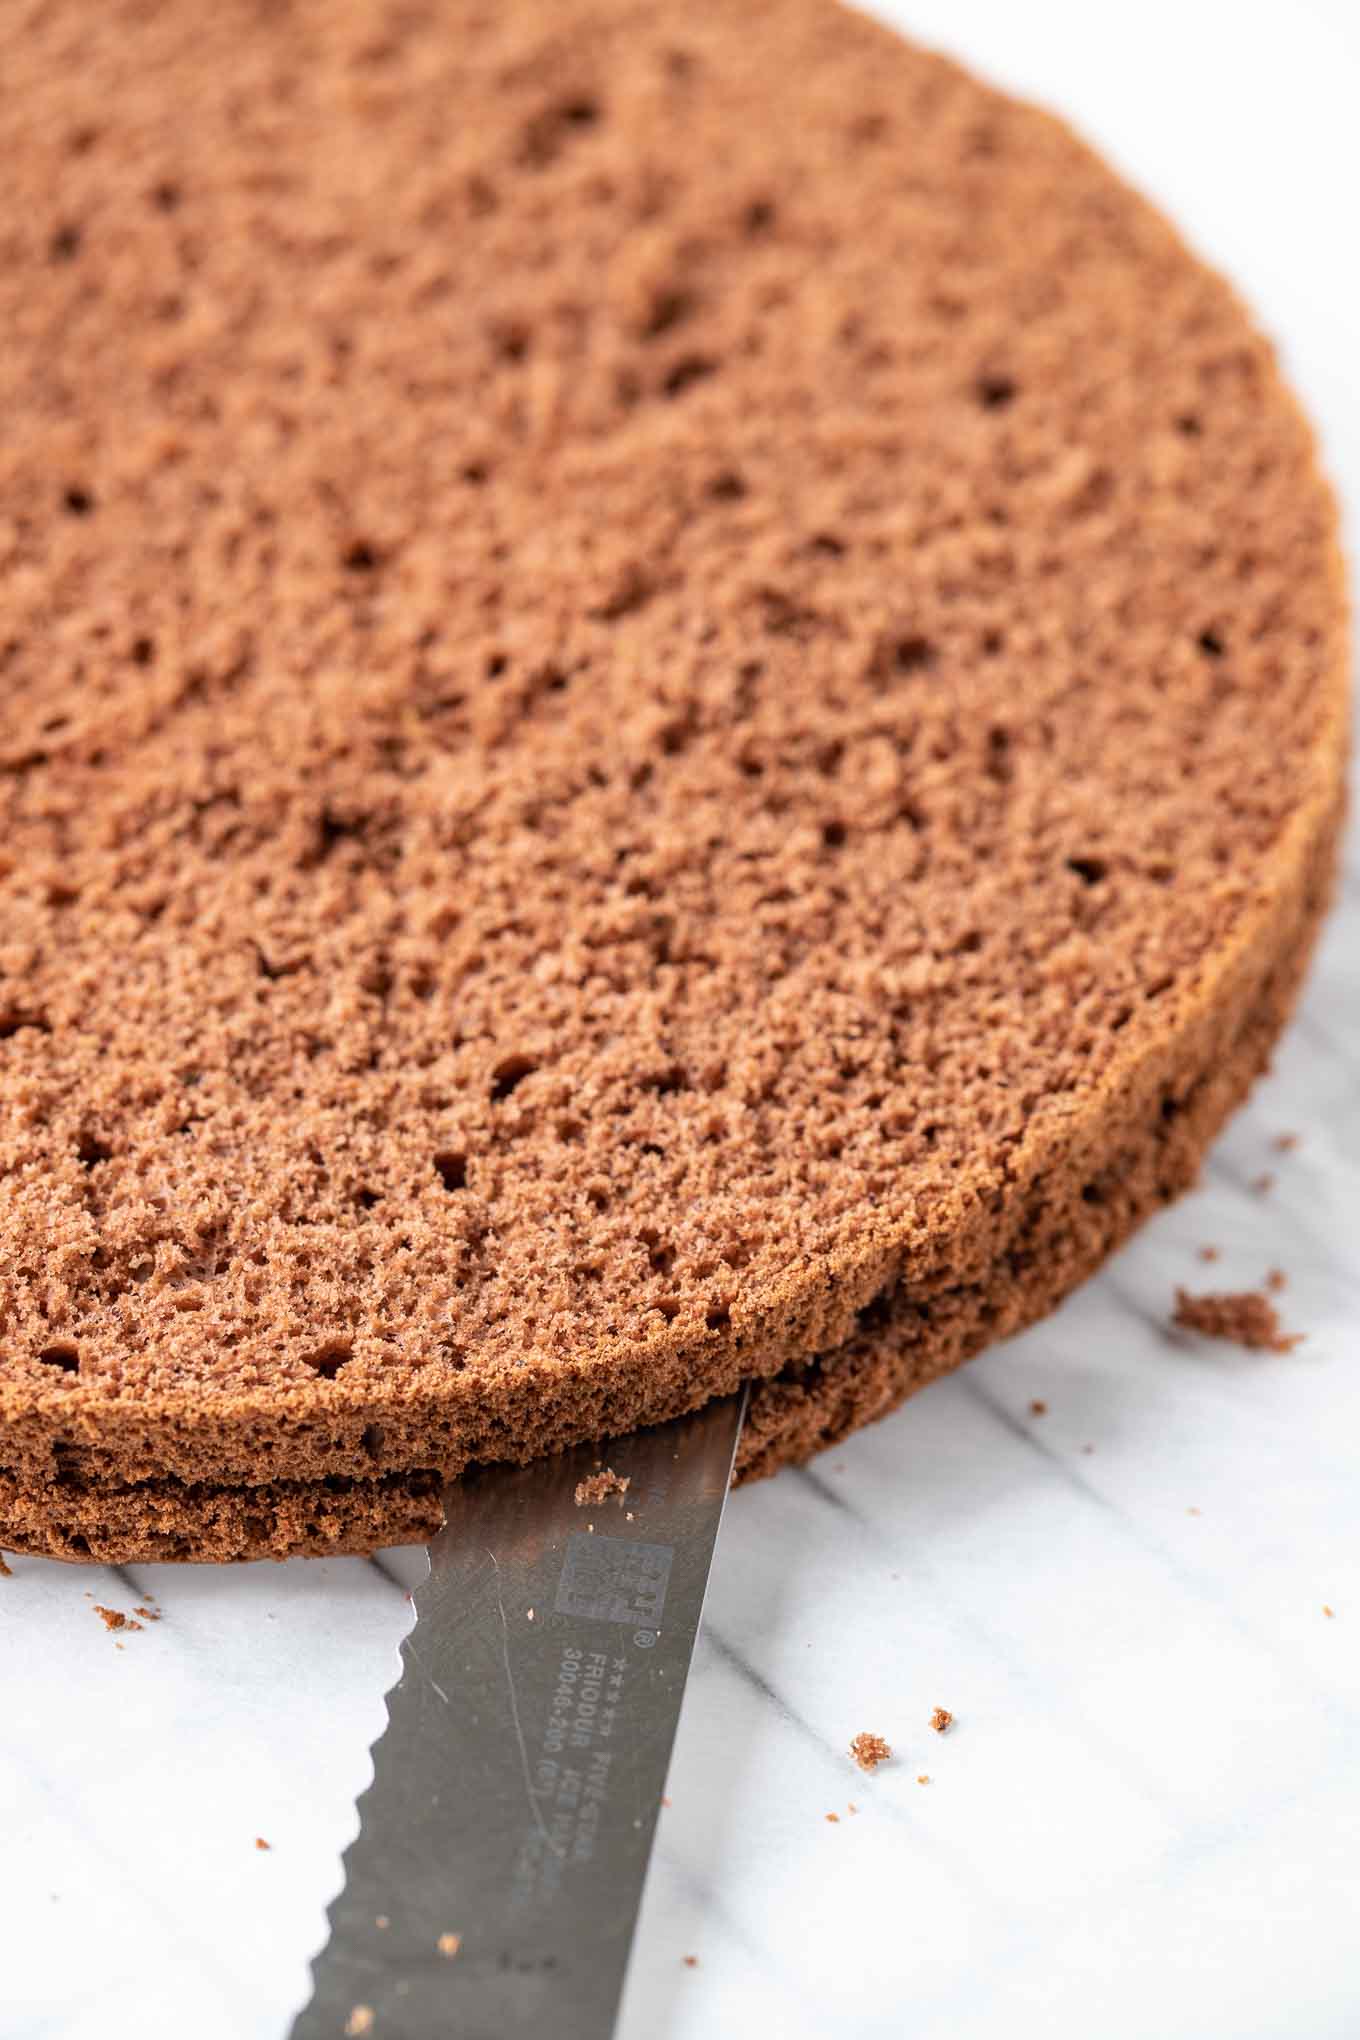
Step 5: Using a long serrated knife, cut the cake into three layers. Use the top layer (smooth top down) as the first layer of the cake. Put a cake ring (or the ring from the springform pan) around the cake and assemble the cake on a cake platter.
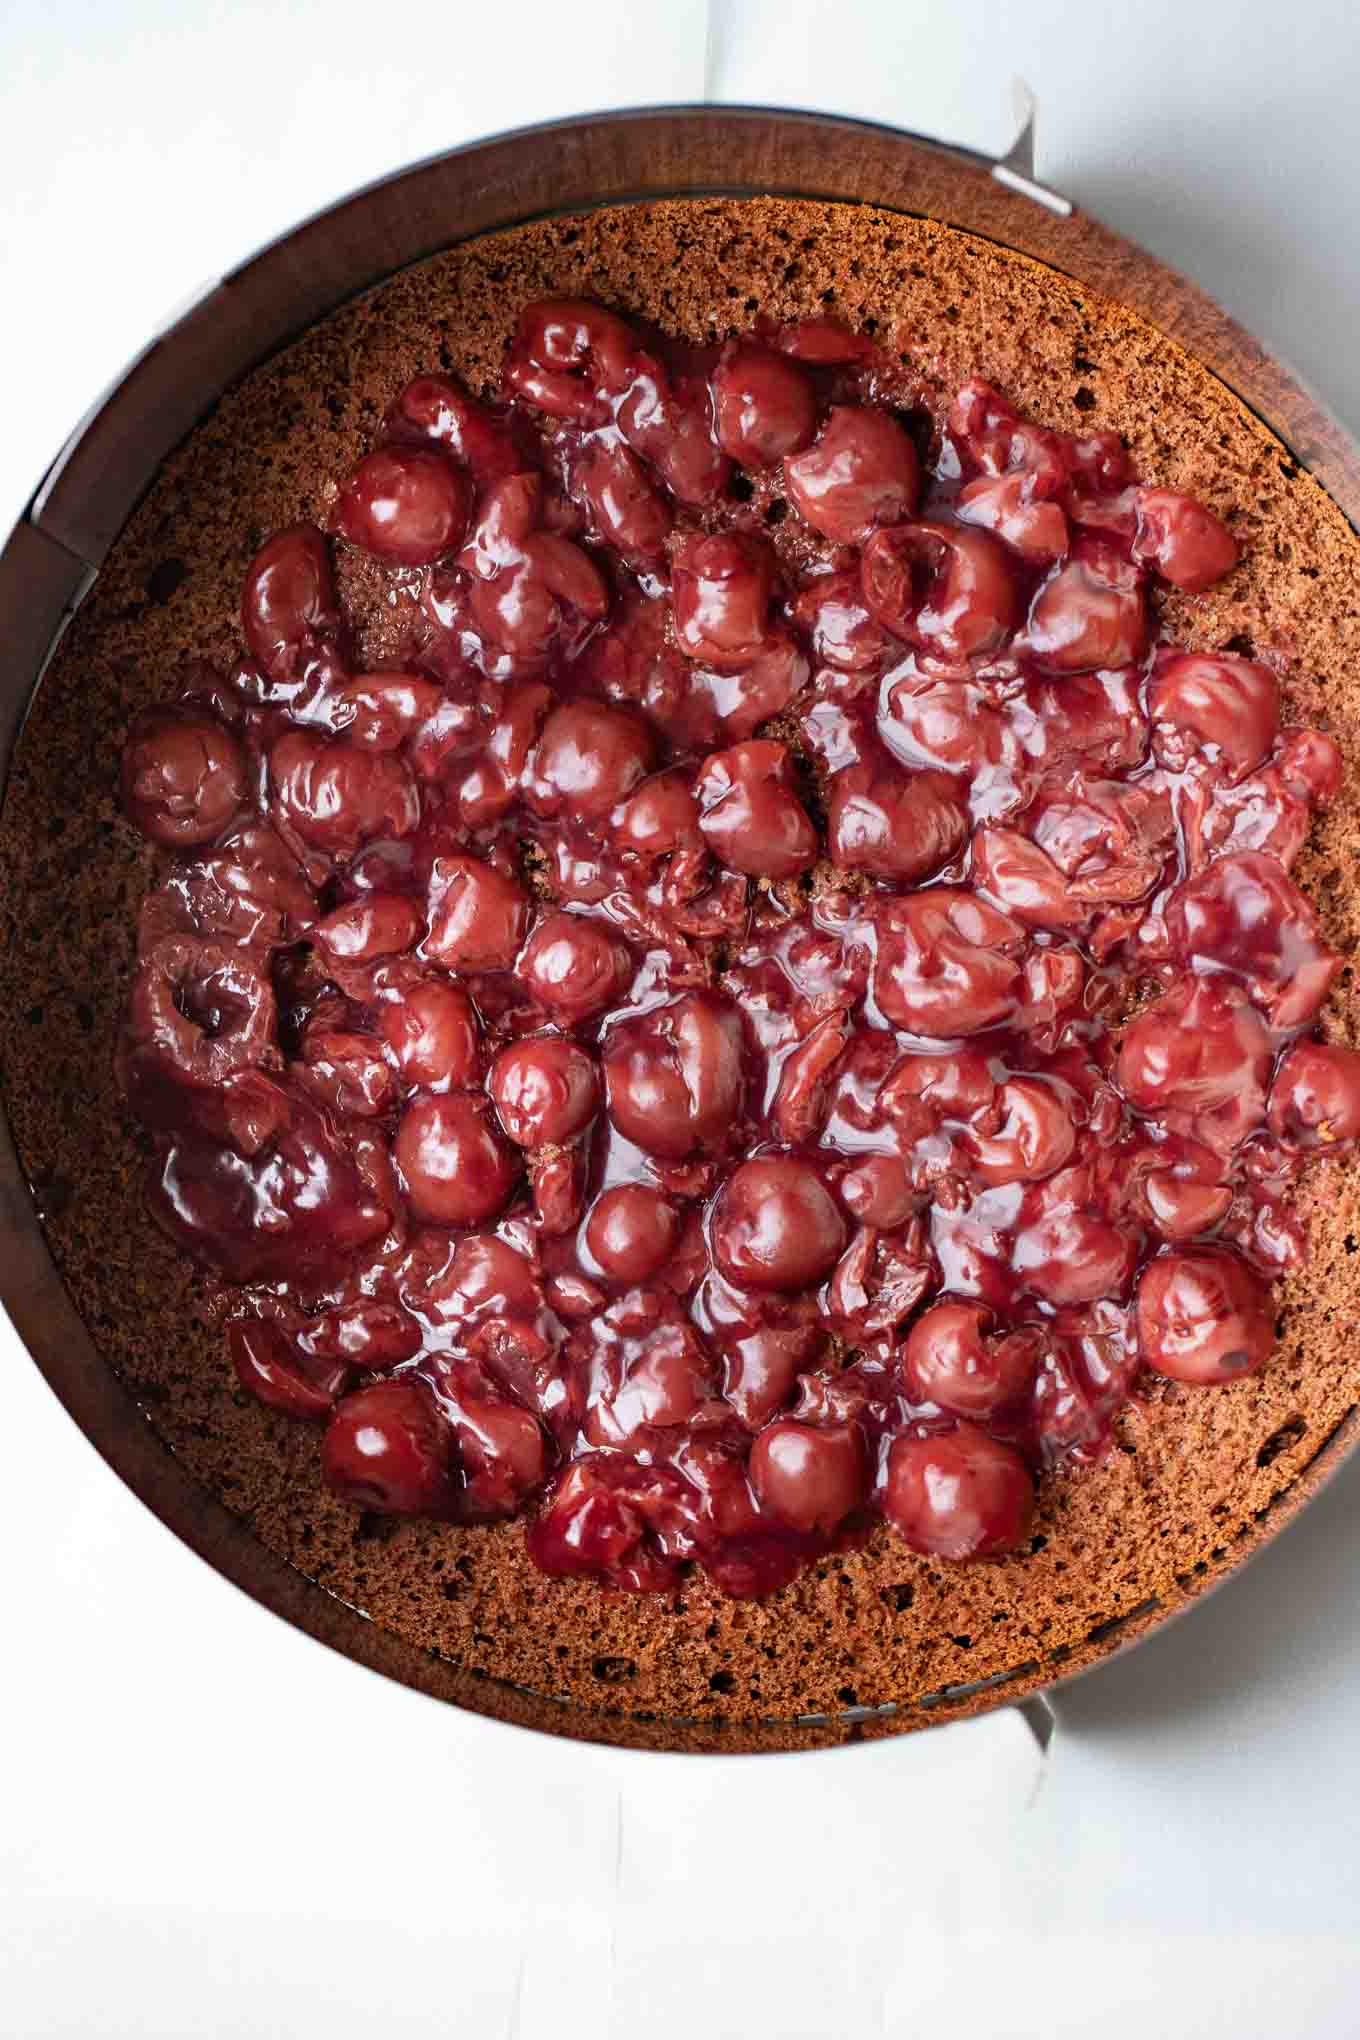
Step 6: Slide two pieces of parchment paper under the cake from opposite sides. Drizzle the cake layer with cherry juice or kirsch and top with half of the cherry filling, leaving a 1-inch border to the edge of the cake so the cherries don’t ooze out.
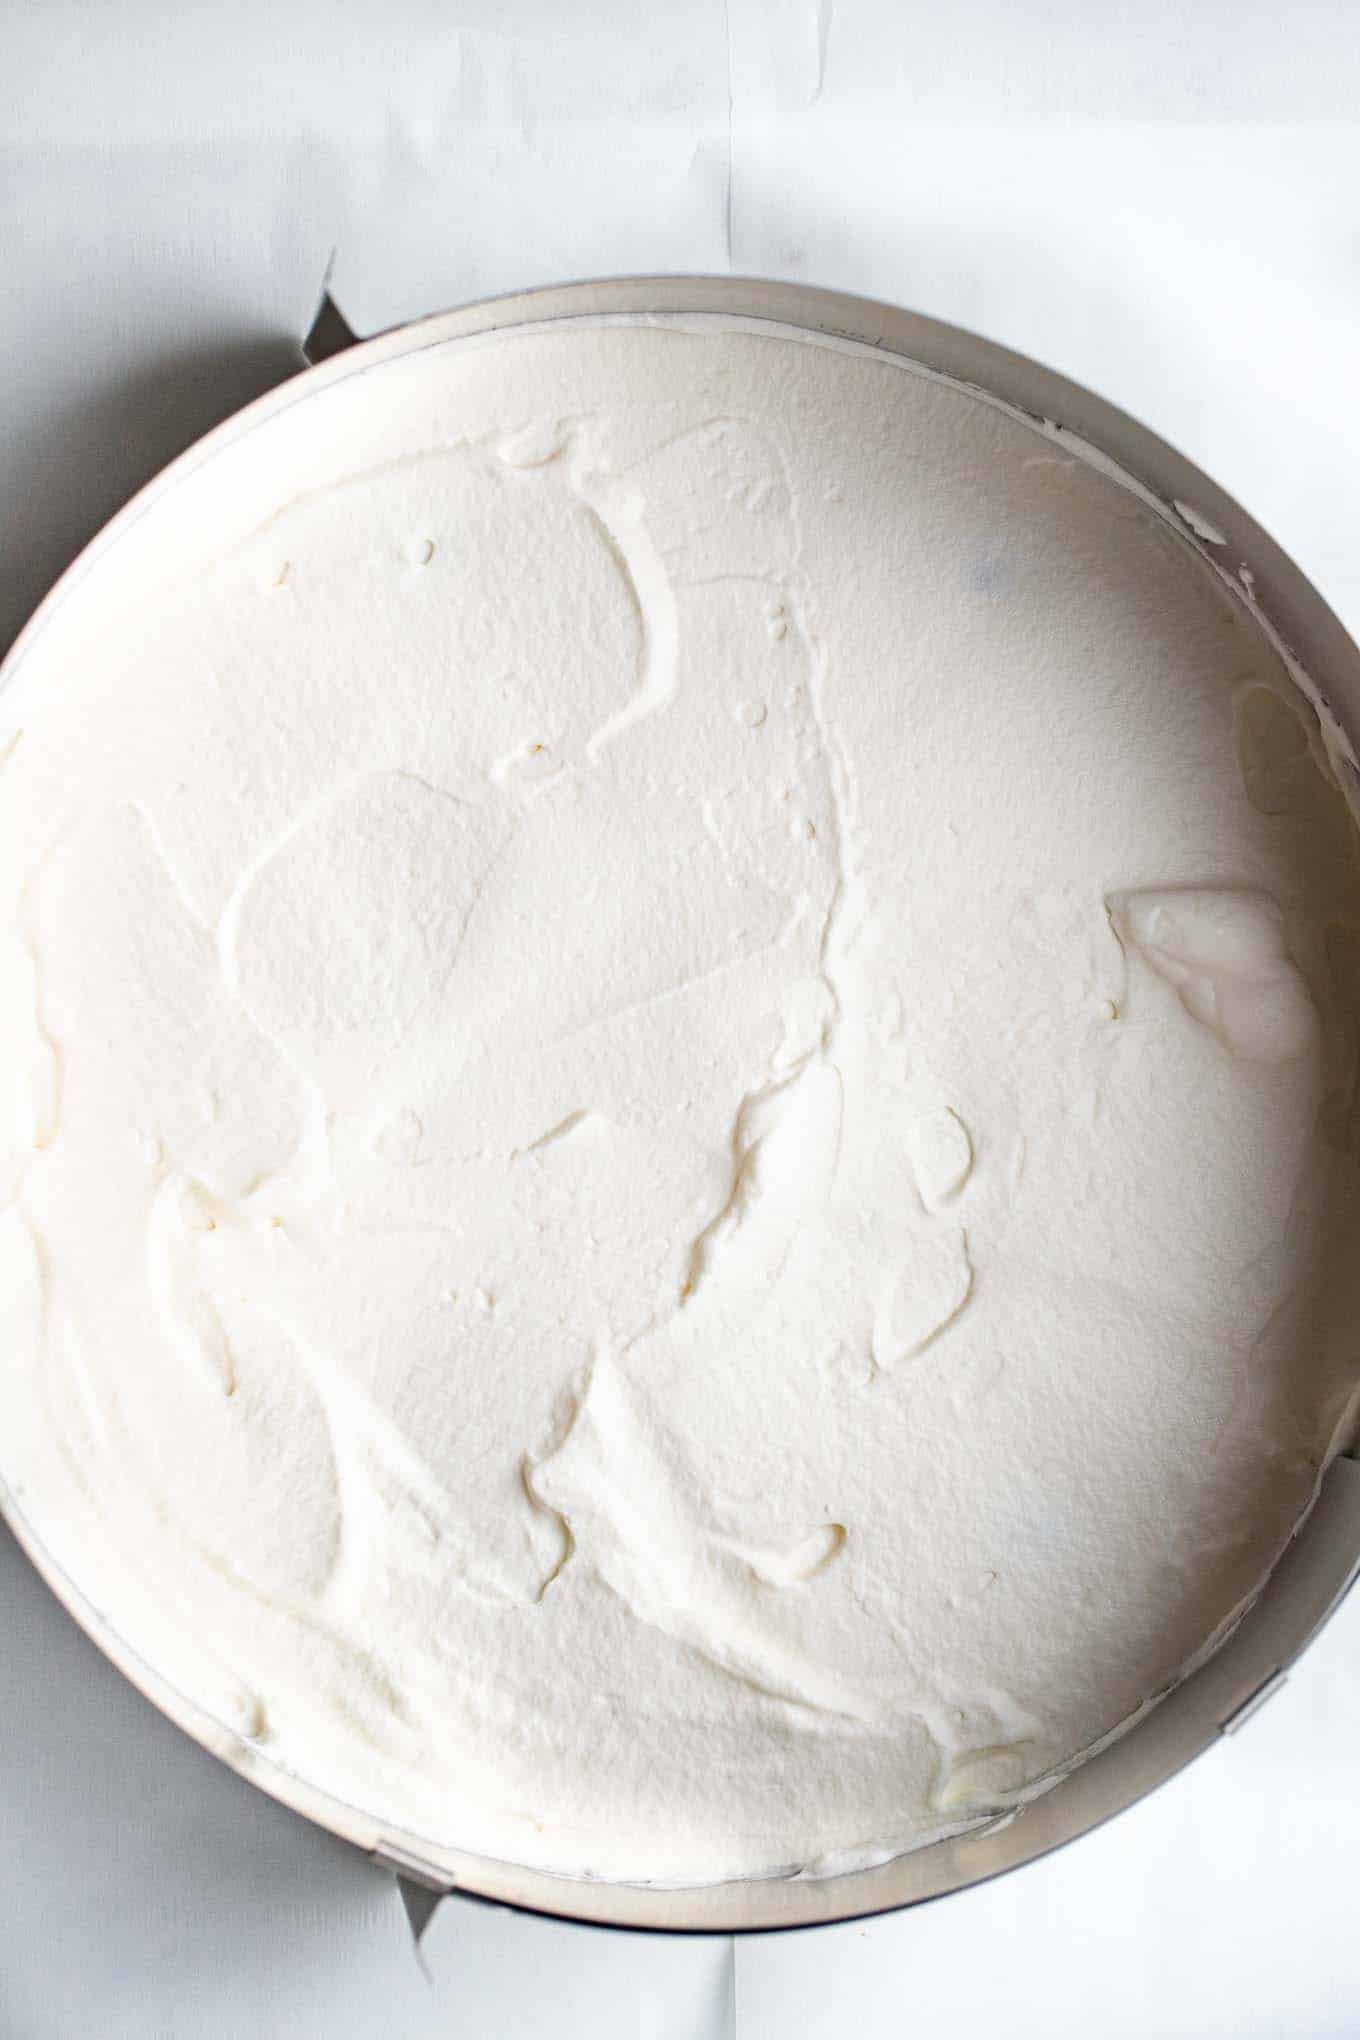
Step 7: Top with 1/4 of the whipped cream, then use an offset spatula to smooth out the cream.
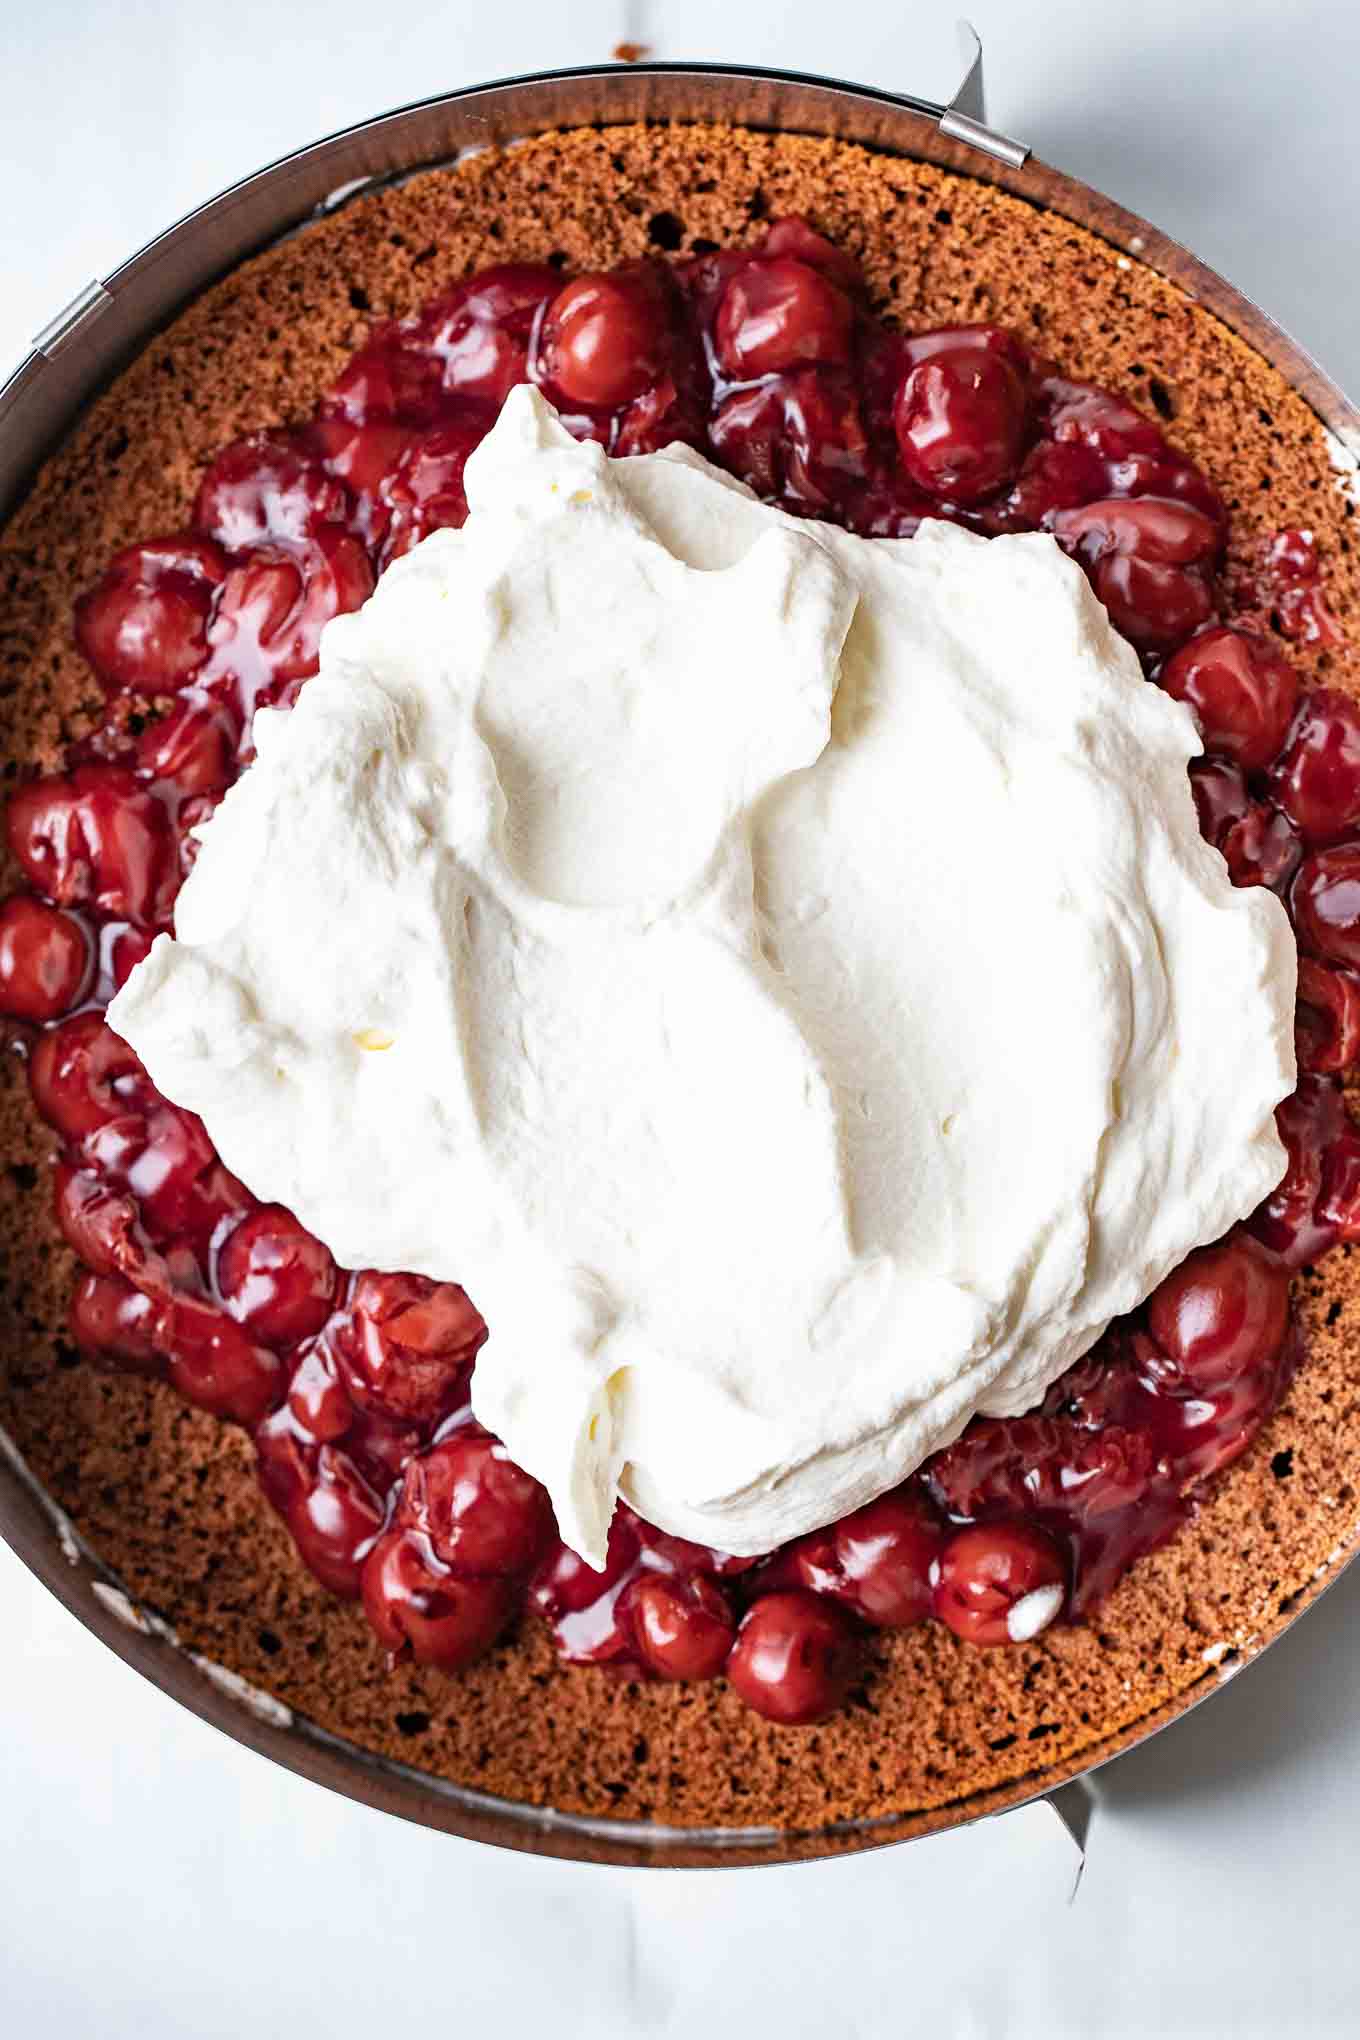
Step 8: Put the middle layer on top and repeat steps 6 and 7.
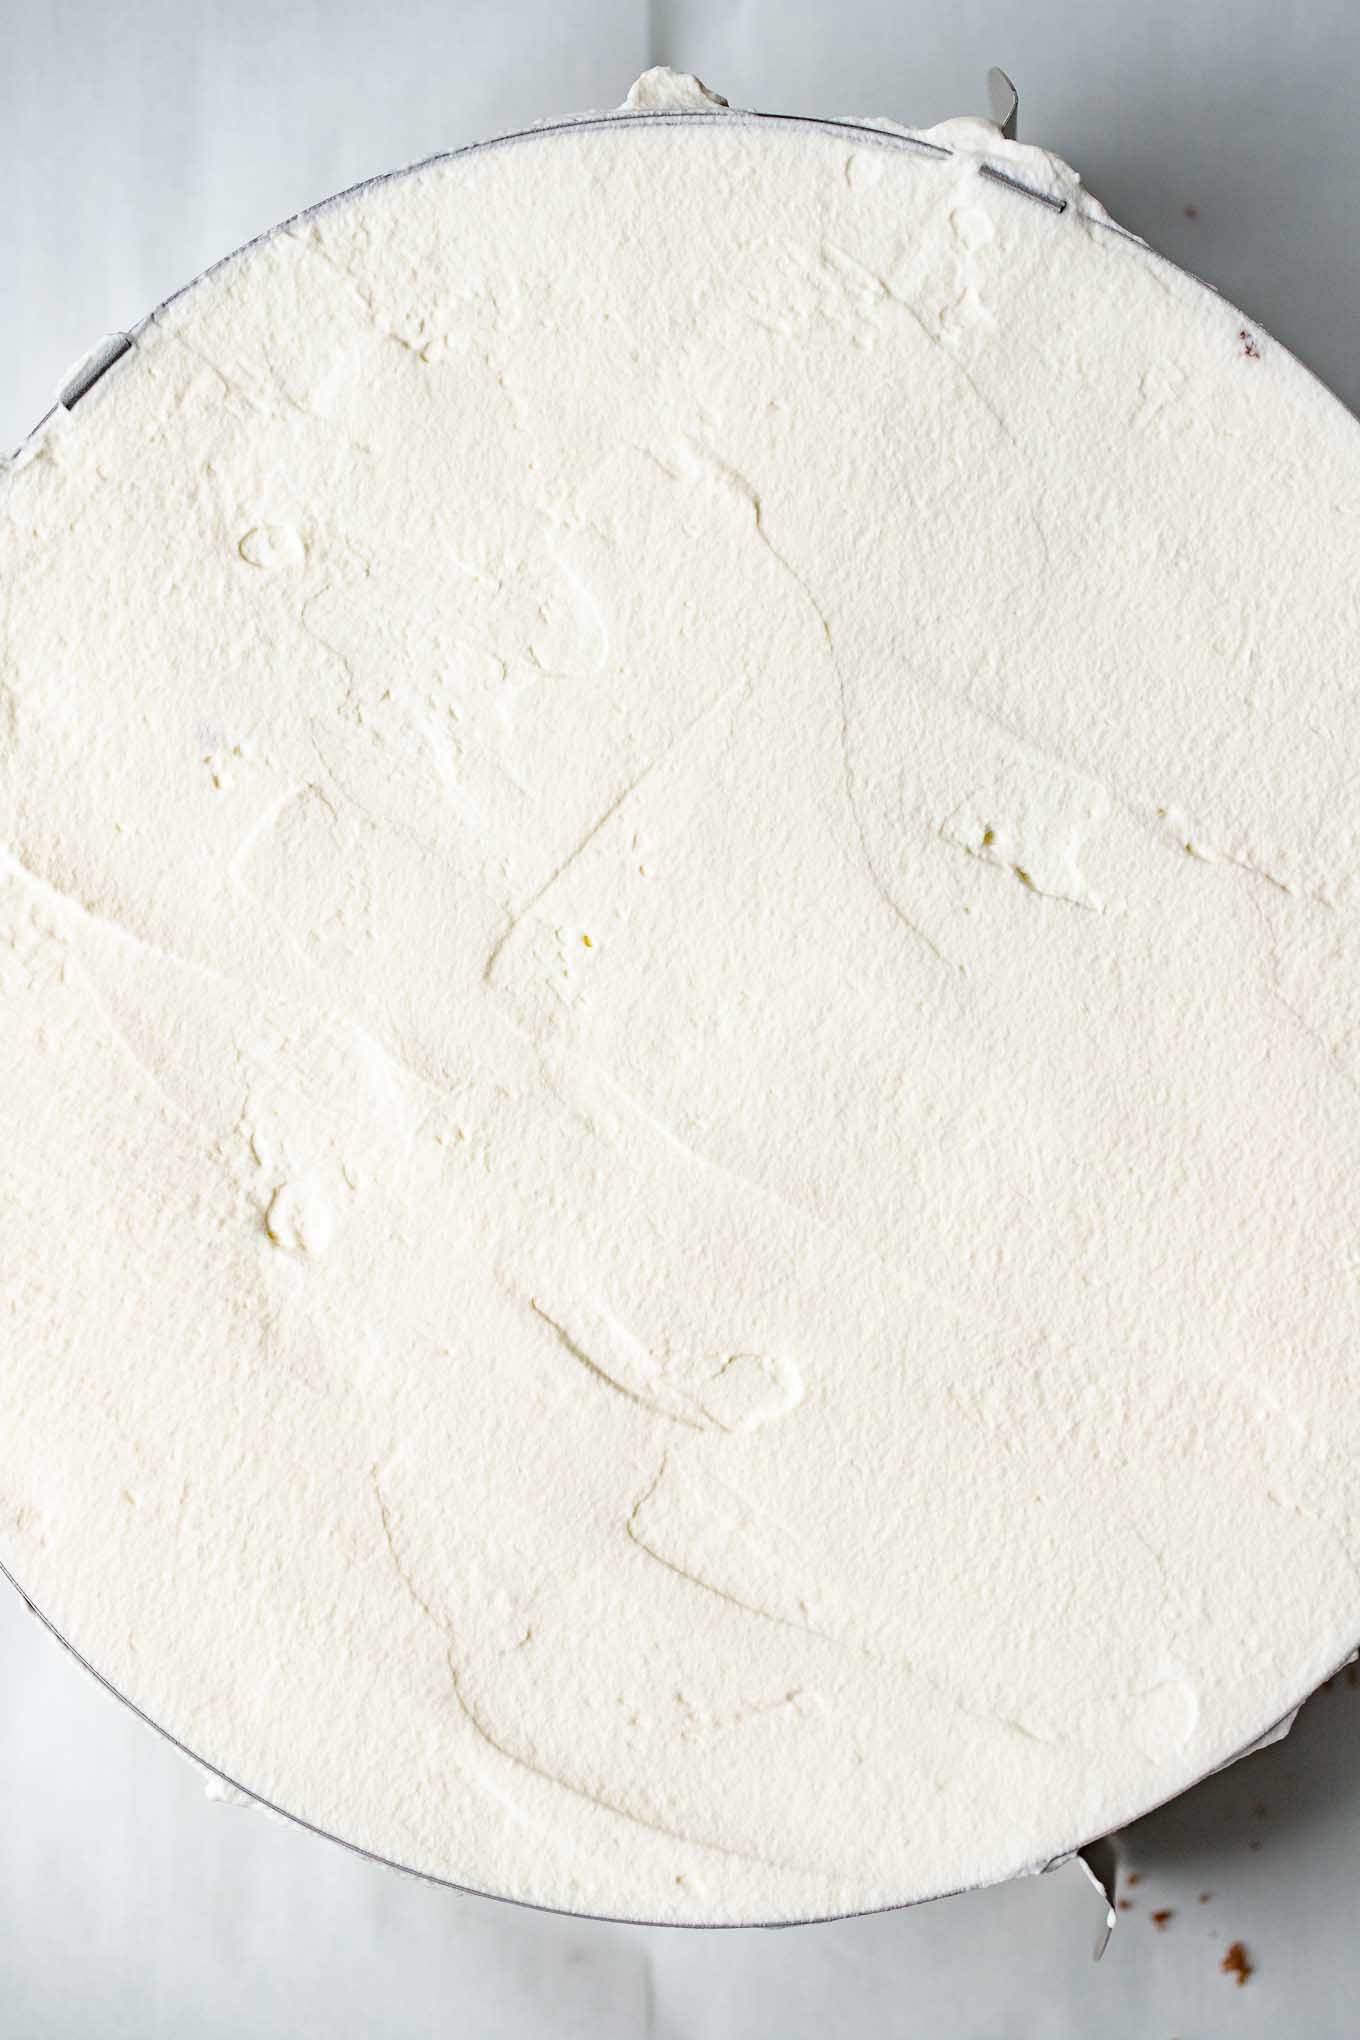
Step 9: Top with the cake layer that was the bottom while baking, smooth side up, and spread 1/3 of the remaining whipped cream on top. Then remove the springform ring.
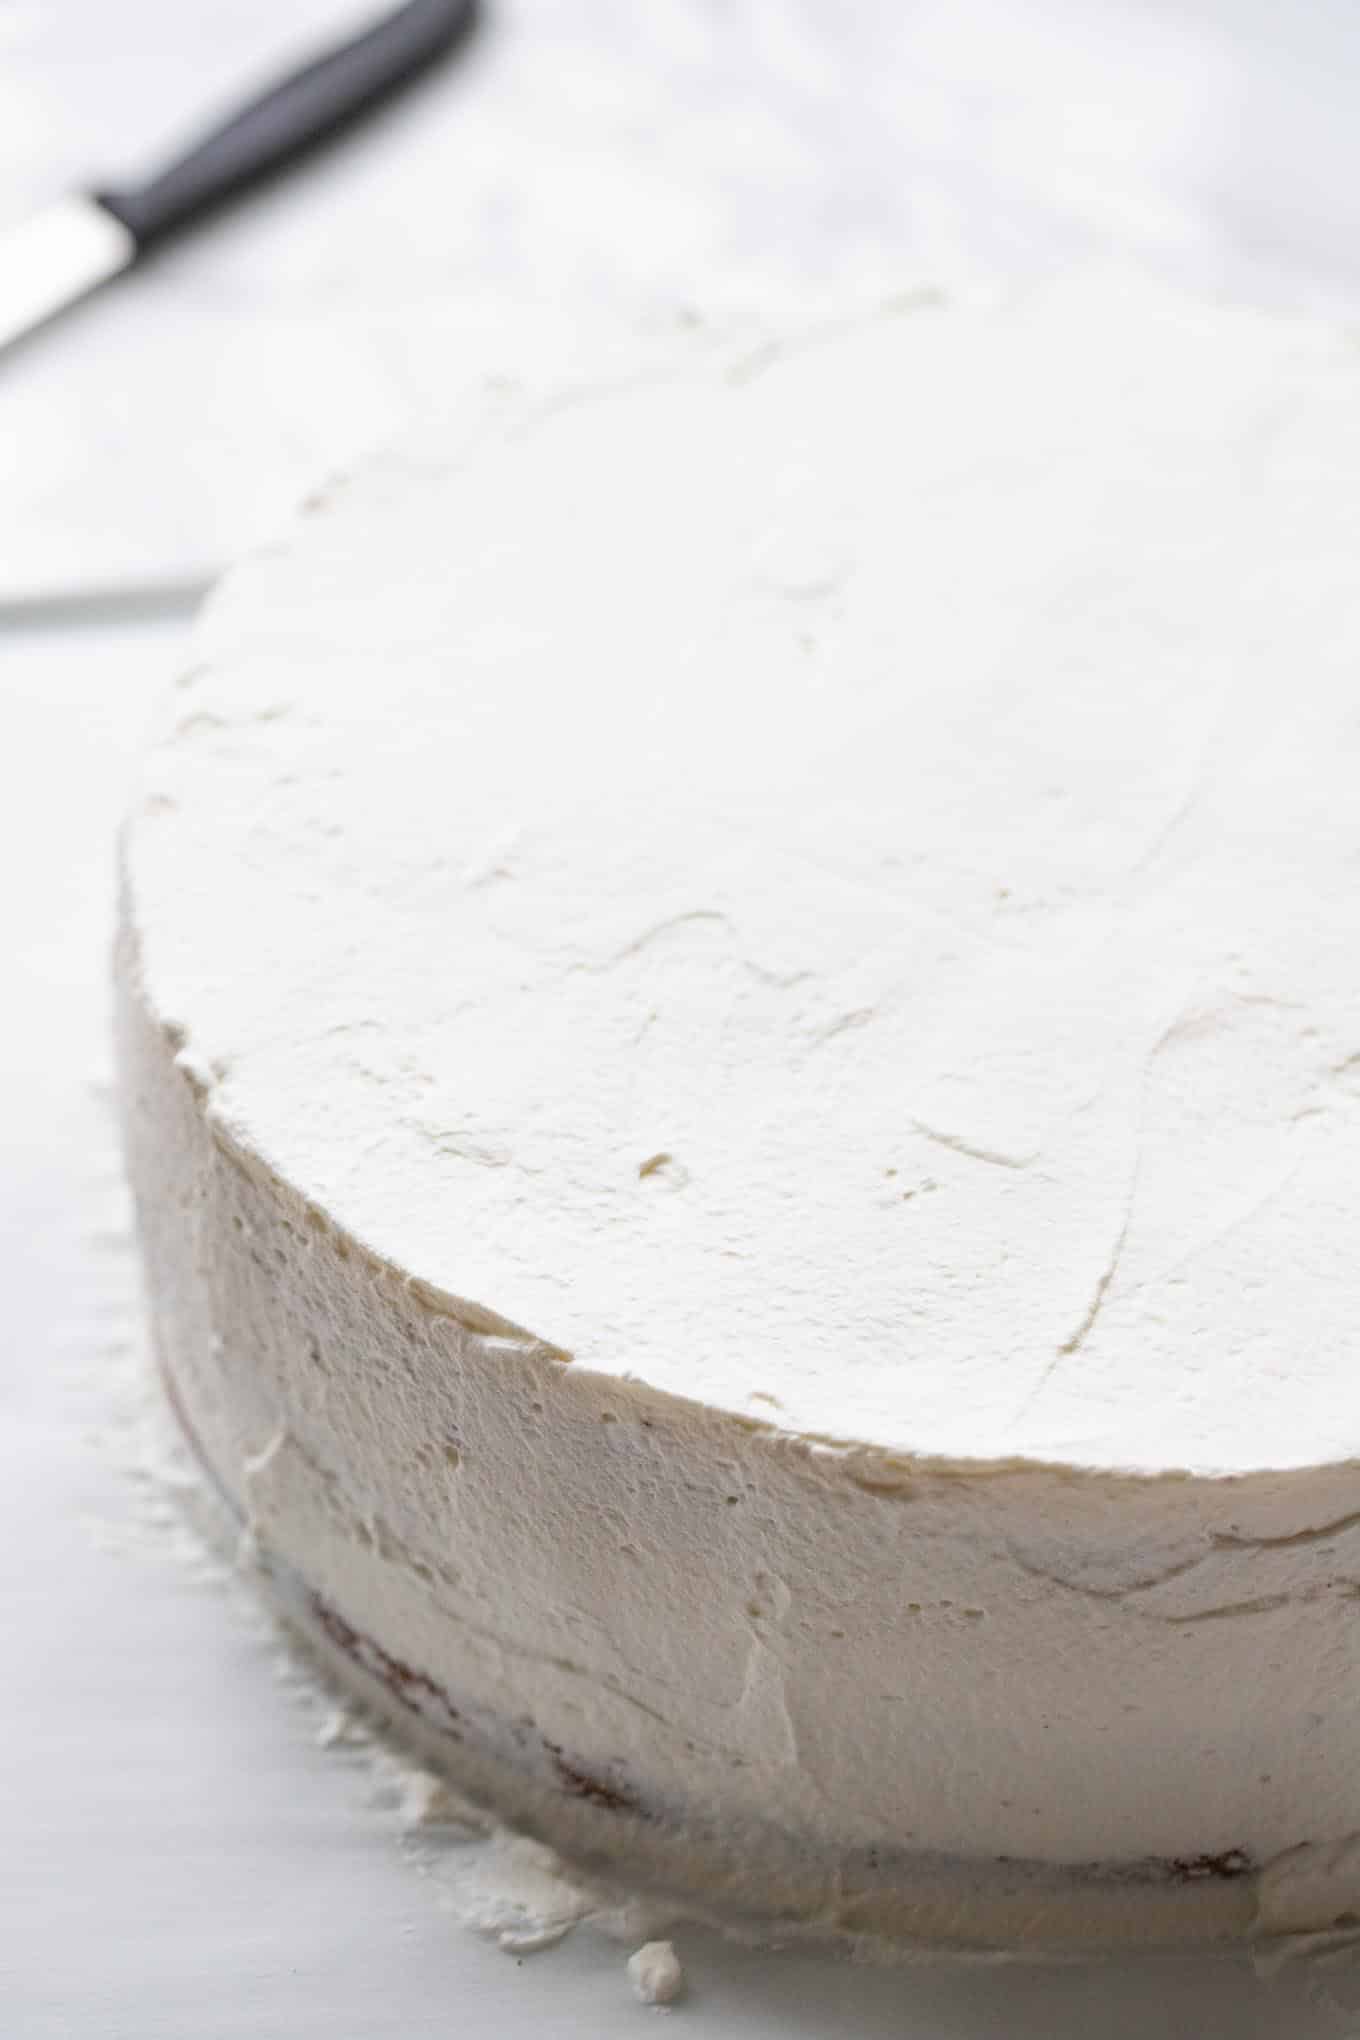
Step 10: Spread the remaining cream with a spatula around the sides of the cake until it is completely covered in whipped cream.
How to decorate Black Forest cake
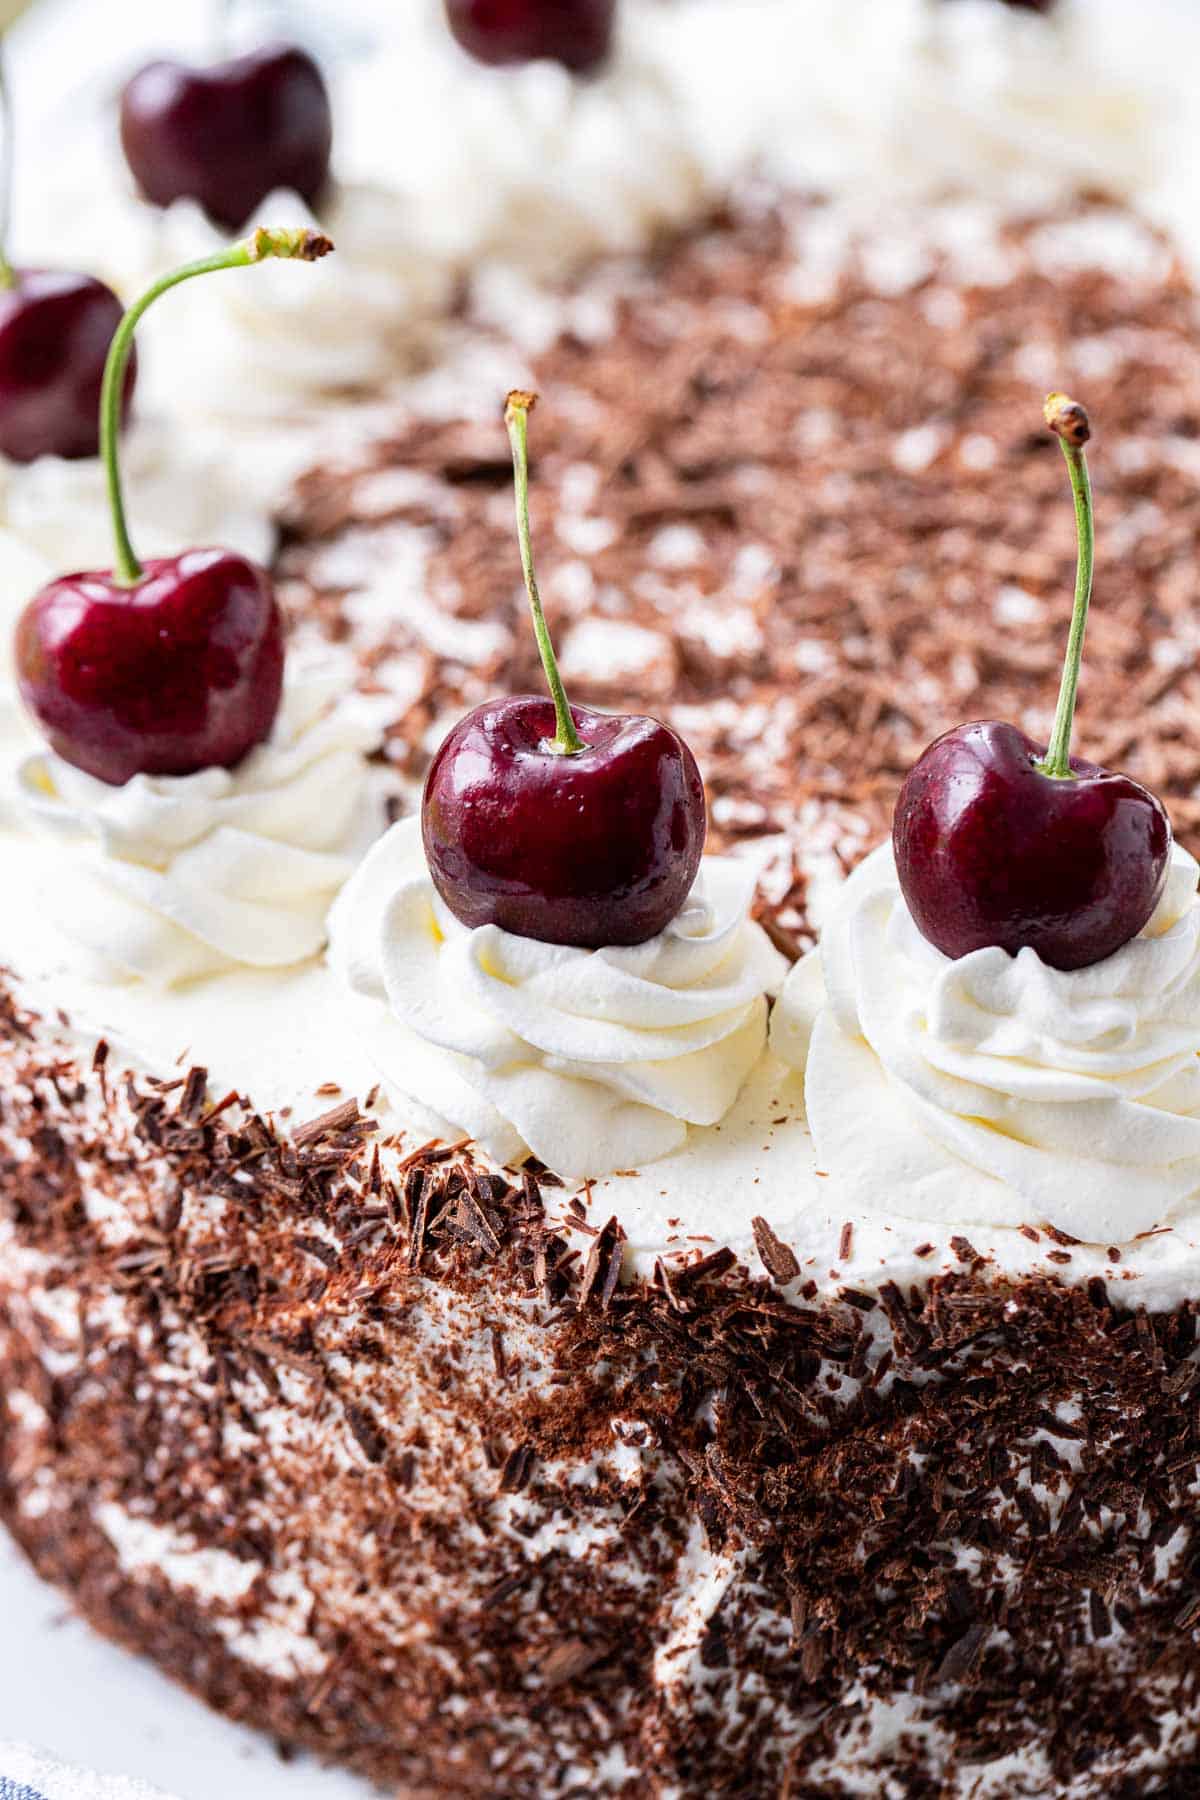
I like to decorate my Black Forest cake the traditional way. The sides are covered in dark chocolate shavings. These are easily made with a vegetable peeler. Use a spoon or your hands to lightly press chocolate shavings onto the sides.
Then pipe 16 swirls (1 for each piece) of whipped cream on top. Start with two swirls opposite each other and so on, for a symmetrical look. Garnish a circle in the middle of the cake with the remaining grated chocolate. Put a cherry on top of each cream swirl and refrigerate the cake until serving.
To decorate the cake, I use fresh cherries with stems and pits (they look great but are harder to eat) or more jarred sour cherries (the juice will bleed into the cream after a short time, so wait until just before serving). I’m not a fan of the sugary maraschino cherries you can find in the cake decoration aisle, but those could be used too.
Troubleshooting
Here are some reasons why your sponge cake might have turned out flat, collapsed after baking, or be dense and compact:
- Not enough air incorporated: Make sure to beat the egg yolk sugar mixture until thick and pale, and don’t overbeat the egg whites. You want to have as many tiny air bubbles as possible because they act as a leavening agent.
- Stirring instead of folding: The egg yolk mixture or the flour mixture was stirred into the egg whites and not gently folded with a spatula or spoon. Stirring the mixture makes the tiny air bubbles, which make the cake fluffy and act as a leavening agent, pop.
- Greasing the sides of the baking pan: Don’t line the sides of the pan with parchment paper or grease it! Only the bottom of the pan should be lined with parchment paper. The sponge will not rise during baking or collapse after taking it out of the oven if the sides of the pan are greased because the batter will slide down.
- Waiting too long to bake: The sponge cake needs to be baked immediately after folding in the flour mixture. Letting it sit out for too long makes the air bubbles pop.
- Oven temperature too low: The sponge won’t rise if the oven is too cold or it wasn’t properly preheated.
- The oven door was opened during baking: Opening the oven door too soon makes the sponge collapse. Wait until the baking time is nearly over before opening the oven door!
- Sponge was not completely baked: If the sponge collapses after taking it out of the oven, it might not have been baked long enough. Always test with a skewer for doneness!
Make Ahead
You can make the cake 1 day in advance and store it in the fridge. It tastes best on the first and second day; after that, it still tastes great, but the texture of the cream will start to change.
What I like to do is to bake the sponge cake a day or two in advance, let it cool completely, wrap it in plastic wrap, and store it at room temperature. It will be easier to cut into layers after a day. Then make the cherry filling and whipped cream the night before and assemble the cake.
Storage & Freezing
Store: Black Forest cake should always be refrigerated because of the whipped cream. It keeps for up to 3 days in the fridge.
Freeze: A Black Forest cake does NOT freeze well because of the whipped cream. But you could freeze the chocolate sponge cake itself tightly wrapped in plastic wrap.
Black Forest Cake
Ingredients
For the Cake:
- 5 large eggs, separated
- 1 cup granulated sugar, divided
- 1 teaspoon vanilla extract, or vanilla sugar
- 1 cup all-purpose flour
- 2 teaspoons baking powder
- ⅓ cup cornstarch
- ¼ cup unsweetened Dutch process cocoa powder
For the Cherry Filling:
- 24 oz jar of morello cherries, or sour cherries
- 5 tablespoons cornstarch
- 2 tablespoons sugar
- ⅓ cup kirsch, divided or more cherry juice
For the Whipped Cream:
- 4 cups heavy cream
- ½ cup powdered sugar
For Garnish:
- 16 fresh cherries, or maraschino cherries
- 4 oz bittersweet Baking chocolate, coarsely grated
Instructions
- Preheat the oven to 350℉ (180℃) and line the bottom of an 8-inch springform pan with parchment paper. Do NOT grease the sides of the pan.
- In the bowl of a stand mixer fitted with the whisk attachment, beat egg whites with ½ cup sugar on high speed until soft peaks form, about 8 minutes. Transfer to a large bowl and set aside.5 large eggs, 1 cup granulated sugar
- In the bowl of the stand mixer fitted with the paddle attachment, combine egg yolks, the remaining ½ cup of sugar, and vanilla extract. Beat at medium speed until thick, creamy, and pale, about 3-5 minutes. Carefully fold the egg yolk mixture into the egg white mixture.1 teaspoon vanilla extract
- Combine all-purpose flour, baking powder, cornstarch, and cocoa powder. Working in batches, sieve the flour mixture over the egg mixture and fold in carefully until combined.1 cup all-purpose flour, 2 teaspoons baking powder, ⅓ cup cornstarch, ¼ cup unsweetened Dutch process cocoa powder
- Transfer to the springform pan and smooth the top with a spatula. Bake for 25 minutes, or until a skewer inserted in the center comes out clean with only a few crumbs attached.
- Remove the ring of the springform pan and carefully invert the cake onto a parchment paper-lined cooling rack, peel off the parchment paper from the bottom, and let it cool completely.
- When the cake has cooled completely, use a long serrated knife to cut the cake into three even layers.
- To make the cherry filling, we need the liquid from the jar of cherries. Set aside the cherries. Remove 4 Tbsp from the liquid and combine it in a small bowl with the cornstarch and sugar. Bring the remaining cherry juice in a small saucepan to a simmer, then remove it from the heat and whisk in the cornstarch mixture. Bring back to a simmer while whisking constantly until it starts to thicken. Stir in the cherries, simmer for 1-2 minutes until thick, then remove from heat. Add half of the kirsch to the cherries if you're using it. Let cool for 5-10 minutes.24 oz jar of morello cherries, 5 tablespoons cornstarch, 2 tablespoons sugar, ⅓ cup kirsch
- To make the whipped cream, beat 4 cups of heavy cream (depending on your mixer, you might have to whip the cream in two batches) in the bowl of a stand mixer fitted with the whisk attachment at high speed until soft peaks form. Then add powdered sugar and beat until stiff peaks form, about 2-3 minutes longer. The whipped cream should be very stiff and spreadable, but be careful not to overwhip it. Refrigerate whipped cream until ready to assemble the cake. Set aside about ¾ cup of whipped cream for decorating the cake.4 cups heavy cream, ½ cup powdered sugar
Assembling the cake
- Use the top layer of the cake as the bottom. On a serving platter, put a cake ring around the cake and two pieces of parchment paper below the cake (see notes above). Drizzle 1.5 tablespoons of kirsch (or cherry juice) over the cake layer, then top with half of the cherry mixture, leaving a 1-inch border. Top with about ¼ of the whipped cream, smoothing it out with a spatula.
- Top with the middle cake layer and repeat drizzling with liquid, topping with cherries and cream. Put the third cake layer on top (smooth side up). Spread ⅓ of the remaining whipped cream on top, then remove the cake ring and spread the remaining cream with a spatula around the sides of the cake until completely covered in whipped cream.
- Decorate the sides of the cake with grated chocolate. Pipe 16 swirls of whipped cream on top using the set-aside whipped cream, and garnish the middle of the cake with the remaining chocolate. Put a fresh cherry on each cream swirl and refrigerate the cake until serving.16 fresh cherries, 4 oz bittersweet Baking chocolate



I am not confident to cut the layers of the cake. Can I bake it in three 8 inch pans and how will it affect the baking time?
Sorry, Dimple, I don’t recommend doing that, the cake layers would be much denser.
Everything tastes great!!
I kind of failed the last few parts, so my layers are a bit off and the frosting on top is wonky. But it looks derpy and makes me happy.
This tastes just like the one my mom made back when I was a kid.
10/10 recipe.
Hello Julia, this recipe is very similar to mine, and I’m coming from the Black Forest. Except that I use a 28 springform pan and have to use more ingredients accordingly (750g -1kg heavy cream, etc.)
Therefore, the bottom layer is made of a shortcrust pastry to give the cake more stability.
Many confectioners in the Black Forest also use this method.
Here are my ingredients
Für 1 Bisquitboden: *
7 Eier
190g Zucker
110g Mehl
70g Stärkemehl
1 geh TL Backpulver
30g Kakao
Mürbteigboden:
30 g Zucker
100 g Butter kalt
200g Mehl
Bei Bedarf(1 Eigelb)
Kirschfüllung:
2 Gläser Sauerkirschen
1 gehäufter EL Stärkemehl
100 g Kirschwasser
1/2 EL Puderzucker
350g Kirschsaft aufgefangen
Zum Bestreichen der Mürbteigplatte:
50g Kirschmarmelade
Belag:
800ml Sahne für 10 Minuten ins Gefrierfach
17g Agar Agar oder 11 Blatt Gelatine
200ml Wasser
Dekoration:
100 g Schokoraspel zartbitter
16 Belegkirschen
Etwas Sahne
Many greetings from Germany
I am in the process of making the cake. Cake is done, whipped cream is done and cherry mixture is done. I will assemble it in the morning and add the final cherries on top just prior to servicing. I did notice the cherry filling does not appear thick enough. Would adding more sugar help?
The cherry filling usually thickens more as it cools down. More sugar won’t make it thicker, but you can let it cook a bit longer until it thickens more or add a bit more cornstarch (mixed into water).
My daughter and I toured Germany’s Black Forest in December 2021. After the tour, we were taking to a demonstration on making the traditional Black Forest Chery Cake. The young man demonstrating the procedure was very entertaining. He made a 10 in 3 layer cake. He did use the Kirsch but it was extremely pleasant in the cake and whipped cream icing. You could hardly taste it. The cake slices were huge and a welcomed treat. We were given receipe cards for the cake. What a wonderful tour and satisfying snack. We only had to purchase our tea or coffee.
I’m planning on making this next weekend for my moms birthday. Do you have any recommendations on using this recipe for cake pops?
Hi Julia. I am making this cake right now and I see there is a discrepancy in quantities of cherry juice. IN the Cherry Filling ingredients you indicate 1.5 cups juisce and 5 TB cornstarch. In the method, you are talking about 1 cup of cherry juisce. Please clarify.
– Saskatoon Schwab
That’s why it says “divided” in the ingredients. You use 1 cup for the cherry filling and the remaining juice for drizzling on the cake layers in step 10.
Cake looks amazing. I am planning to make it for Easter this weekend. I would like to clarify that I only need 1 cup of cherry juice if I am using kirsch to drizzle on the cake layers? Thanks!
I made this cake recently and I found that about 1.5 cups is a good amount of liquid for the filling. So I just adjusted the recipe to clarify this. Hope this helps!
Prefect – the cake is in the oven now. Wish me luck!
I don’t have a stand mixer can I use a hand mixer instead of stand mixer with whisk attachment?
Yes, you can use a hand mixer.
Hi;
I only have a 9 inch spring form pan. Wondering if I could use this and what alterations would I need to make. Would the cut layers end up being too thin?
Thanks
I’m not sure! The layers will be thinner so it will be more difficult to slice.
What a wonderful recipe! Thank you for sharing it.
I am making it for my wife’s birthday.
I have a question about the Cherry juice: your ingredients call for 1.5 cups of the reserved cherry juice/syrup from the jar. Your directions says to use one cup (Including the 4tbsp for the cornstarch slurry) for the filling. What do I do with the remaining half cup of cherry syrup?
Hi Ken, The remaining juice is used for drizzling onto the cake layers. You can either use cherry juice, kirsch, or a mixture of both. I will edit the recipe to make that clearer. Hope this helps!