This post may contain affiliate links.Please read our disclosure policy.
This buttery flaky pie crust made with butter and shortening turns out perfect every time and is so simple to make.
This pie crust is the perfect starting point for all your favorite pies (and quiches!). From single-crust pies to double-crust pies, this recipe makes the BEST pie crust for Apple Crumble Pie, Pumpkin Pie, Coconut Cream Pie, or any other pie you love.
Many people are afraid of making pie crusts from scratch. But it’s a lot easier than you think, and you’ll only need a few simple ingredients and less than 10 minutes. I’ll share all my tips and tricks, let me help you make the perfect pie crust every time!
Why this recipe works
- Using Shortening and Butter – The pie crust keeps its shape and is easy to shape but has a buttery taste and is super flaky
- Cold butter and ice water – Keeps the butter and shortening from dispersing throughout the dough, the buttery pockets make the crust flaky
- Resting dough in the fridge after mixing and rolling – This increases flakiness because it allows the gluten to relax, which makes the crust more tender and firms up fat which makes the crust flakier
Ingredient Notes
Here is an overview of the ingredients you’ll need for this recipe. Scroll down to the recipe card at the bottom for quantities.
- Flour – All-purpose flour works best for this recipe. Make sure to measure it correctly using the spoon and level method, or use a scale.
- Shortening – Makes the crust easier to handle and shape, without taking away from the buttery taste. Keep the shorting in the refrigerator before using it.
- Butter – I recommend using unsalted butter, this way you can control the amount of salt in the crust. The butter needs to be cut into small cubes and frozen for 15 minutes for the best result.
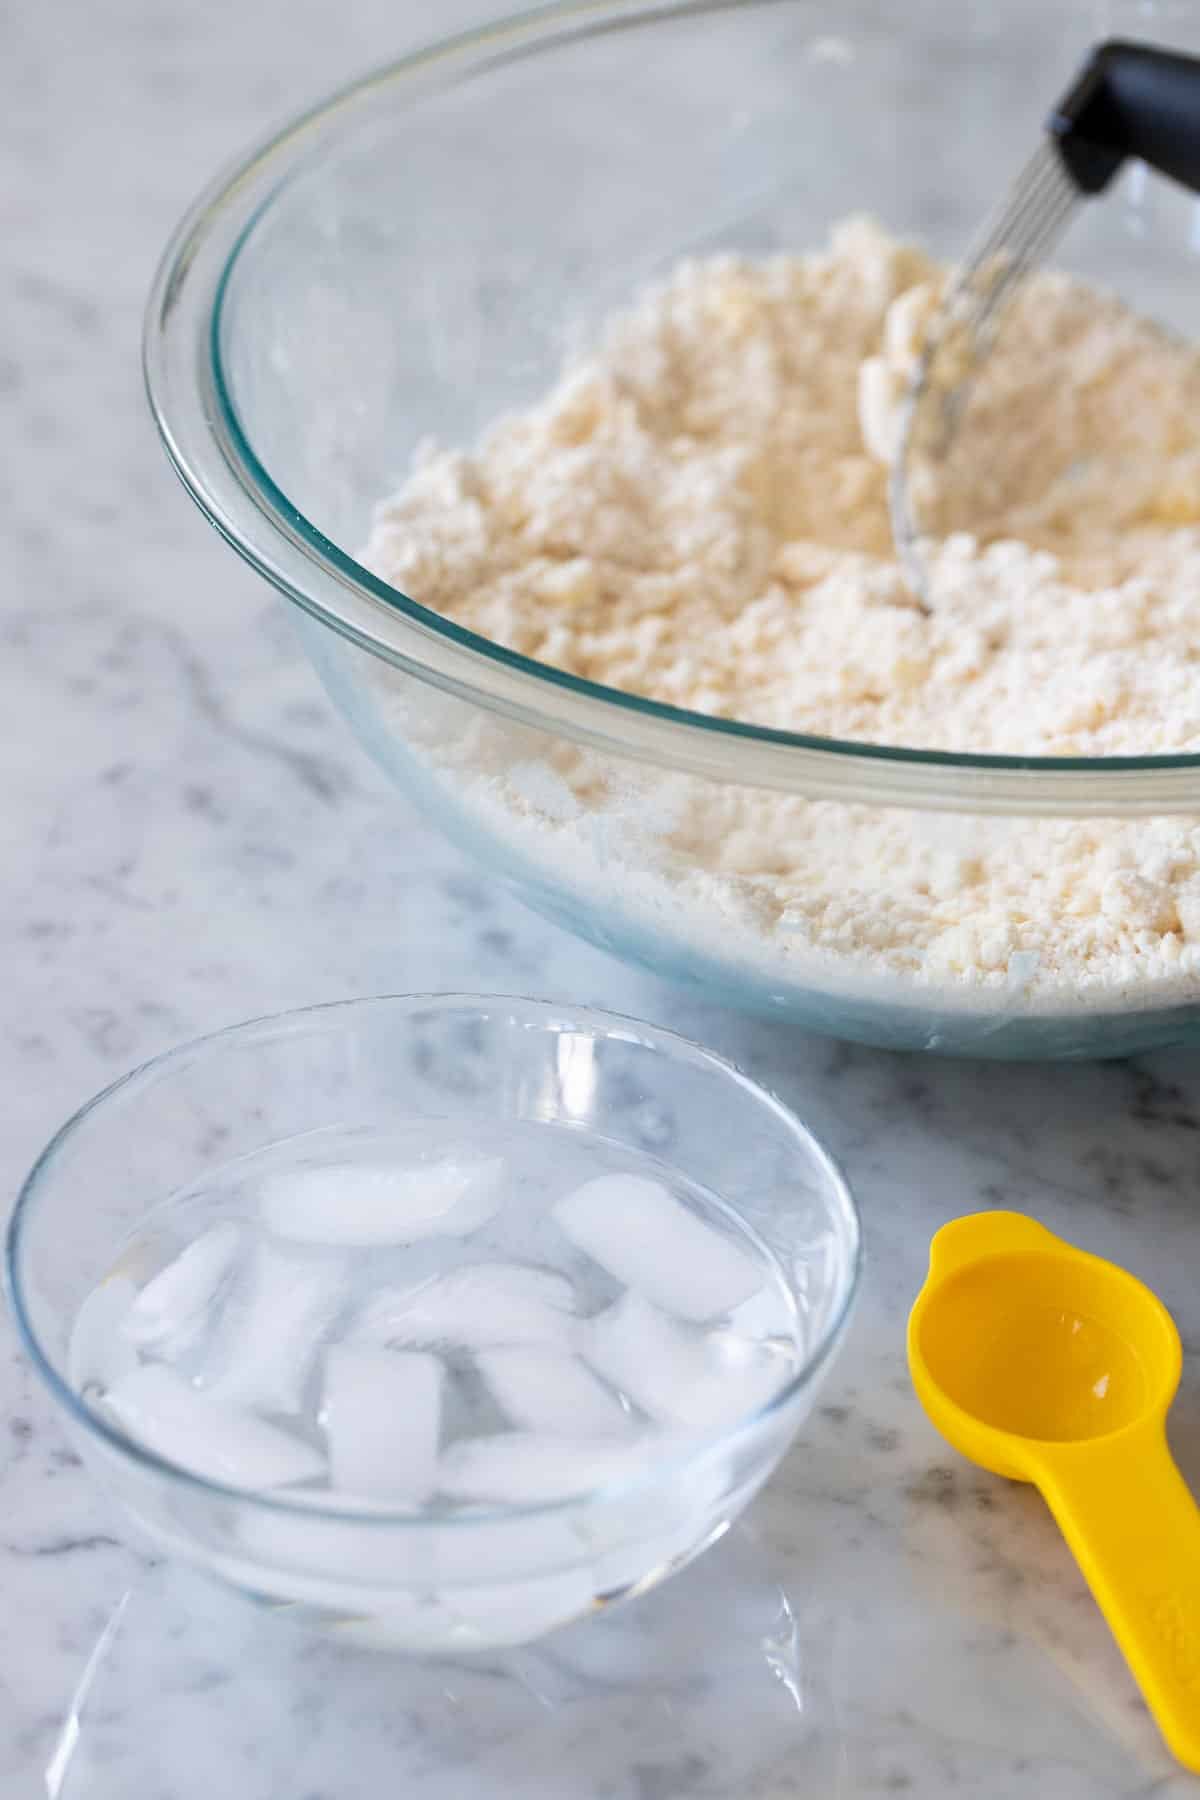
- Ice Water – To make ice water, you simply add water to a glass filled with ice cubes and let sit for a minute. Then measure out the water the recipe calls for with a measuring cup but leave the ice cubes behind.
How to make this recipe
Detailed measurements and instructions can be found at the bottom of the page on the printable recipe card.
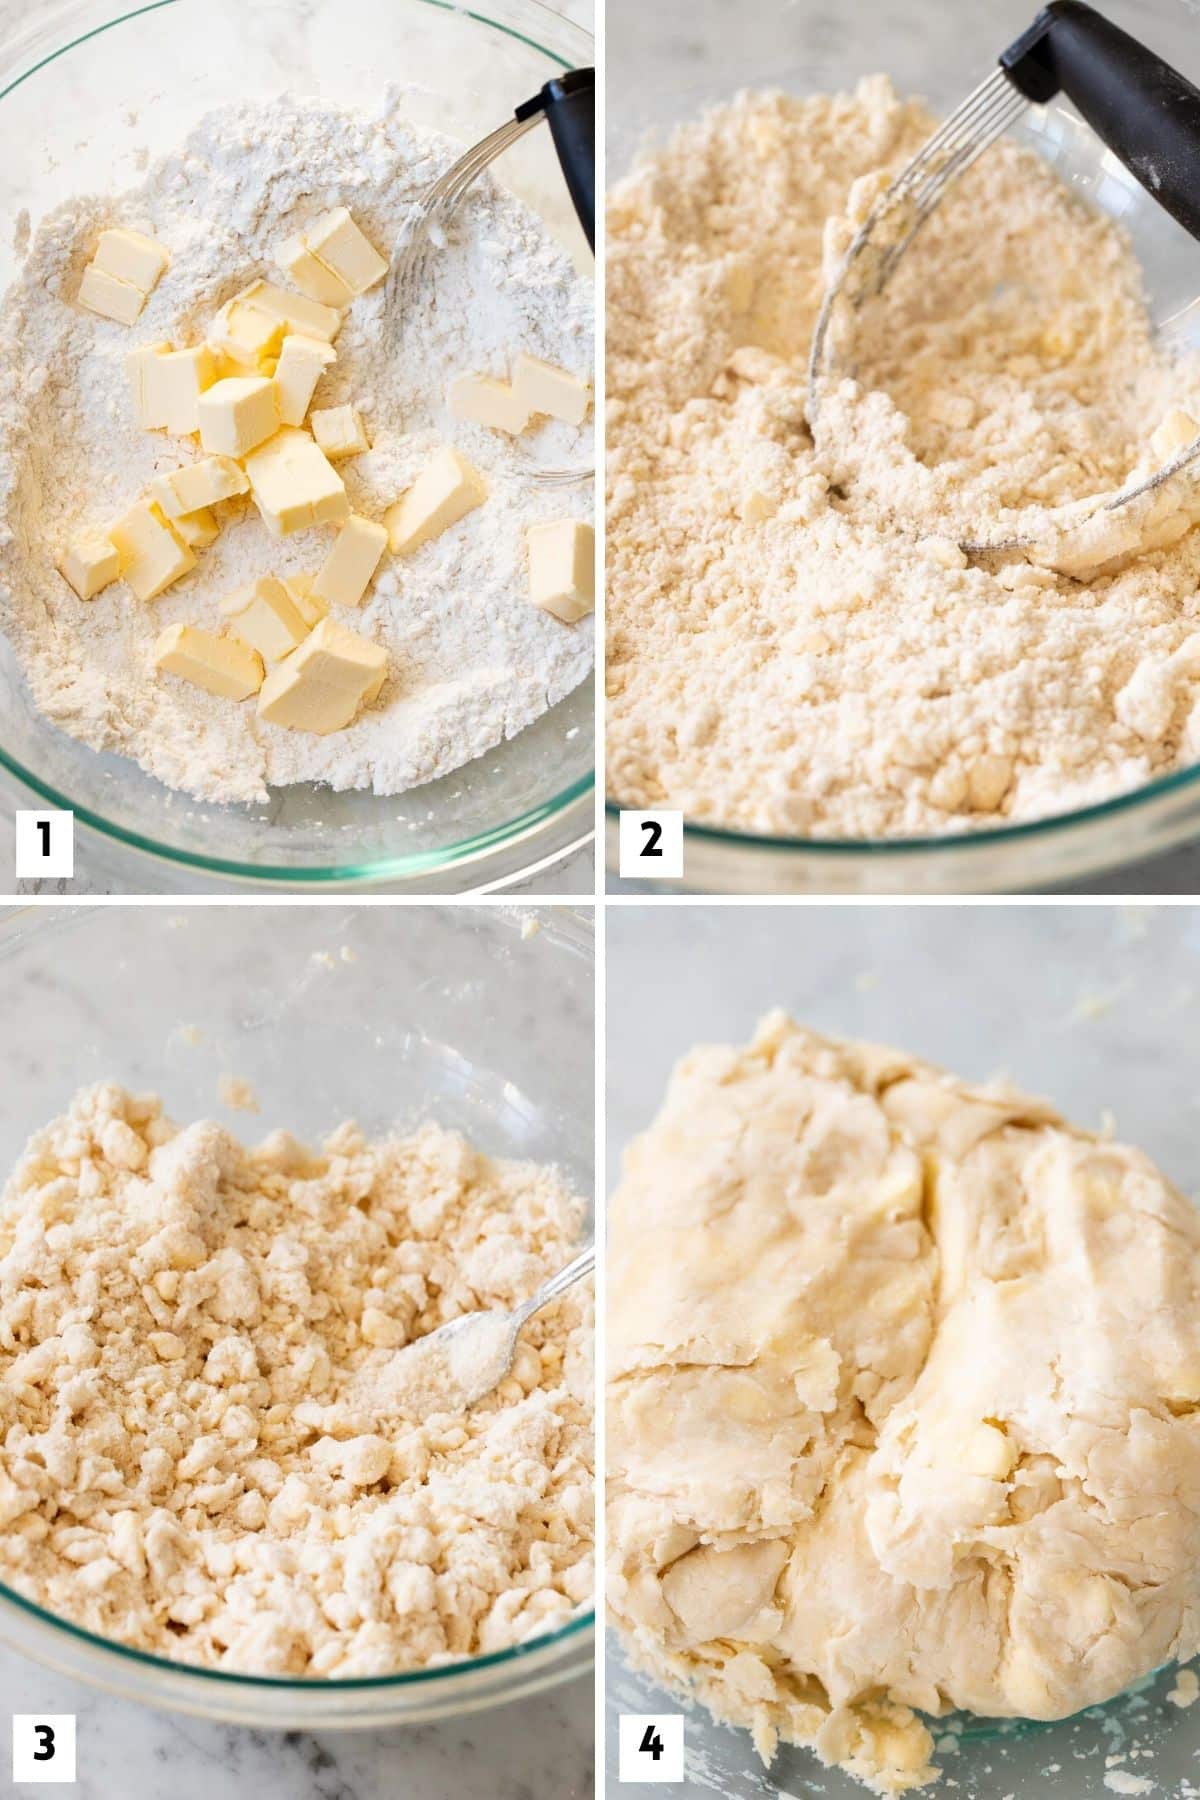
- Combine – In a large bowl, combine the flour and salt, then add the cold butter cubes and the shortening.
- Cut in fat – Use a pastry cutter or a fork to combine the mixture until it resembles coarse meal. You want to have some larger pieces left.
- Make Ice Water – To make the best pie crust, you need to use ice water. Fill a glass with ice cubes, then add water to the glass. Let it sit for a few seconds, then add 4 Tbsp to the flour mixture. Combine it with a fork and add more water until the mixture holds together when squeezed.
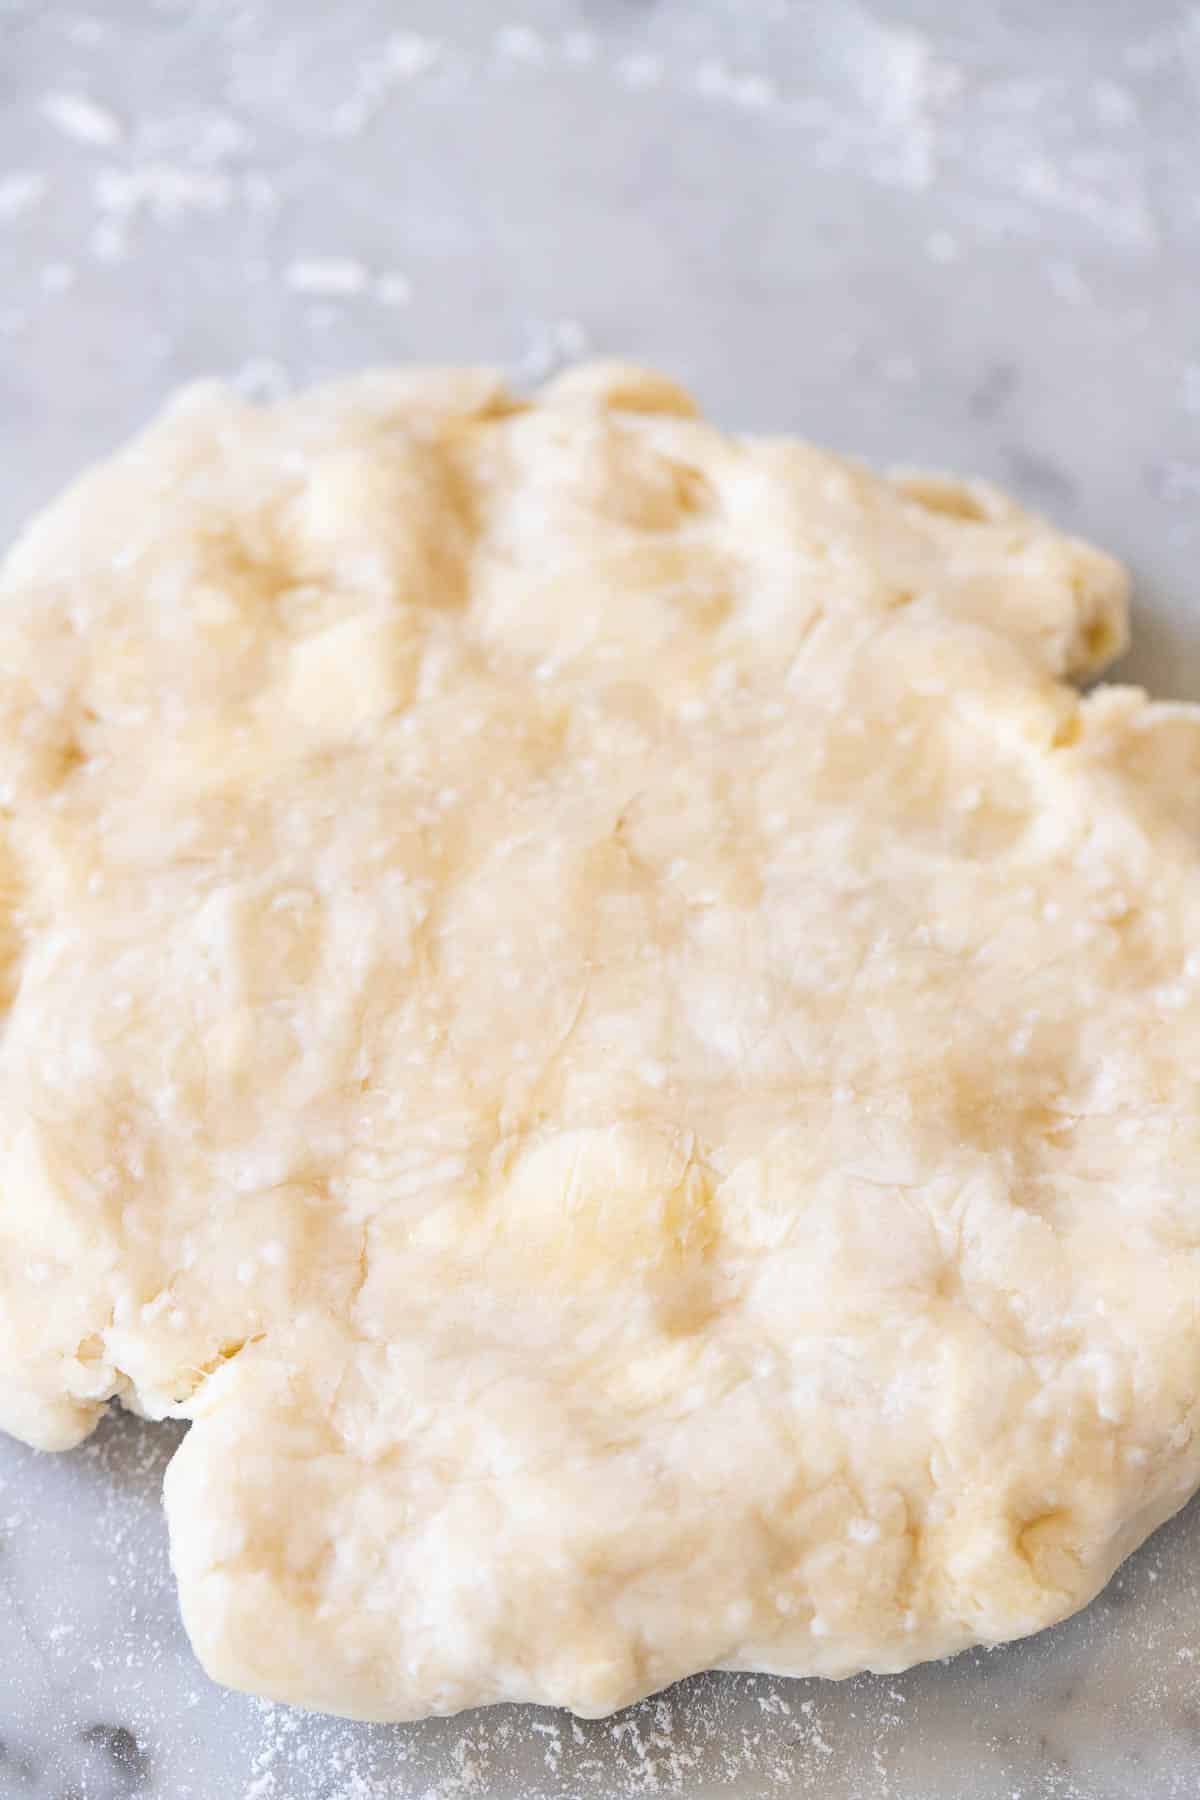
- Fold – Pour the mixture onto a floured work surface and press it into a rectangle. Fold sides into the middle, flatten and fold sides over again. Divide in half. Shape each piece into a rough flat disc. Wrap each disc in plastic wrap and chill for 30 min in the fridge or overnight.
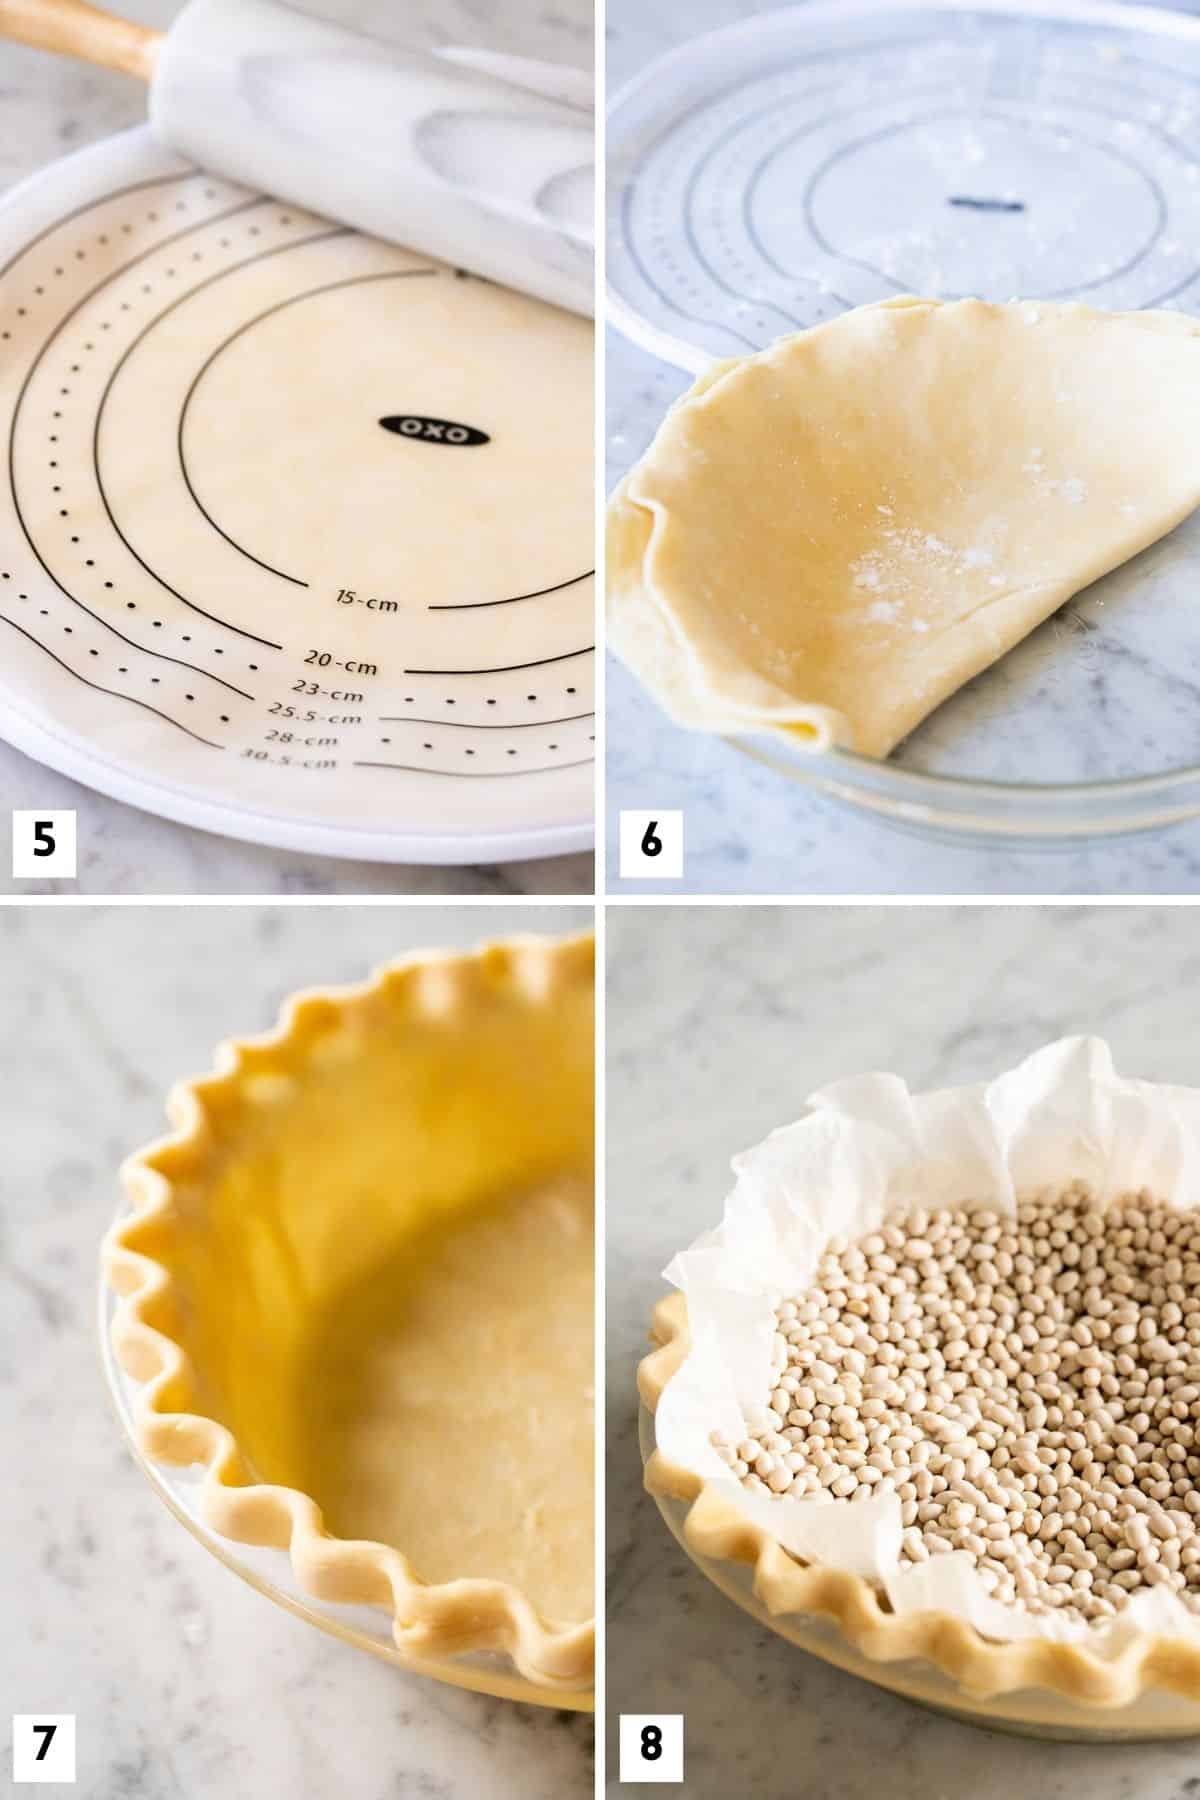
- Rolling out – On a floured work surface, roll out one dough disc into a 12” round for a 9” pie. Make sure the crust is not sticking by moving it around, and sprinkle more flour if necessary. I use a dough rolling bag (affiliate link) that makes it really easy.
- Transfer – Spray the pie plate with oil spray, fold the crust in half, then quarter, and transfer to a pie plate.
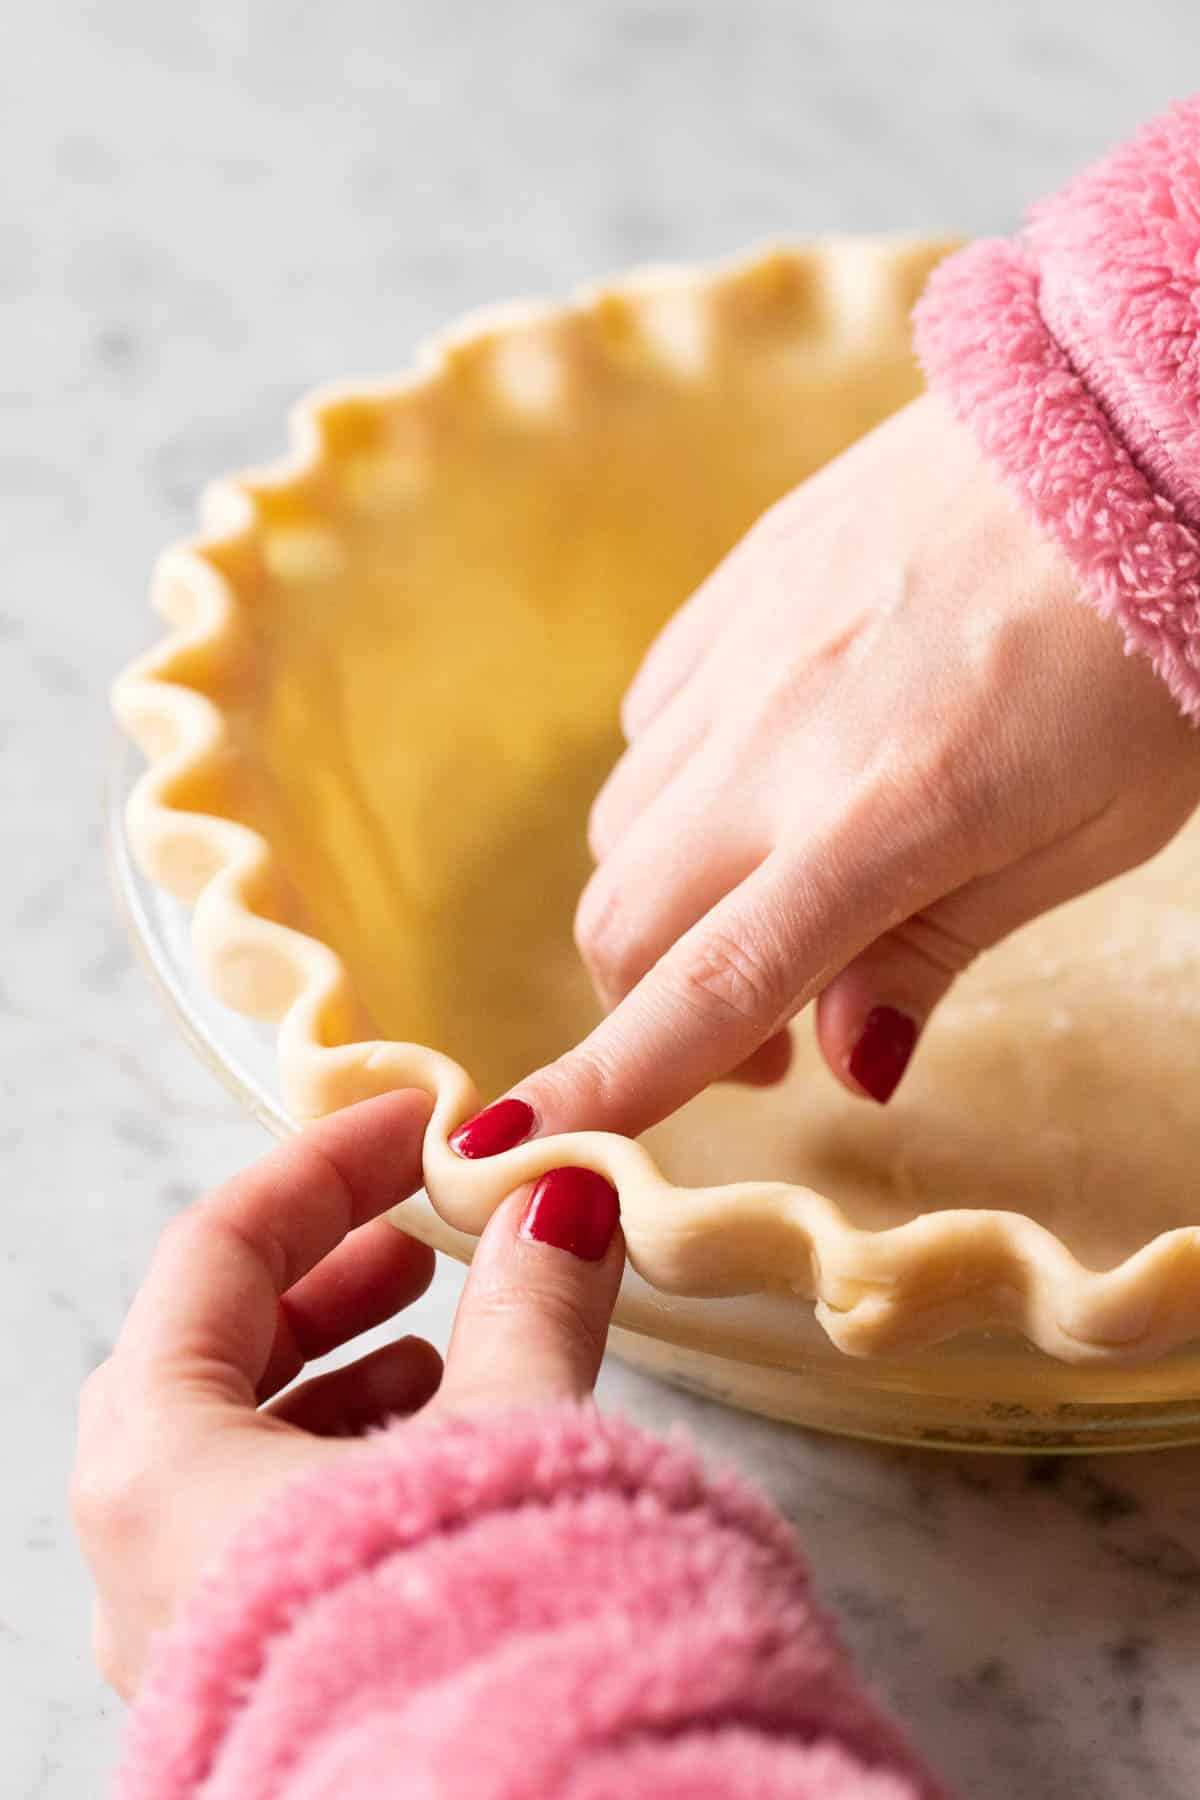
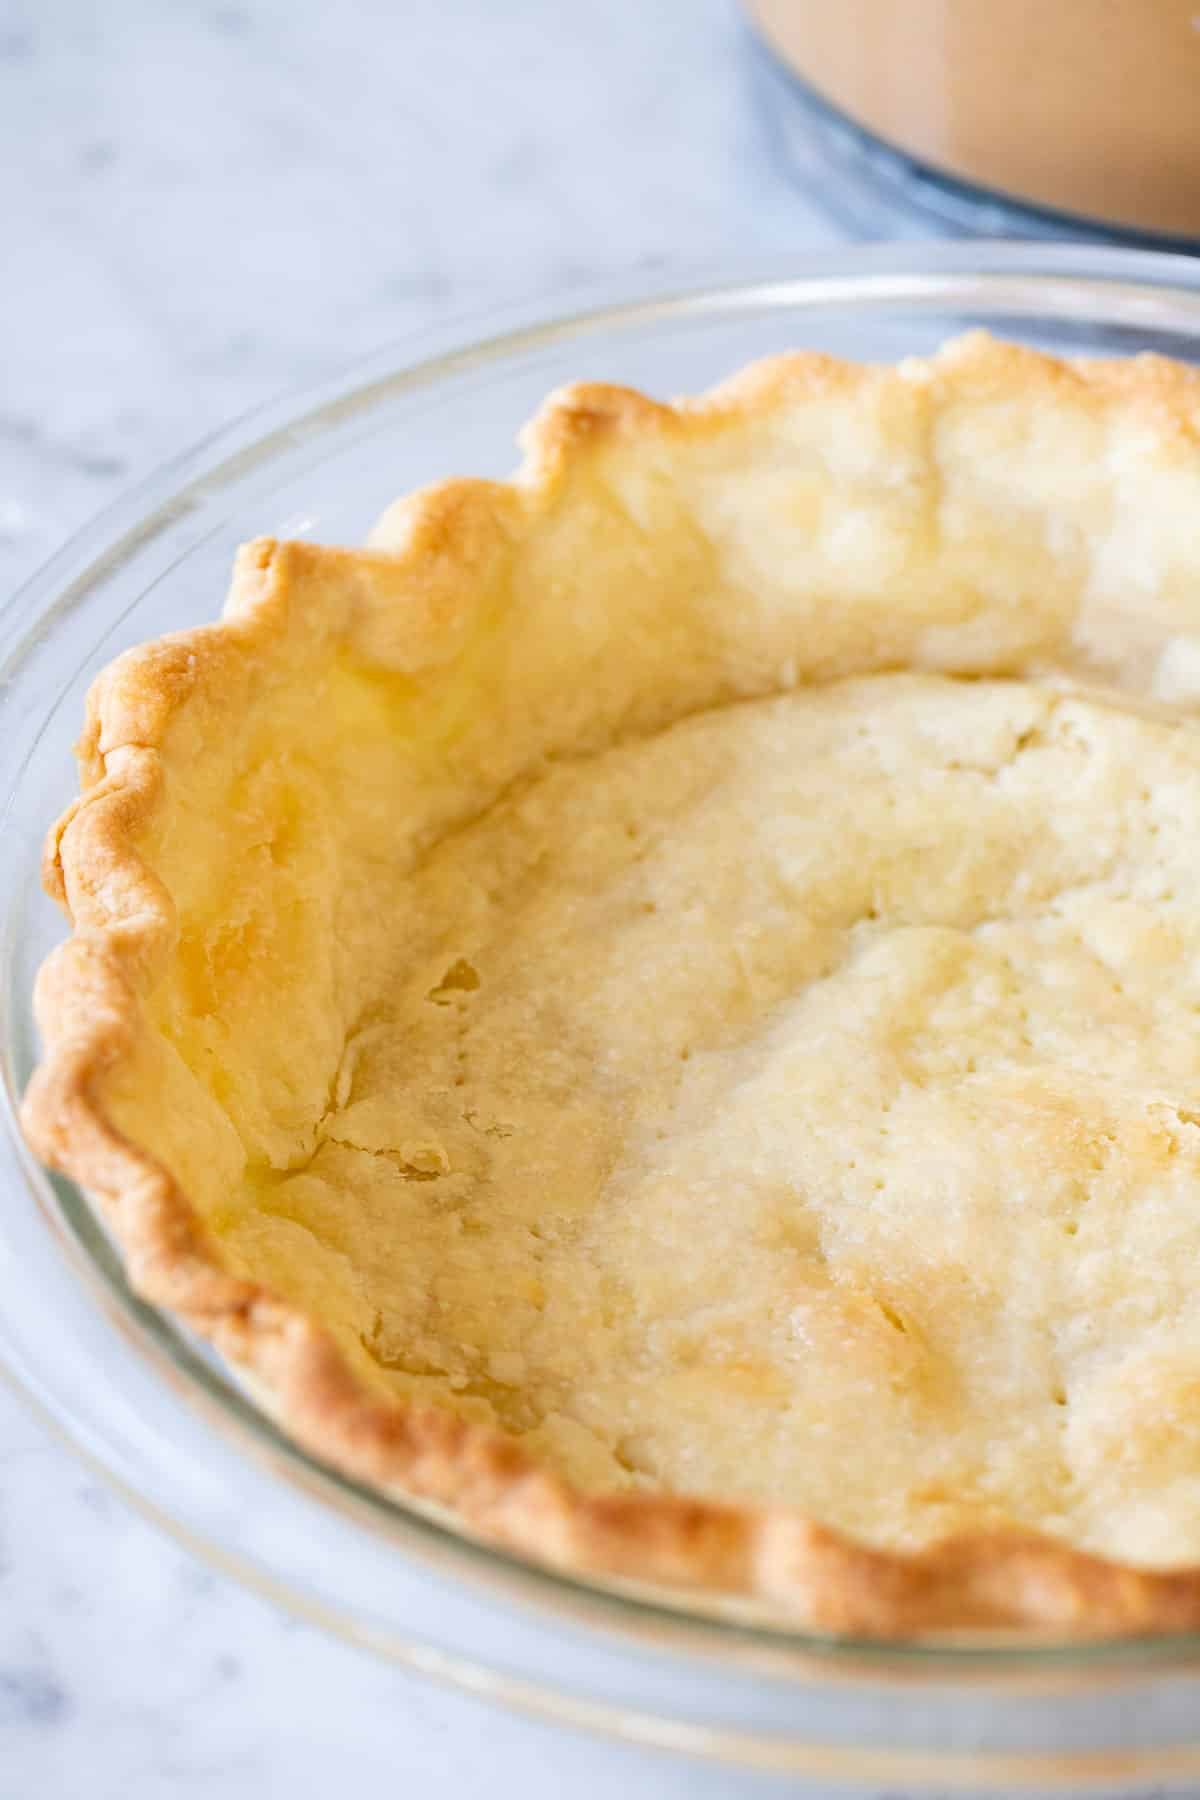
- Flute the edges – For a single pie crust, fold the edge of the crust under, squeeze together, and flute the edges using your fingers.
- Blind bake – Depending on the pie you’re making, you have to blind bake the crust.
Expert Tips
- I prefer to use a glass pan because it makes it easy to see if the crust has browned and is cooked through.
- If the crust browns too fast in the oven, use a pie crust shield or use aluminum foil with a hole cut in the center, so the middle of the pie is still exposed.
- To prevent a soggy pie crust, brush the crust with egg white before filling it.
- To prevent shrinking, don’t stretch the dough on the pie plate, lift and rearrange it instead.
- Don’t overwork the dough or your crust will be tough. That’s why I don’t recommend using a food processor.
- Chill the dough for at least 30 minutes. You can keep it in the fridge for up to 5 days.
- To make rolling out the pie crust easier, take the dough out of the fridge 10 minutes before rolling it out.
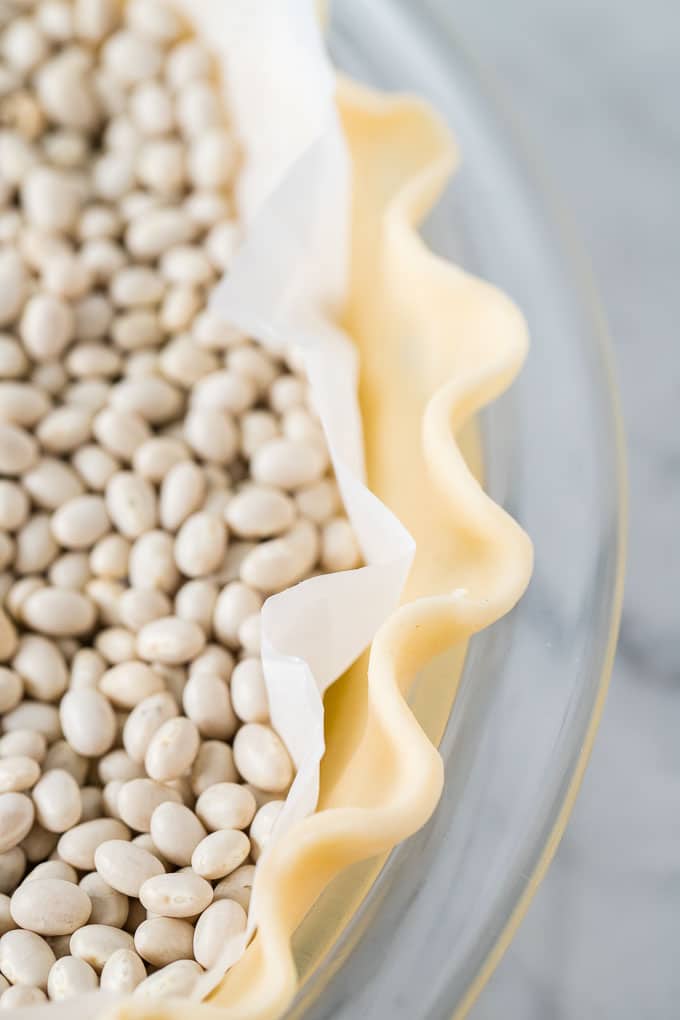
- Blind baking: This means either fully or partially baking the crust before adding a filling. Chill the crust after assembling the pie before putting it in the oven so it keeps its shape. Line the crust with parchment paper and fill it with either pie weights or dried beans, uncooked rice works too. Then bake it!
- Fluting the edge: Use two hands to flute the edge of the pie crust by pushing your finger from one hand in between the thumb and index finger of the opposite hand (see images in the post).
- Single-Crust Pie: Fold the edge of the crust under, squeeze together, and flute edges.
- Double-Crust Pie: Trim the bottom crust with scissors within 1/2” of the rim of the pan. Add the filling, roll the remaining crust into a 12” circle and top the pie with it. Fold the edge of the top crust under the bottom crust and press together to seal. Flute edges or crimp them with a fork.
Recipe FAQs
An all-butter pie crust is tastier than an all-shortening crust, but it is more difficult to handle and doesn’t hold its shape very well. A crust made with butter AND shortening gives you the best taste and flakiness, and it will hold its shape and is much easier to handle.
If you don’t have shortening on hand, you can use more butter instead! Replace the amount the recipe calls for with cold butter. The crust will be a bit harder to make and won’t hold its shape as well, but it’ll have a rich, buttery flavor.
There are many things you can do to prevent a soggy pie crust. Starting with choosing the right pie plate, metal, cast iron, and glass work best in my opinion. Blind baking, venting the upper crust and baking the pie on a lower rack in the oven make the crust bake better. You can also brush the crust with egg white or chocolate.
What to make with Pie Crust
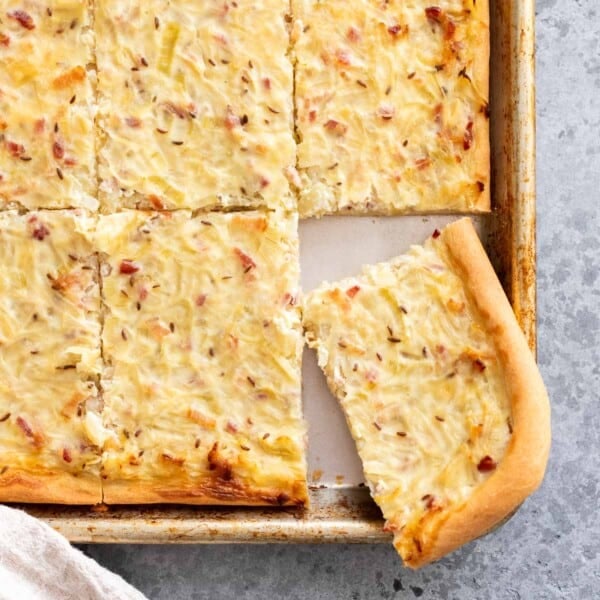
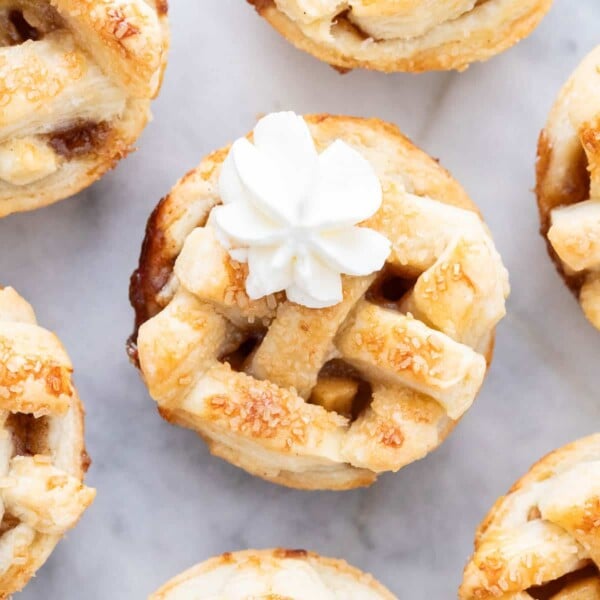
Pie crusts can not only be used for traditional pies, they can also be used for Quiches, Empanadas, Hand Pies, Mini Pies, and homemade Pop Tarts.
Make ahead
You can make this pie dough ahead of time! Wrap it tightly in plastic film and store it in the fridge for up to five days. Dough from the refrigerator can be difficult to roll out, so leave it on the counter for a few minutes before rolling it out.
Freezing
You can also freeze this flaky pie crust! Wrap aluminum foil over the plastic film and freeze for up to 3 months. When you’re ready to use it, transfer it to the fridge the night before so it can defrost overnight.
More Pie and Crisp recipes to try
Pies, Crisps, & Tarts
Mini Apple Pies

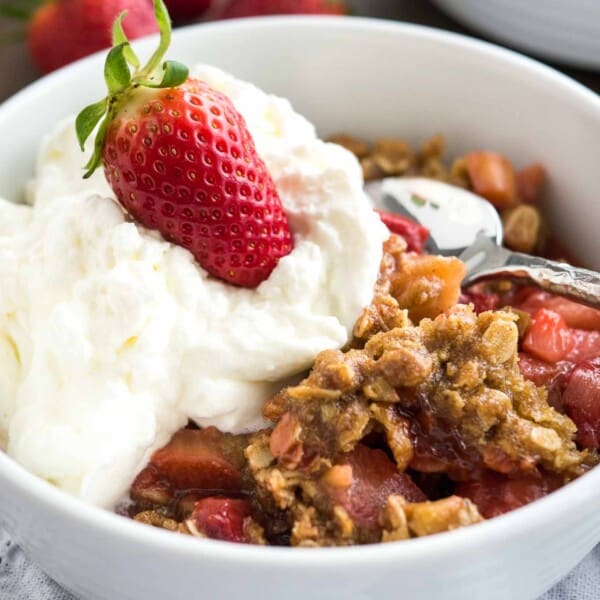
Pies, Crisps, & Tarts
Fresh Strawberry Pie
Pies, Crisps, & Tarts
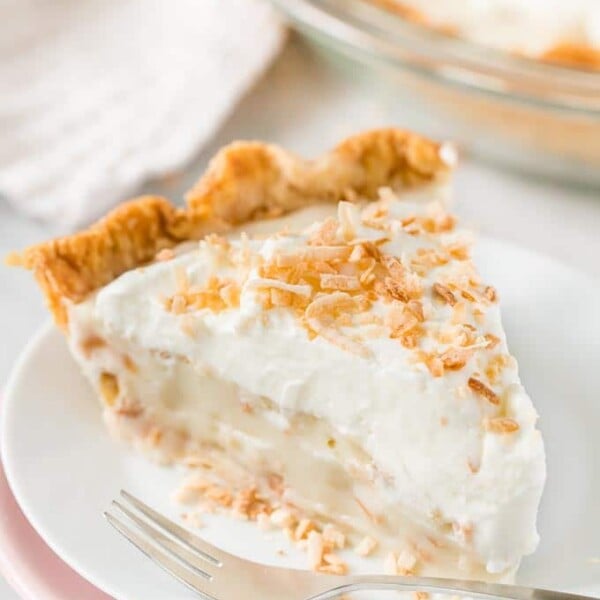
Coconut Cream Pie
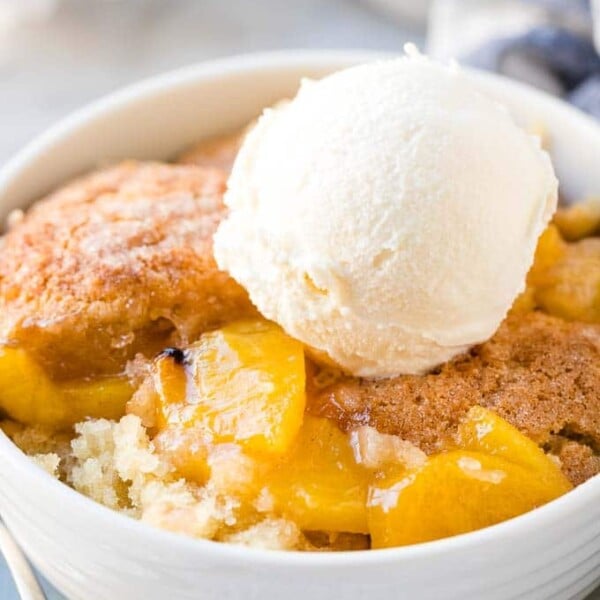
Air Fryer
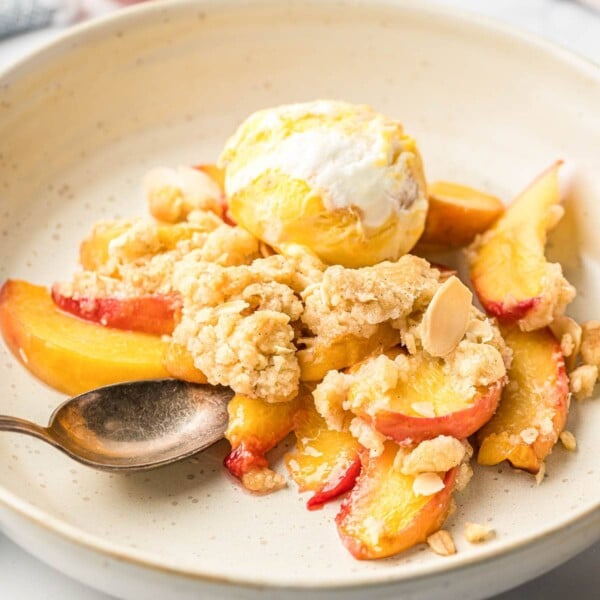
Air Fryer Peach Crisp

Buttery Flaky Pie Crust
Equipment
Ingredients
- 2 ½ cups all-purpose Flour
- 1 ¼ tsp salt
- ¼ cup vegetable shortening
- 10 Tbsp unsalted butter, cut into small cubes and frozen for 15 min
- 10 Tbsp ice water
Instructions
- In a medium bowl, combine flour and salt. Add cubed shortening and cold butter, work it in roughly with a fork or pastry cutter.
- Pour 4 Tbsp ice water over the flour mixture and toss the mixture gently together to combine. Add more water, one tablespoon at a time, until the mixture is fairly cohesive, chunky, and holds together when squeezed.
- Pour mixture onto a floured work surface and press it into a rectangle. Fold sides into the middle, flatten and fold sides over again. Divide in half.
- Shape each piece into a rough, flat disc. Wrap each disc in plastic wrap and chill for 30 min in the fridge or overnight (let sit at room temp for 10 minutes before rolling out).
- On a floured work surface roll out one dough disc into a 12” round for a 9” pie. Make sure the crust is not sticking by moving it around, sprinkle more flour if necessary.
- Spray the pie pan with oil spray, fold the crust in half and then quarter, and transfer to the pie plate. Don’t stretch the dough, lift and rearrange instead, this prevents shrinking.
- Proceed with the pie crust per your recipe’s instructions.
Notes
- I prefer to use a glass pan because it makes it easy to see if the crust has browned and is cooked through.
- If the crust browns too fast in the oven, use a pie crust shield or use aluminum foil with a hole cut in the center, so the middle of the pie is still exposed.
- To prevent a soggy pie crust, brush the crust with egg white before filling it.
- To prevent shrinking, don’t stretch the dough on the pie plate, lift and rearrange it instead.
- Don’t overwork the dough or your crust will be tough. That’s why I don’t recommend using a food processor.
- Chill the dough for at least 30 minutes. You can keep it in the fridge for up to 5 days.
- To make rolling out the pie crust easier, take the dough out of the fridge 10 minutes before rolling it out.
- Blind baking: This means either fully or partially baking the crust before adding a filling. Chill the crust after assembling the pie before putting it in the oven so it keeps its shape. Line the crust with parchment paper and fill it with either pie weights or dried beans, uncooked rice works too. Then bake it!
- Fluting the edge: Use two hands to flute the edge of the pie crust by pushing your finger from one hand in between the thumb and index finger of the opposite hand (see images in the post).
- Single-Crust Pie: Fold the edge of the crust under, squeeze together, and flute edges.
- Double-Crust Pie: Trim the bottom crust with scissors within 1/2” of the rim of the pan. Add the filling, roll the remaining crust into a 12” circle and top the pie with it. Fold the edge of the top crust under the bottom crust and press together to seal. Flute edges or crimp them with a fork.