This post may contain affiliate links.Please read our disclosure policy.
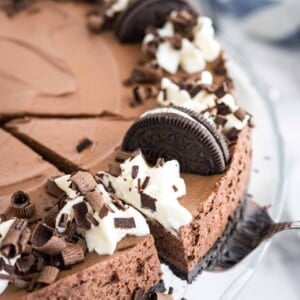
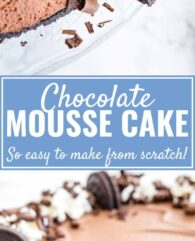
Chocolate Mousse Cake is every chocolate lover’s dream! This no-bake dessert is perfect for special occasions, but so easy and quick to make from scratch.
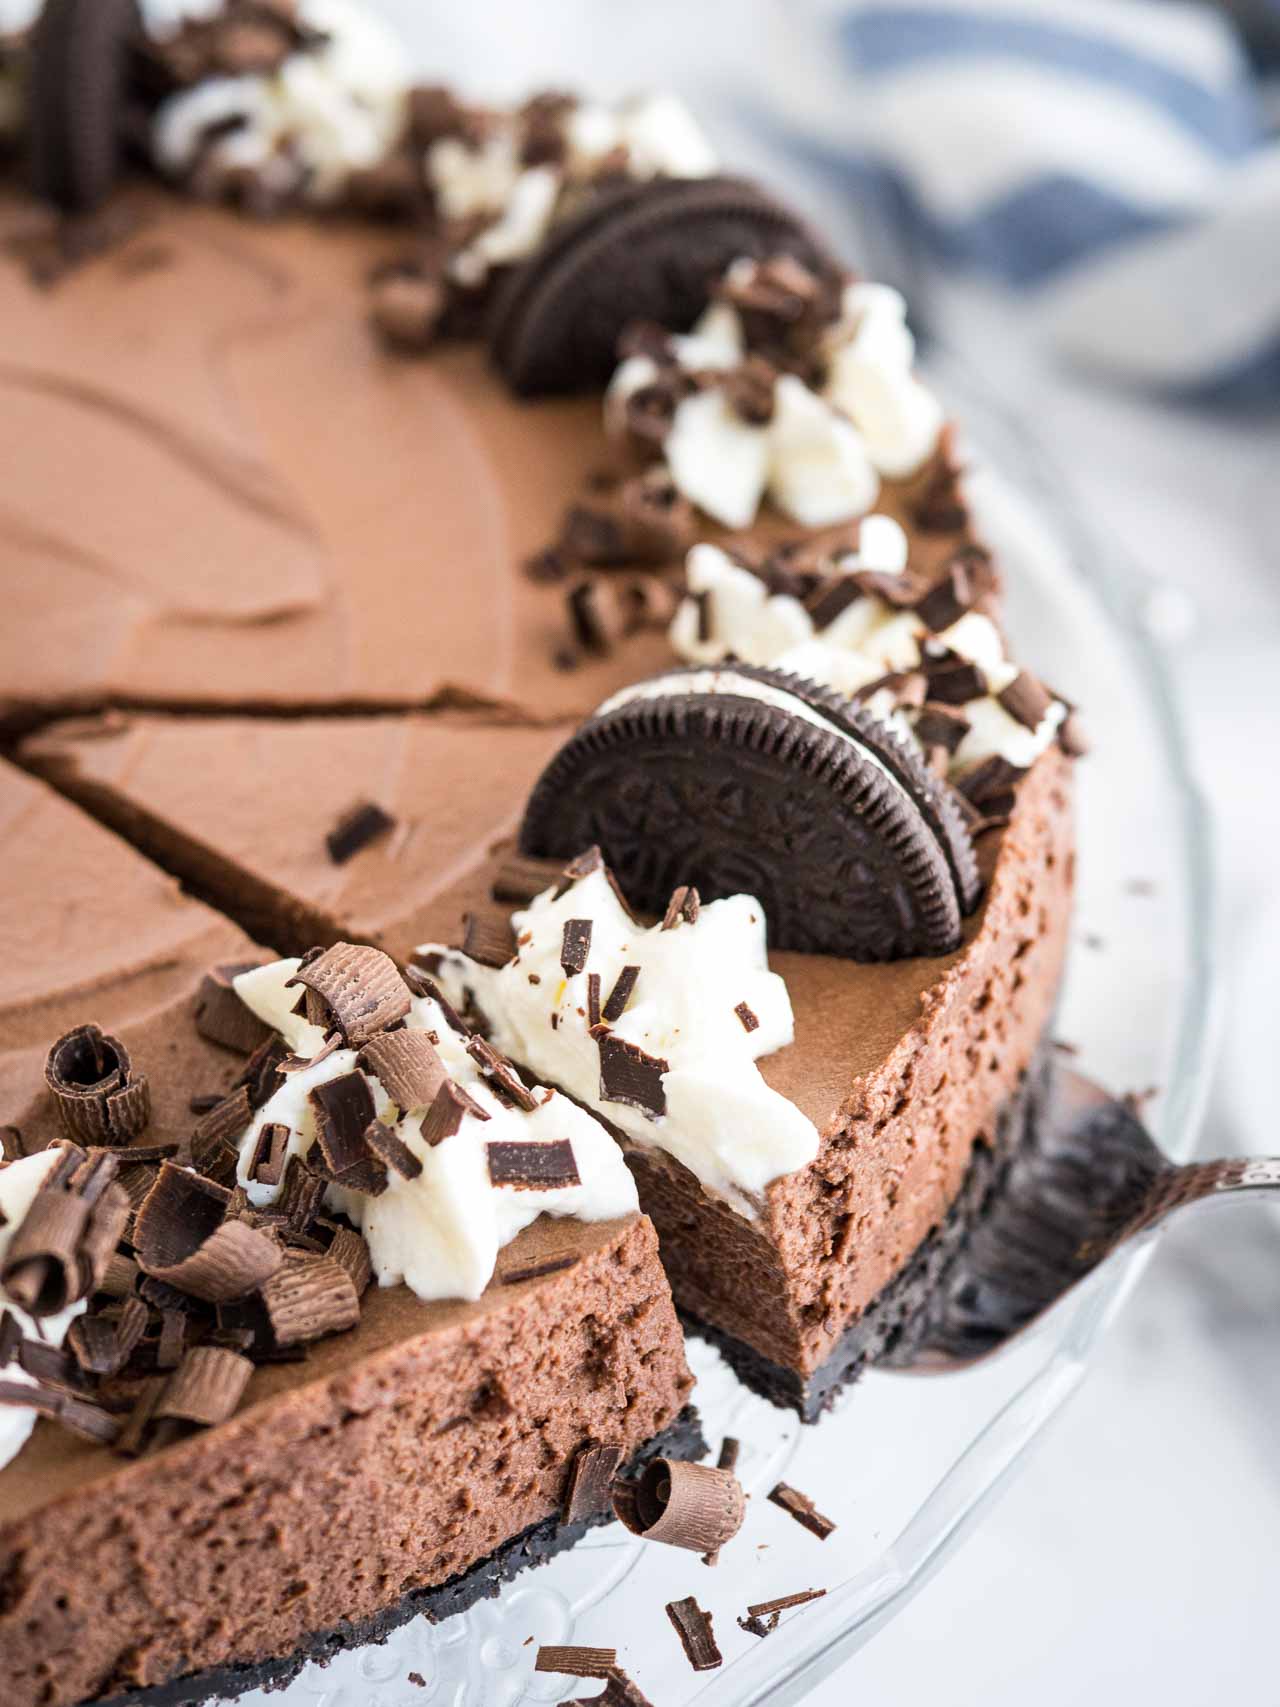
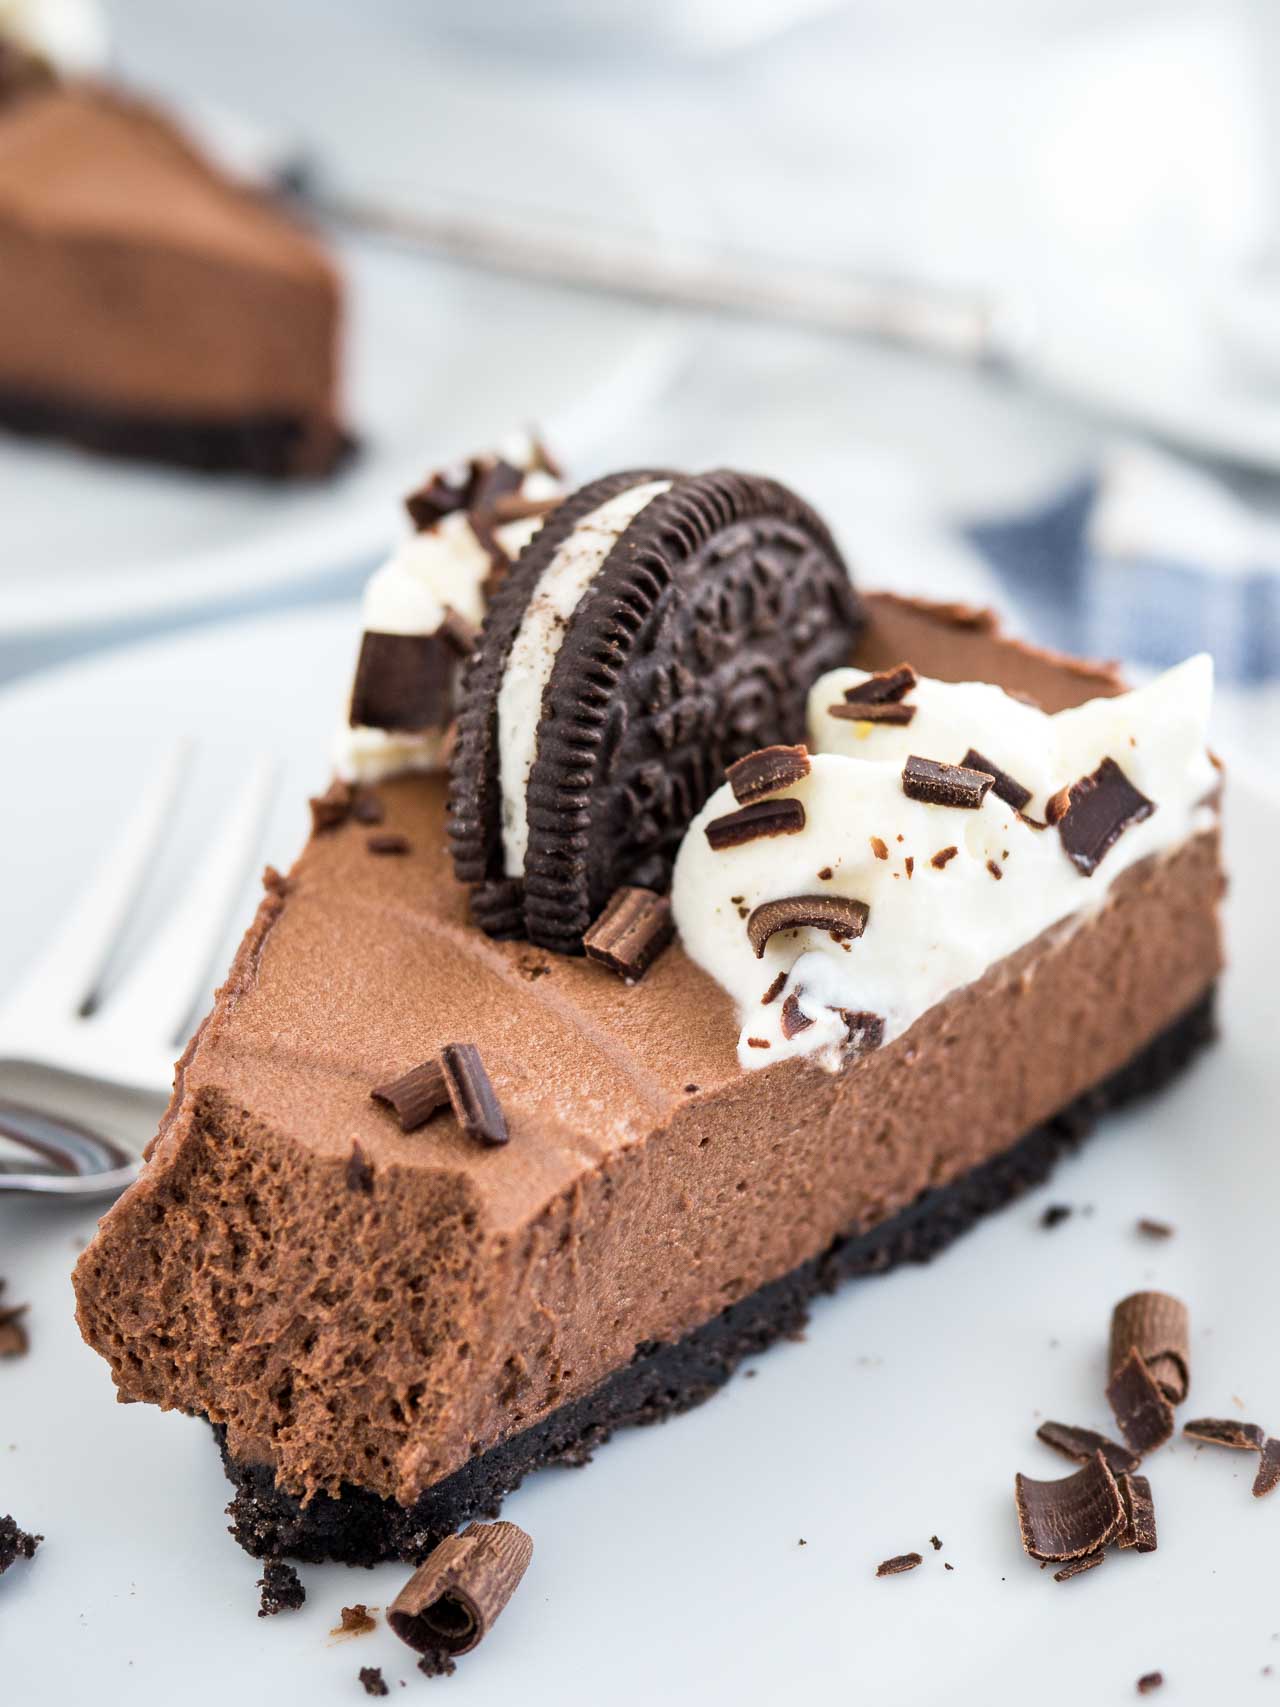
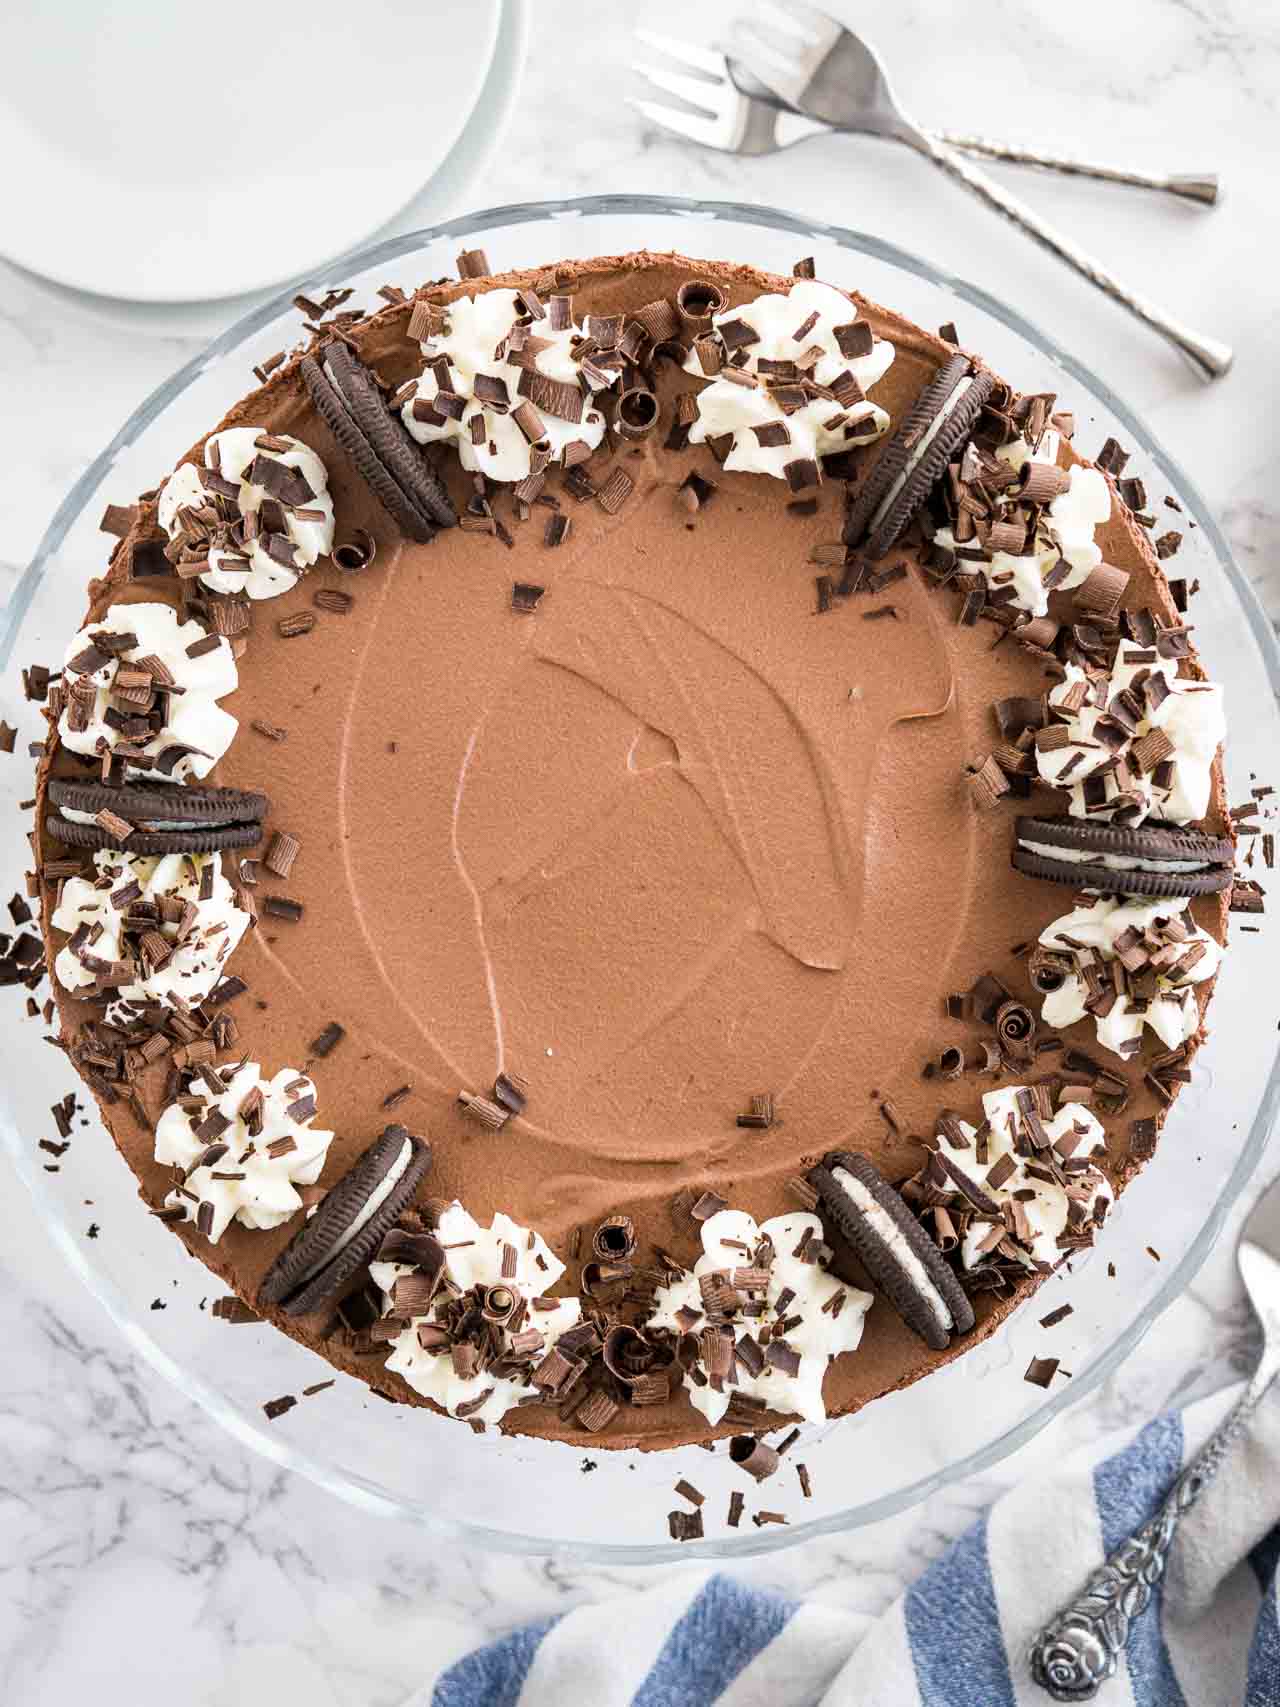
Our easy Chocolate Mousse Cake is made with only a few ingredients but tastes like the most decadent dessert. An Oreo crust with a rich chocolate mousse filling topped with more Oreos, whipped cream, and chocolate. This easy mousse cake will be your favorite chocolate dessert!
The perfectly light and airy chocolate mousse tastes absolutely divine! The mousse is not too sweet but totally decadent and melts in your mouth. It’s a bit similar to a French Silk pie, but lighter and made without raw eggs, so everyone can enjoy it just like our popular Eggless Chocolate Mousse recipe and our Lemon Mousse recipe!
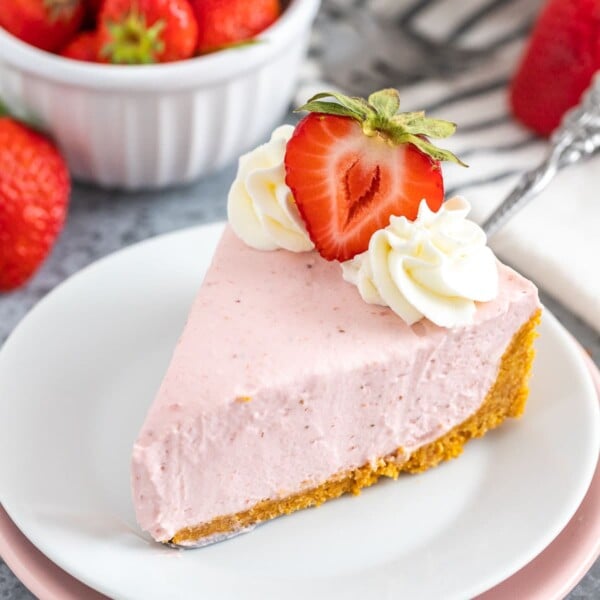
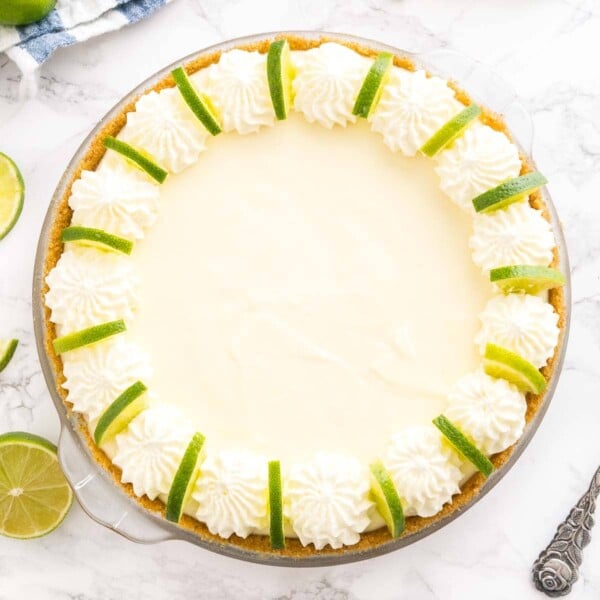
For more no-bake desserts, check out our No-Bake Strawberry Cheesecake, No-Bake Key Lime Pie, and Easy Lemon Cream Pie Recipe.
Why our recipe
- This no-bake cake is very easy to make with a few simple ingredients (no gelatin, no egg whites) but looks impressive and tastes so delicious
- The mousse layer is made without raw eggs, so everyone can enjoy it
- You can prep most of it in advance, which makes it a perfect dessert for parties or special occasions like Holiday dinners, Mother’s Day, or Valentine’s Day
Ingredient Notes
- Cookies: You need one 14.3-Ounce Package of Oreo cookies for this recipe, this will leave you with a few to snack on. Instead of an Oreo Crust, you can also use coffee flavored cookies or chocolate wafer cookies.
- Butter: I use unsalted butter in all my baking recipes.
- Chocolate: I use semi-sweet chocolate with about 50% or 60% cacao for this chocolate mousse cake recipe because it has a nice balance of sweetness and chocolate. The higher the percentage, the less sweet the chocolate is. My preferred brands are Lindt, Moser-Roth from Aldi, and Guittard chocolate. I don’t recommend using milk chocolate for this recipe, it would make the cake too sweet. Dark chocolate would make it too bitter. Using quality chocolate chips (like these) makes this recipe even easier because you don’t have to chop the chocolate. You need 1 1/2 cups of standard sized chocolate chips.
- Vanilla: You can use vanilla extract or homemade vanilla sugar in this recipe.
- Heavy cream: You need heavy cream with 36% or more fat for this chocolate cake recipe to get the best results. Whipping cream with 30% works too, but don’t use half-and-half. The more fat the cream contains, the more stable it will be when it’s whipped.
Julia’s Tips and Tricks
- Chocolate: Quality semi-sweet chocolate with about 50% cacao works best in my experience.
- Whipped cream: Chill or freeze the bowl and your whisk for a few minutes before making the whipped cream. This makes it easier to whip the cream into stiff peaks, especially when it’s a hot day. I also leave my heavy cream in the fridge until the very last minute. Check out my homemade whipped cream recipe for more tips.
- Add-ins: For an even stronger chocolate flavor, stir 1 teaspoon instant coffee in the chocolate ganache. You could also add a 1/4 teaspoon mint extract for a chocolate mint mousse cake.
- Temperature: Make sure the chocolate ganache has cooled down completely before folding in the whipped cream. Otherwise, the whipped cream will melt, and the mousse won’t solidify during the chilling time.
- Refrigerating: This mousse cake needs to chill at least 6 hours or more, depending on the size of your pan and the temperature of your fridge, but I like to make it one day ahead and chill it overnight.
- Cake Pan: I recommend using a springform pan. It makes it easier to make the cake and remove it from the pan to serve it. You could also make a chocolate mousse pie and make it in a pie dish. To do this, press the Oreo cookie mixture all the way up the sides of the pan or use a premade Oreo crust to save time.
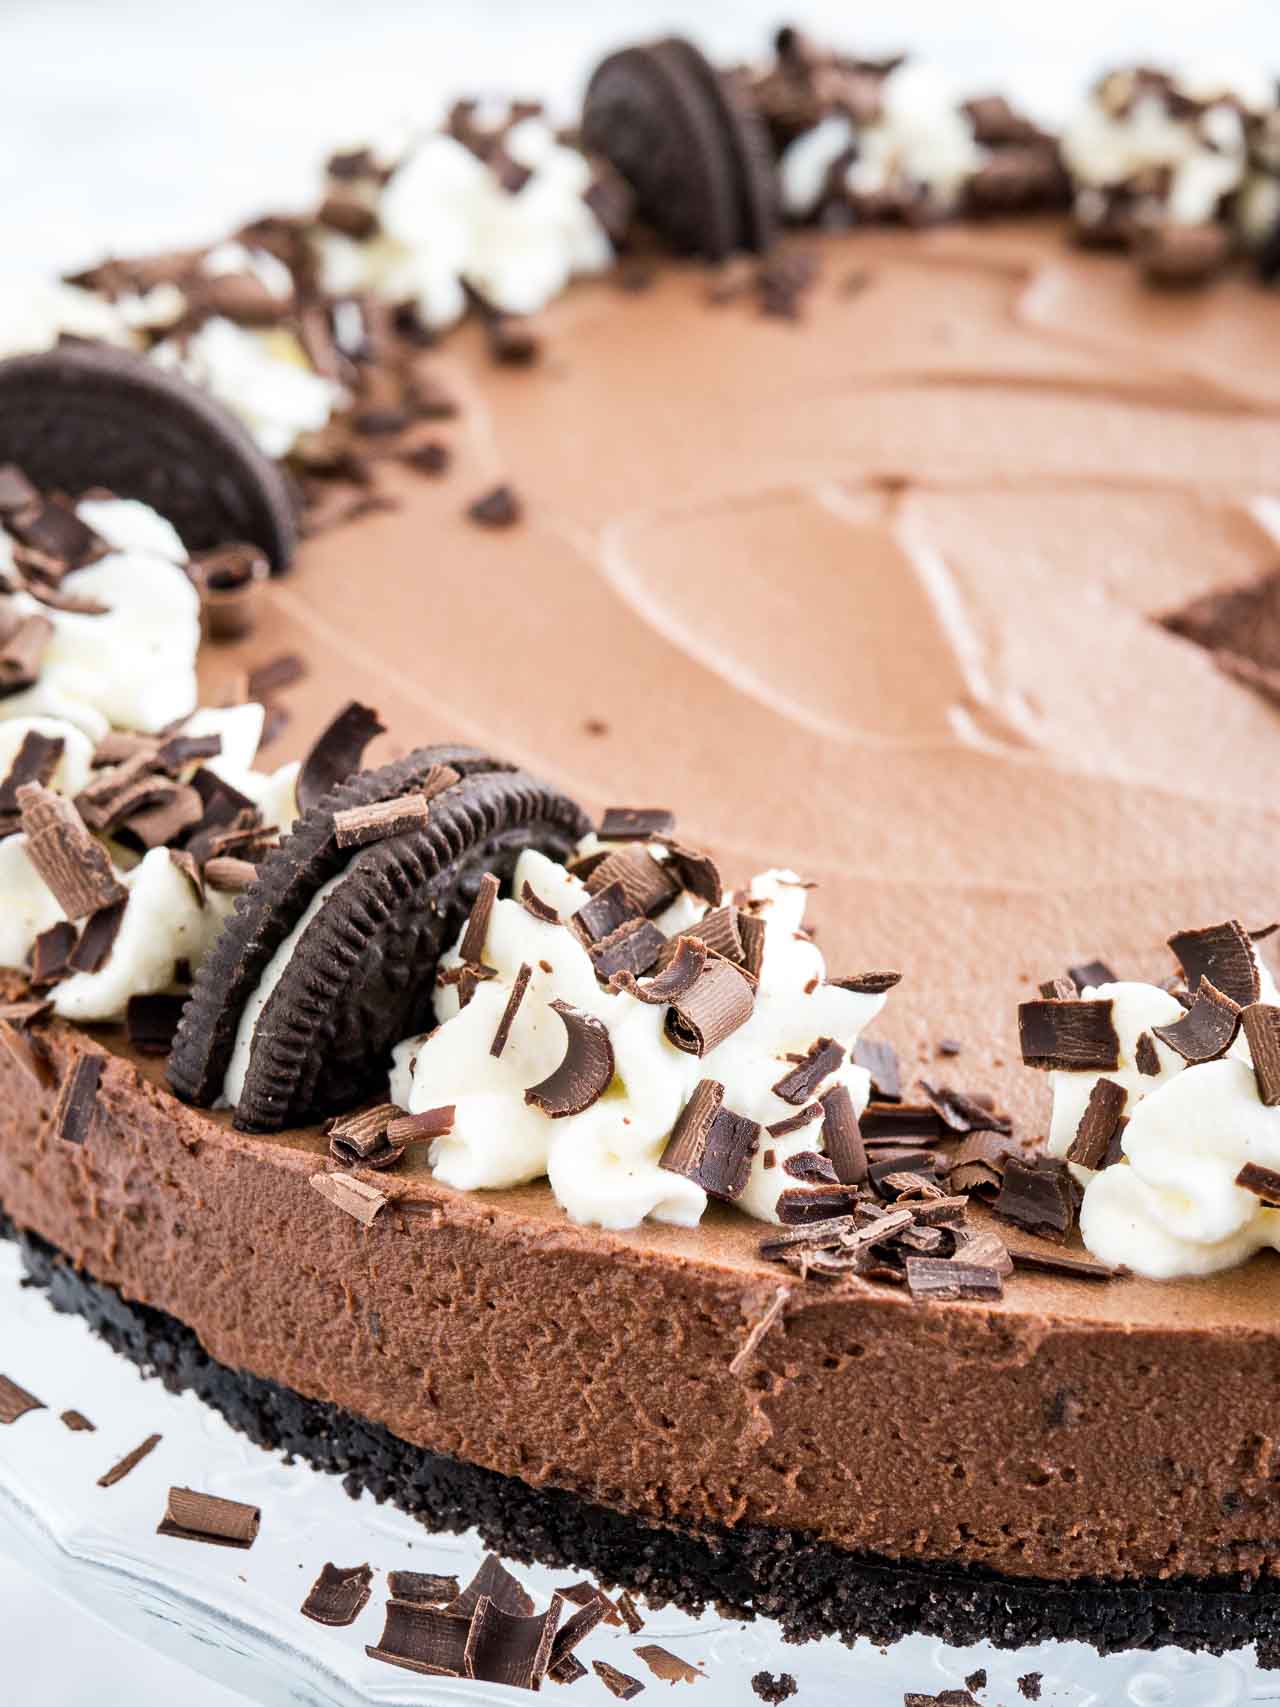
If you want to make this mousse pie in a 10-inch springform pan, I recommend using the 1.5 x amount of the ingredients. Because of the larger amount of ingredients, I recommend chilling the cake overnight.
Chocolate curls or chocolate shavings are very easy to make at home. I use a simple vegetable peeler to make them to decorate cakes (like my Black Forest Cake) or hot chocolate. Scrape the blade lengthwise across a chocolate bar to make curls and shavings.
This usually happens if the chocolate mixture was still too warm when you fold it into the whipped cream. Whipped cream melts and won’t hold its shape when it gets too warm, and the chocolate might get grainy. It’s important that the chocolate ganache is completely cooled before adding the cold whipped cream. The chocolate mixture should also not sit in the fridge for longer than 20 minutes, or it will be difficult to combine it with the whipped cream. Another reason why your mousse might not set is not being careful when folding in the whipped cream. Don’t use a hand mixer or a whisk to combine the chocolate and cream. Carefully fold them together using a spatula and go slowly.
Storage Instructions
Serving: This cake tastes best while it is chilled. Don’t let it sit at room temperature for too long or the texture will change, and the mousse will start to melt. To remove the springform ring, run a knife around the edges, then carefully remove it.
Storing: Any leftover cake keeps in the fridge for 2–3 days. Make sure to cover it airtight so it stays tasty.
Make-ahead: You can make the Oreo crust and fill it with the chocolate mousse up to 2 days ahead. Refrigerate, covered. Decorate the cake just before serving.
More chocolate desserts
Cookies, Brownies & Bars
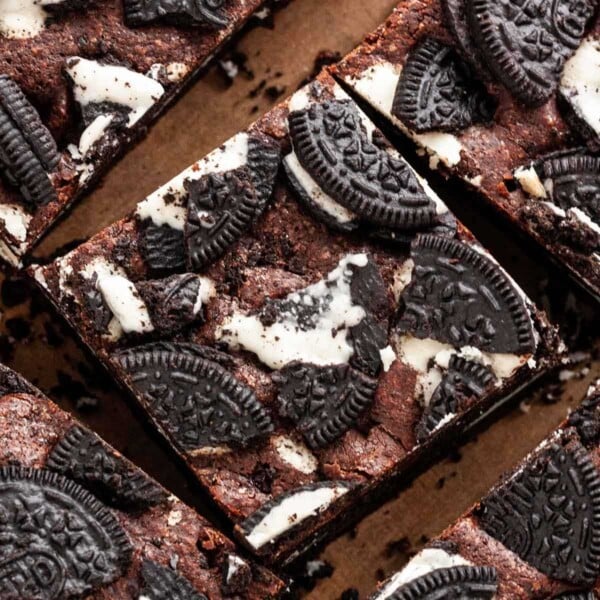
Oreo Brownies
Bread & Muffins
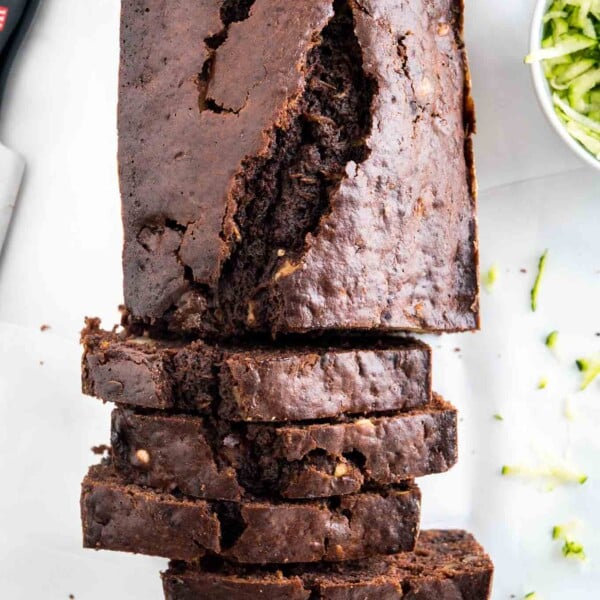
Chocolate Zucchini Bread Recipe
Cookies, Brownies & Bars
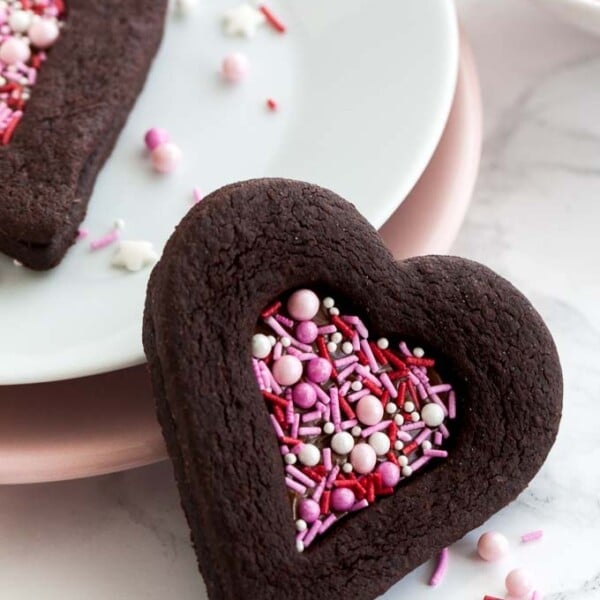
Chocolate Sugar Cookies
Bread & Muffins
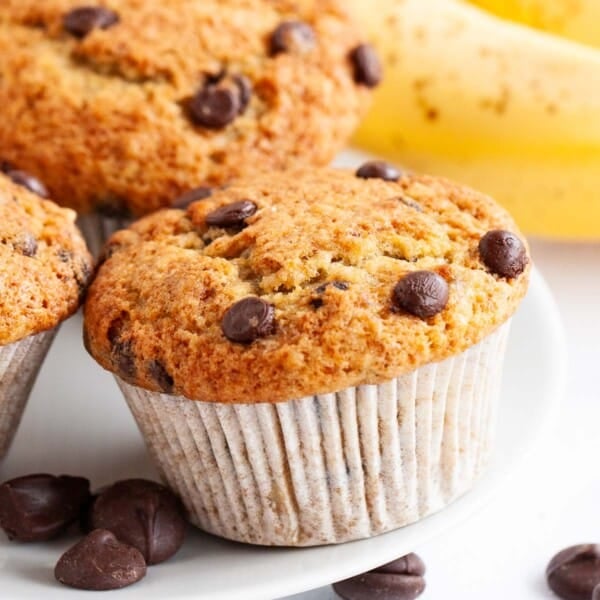
Banana Chocolate Chip Muffins
Chocolate Mousse Cake
Ingredients
For the Oreo Crust
- 25 Oreo cookies, finely crushed
- 5 tablespoons unsalted butter, melted
For the Chocolate Mousse Filling
- 8 ounces semisweet chocolate, chopped (about 1 ½ cups)
- 1 teaspoon vanilla extract
- 1 pinch of salt
- 2 ¼ cups heavy cream, divided
For the Decoration
- ¾ cup heavy cream
- 2 tablespoons granulated sugar
- 3 Oreo cookies, cut in half
- ⅓ cup chocolate shavings
Instructions
- Grease a 9-inch spring form pan with butter.
- Combine finely crushed Oreo cookies and melted butter. Press into the bottom of the spring form pan using a flat measuring cup. Make sure it is compact. Chill it for 30 minutes in the fridge.
- Meanwhile, combine the chopped chocolate, vanilla extract, and the salt in a medium bowl.
- In a small saucepan, bring ¾ cup of the heavy cream to a bare simmer. Pour the hot heavy cream over the chocolate, cover and let it sit for 1 minute, then whisk until smooth. Cover and chill the chocolate ganache in the fridge for about 20 minutes until cooled.
- Beat 1 ½ cups heavy cream in a medium bowl with a hand mixer or stand mixer on medium-high speed to soft peaks, about 2 minutes. Whisk the cooled chocolate mixture to loosen it, then fold it into the whipped cream with a silicone spatula until no streaks remain.
- Transfer the chocolate mousse into the pan and gently spread it to the edges. Cover and refrigerate for at least 6 hours or overnight.
- Just before serving, beat the remaining ¾ cup of cream and 2 tbsp sugar with a hand mixer or stand mixer until the cream reaches stiff peaks. Pipe the borders of the cake using a large open star tip. Garnish with Oreo Cookie halves and chocolate shavings. This cake must stay refrigerated.


Can you use cool whip to decorate instead so it can be completely ready to go a day before?
Yes, you can use cool whip! I would wait a few hours so the mousse can set a bit and then decorate it.
I have a 10 inch spring form pan- how can I increase the ingredients? My husband is making it for me for my birthday and he would prefer exact increments of the ingredients if possible?
Thanks!
Mary
I would multiply the ingredients by 1.5. You can use the little slider that pops up if you click on the serving size and adjust it to 18 to give you the right amounts. The cake might take a bit longer to set in the fridge because it’s larger.
Most delicious and decadent dessert. Easy to do with excellent instructions and tips. Thank you for sharing!
This is an amazing, straightforward, delicious, summer recipe. THANK YOU so much for sharing it. I’ve made it three times in the past month to rave reviews. It will now be my summer go to dessert to impress guests!!
Looks fantastic! Will definitely make this!
This recipe is OUTSTANDING! I made it in under an hour the day before I served it and every, last crumb was consumed. Delicious! And EASY, EASY!
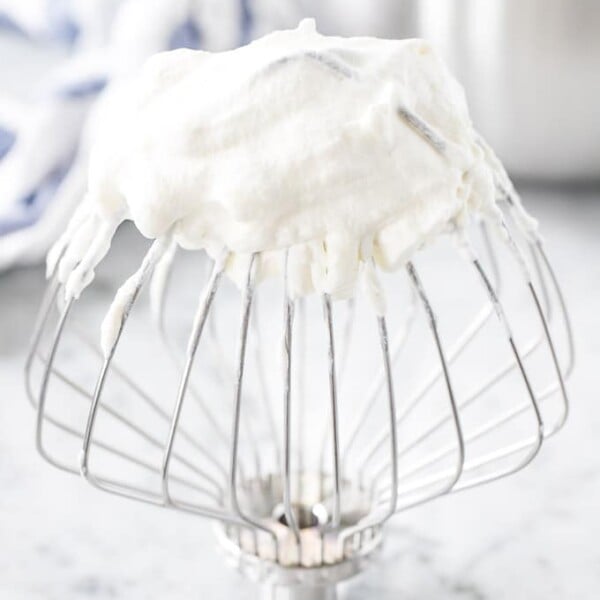
I just made this and will need to follow up with how it turned out. The recipe looked easy enough and the pictures are GORG but I’m a little nevous about one thing – How can you tell if stiff peaks are starting to form? I wasn’t sure if I wanted it to go all the way to the traditional whipped cream stage so I stopped when it was more like gentle waves. Do you have a picture of what it should look like?
I don’t think you need to be nervous! As long as you whipped the cream to a not longer runny stage it will be fine. The melted chocolate will solidify in the fridge and stabilize the whipped cream. Here is a link to the video I made for this recipe so you can see how the whipped cream should look: https://www.facebook.com/platedcravings/videos/vl.871515362948391/1959011890980544/?type=1
And to tell the difference between the stages of whipping cream, here’s what I look for:
Stiff peaks: After lifting out the whisk, the peaks will hold firm.
Soft peaks: After lifting out the whisk, the cream will hold its lines but the peaks will be soft and after a second or two will fall back on itself.
I don’t understand why there are not more reviews for this cake, it has been pinned and shared thousands of times. Well, I will review it.
It is beyond DELICIOUS!! I had to bring a dessert for 16 to a dinner party last night. I chose this one out of the many on the internet because it was egg-free, no bake, looked beautiful and the recipe seemed easy enough. I decided to make a larger cake based on how many people it needed to serve, so I used a 10″ spring form pan and increased the ingredients proportionately, adding about another 40% of ingredients. By the evenings end, the entire cake was eaten and the compliments kept coming, as well as requests for the recipe. MAKE THIS CAKE! YOU WON’T BE SORRY!
Hi– I need advice as to how much more you added? I too have a 10 inch spring form pan and need exact ingredients. My husband is making this for my birthday and he would prefer exact ingredients if possible.
Thank you!
I made this tonight. Serving it tomorrow for Thanksgiving and a birthday tomorrow. Should be a hit. Very simple and easy steps to follow.
Okay, this is pure heaven. Cannot get over how perfectly light and fluffy and sweet and downright addictive this looks. If you can’t already tell, I’m sold.